 Here what I came up with.
 It's a play on a Birthday card I received this year from Lin..
And here's a step by step.
 I started off by cutting out a clock face from the Spellbinders set Timeless Heritage (S4-014) in gold mirror card. To do this through your Cuttlebug you will need to use an A and B plate, your card stock and die
 and then a C plate.
 To emboss the image turn the die over, keeping the card stock in place.
 Add your No Shims embossing mat
 replacing the C plate with another B plate
 and there you have your embossed image.
 I then cut the hands for the clock in some Black Mirror card,
 again you will need to use the A, B, C combinations to cut.
 As the images were so small, there was no need to emboss them after they were cut as they embossed anyway..
 They were then added to the clock face at a couple of minutes to Twelve.
I then set about cutting out my cogs to mimic the inside of a clock. New Year is all about time after all I think..
Although I used a Bigz Die from Sizzix, these can easily be used through the Bug.
 You will need to take away your A plate
 and use the die face up as your base.
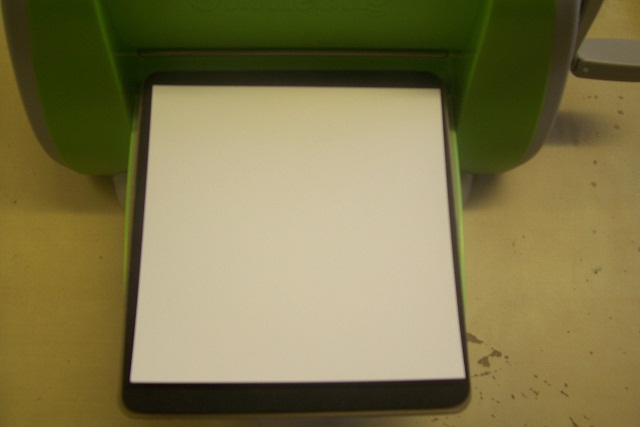 Add your card stock
 and then 2 B plates
 and viola!!
 The cut out cogs were embossed
 using a folder from the Stars and Swirls set (656458) from Sizzix.
 I then took a piece of Silver Mirror card and embossed it using the Chandelier from the Thank You Set (656507), again from Sizzix.
 This was matted onto some Black card stock
 and mounted onto my prepared easel card.
 Adding the embossed cogs to the base of the card and
 then mounting the clock face over the Chandelier.. I was going for a bit of a jumbled look for this project. I.E, putting things where perhaps they shouldn't be hence the clock over the chandelier!!
I then cut my sentiment from my Cricut.
 Layered the letters together
 and mounted them onto the project.
 And there you have it.... All ready for NYE...
Don't forget to hop on over to the Cuttlebug Blogspot to see all the other Design Teams creations for this theme.
I'm off to finish my family and friends crimbo cards now that all of our club members cards are done and posted..
 We had quite a few to do as you can see!! And this was after 2 crates were given out at the last club members weekend!! I really should have started them earlier! Note to self for next year!!
Have a great day everyone and thanks for checking us out.
See you soon.
Andy.
This is a great card, love all the cogs and the miri card gives a lovely effect.
ReplyDeleteKim xXx
Super card Andy.
ReplyDeletePerhaps you should start the Crimbo cards in January cos I'm sure you'll have even more members by the end of next year LOL
Toni :o)
Amazing.........................love your take on the challenge...time ticking away!
ReplyDeleteGood job! And those crates....all hand made???? You have been busy!!!!!
hello andy... U busy bee.....:) i can't believe all those crates are filled with cards. wow....
ReplyDeleteyour card for the cbs is amazing as always. i am in love with this shiny mirror paper you are using lately.
have a great week.
Wow - this is fab Andy - love all those cogs!
ReplyDeleteHappy Christmas!
Helen x
So fabuous and festive, Andy! Now I know what to do with my chandelier folder! LOL Have a great holiday! xxD
ReplyDeleteAnother fabulous masterpiece from my DT brother! Andy, this card is just stunning, as is all your creations are. I love each and every one of your masterpieces, and am so looking forward to seeing more in 2011. Have a great holiday!
ReplyDeleteHugz, xx
~L~
what did u stick everything down with
ReplyDeletecan u please help me make this card for prom invitations? I have never made a card with a cuttle bug and i have not a clue how to make one look as beautiful as yours. please help me :)
ReplyDelete