Tuesday 30 October 2012

In Tandem...........

Hi Gang. Hope you had a good weekend? And I hope that those who were able to pop along to our demo day on Saturday with Andy Skinner are feeling suitably inspired? I know I am.. It was such a great day, I can't wait to get playing! After putting the workshop back in some sort of order it was time to get on with some crafting of my own on Sunday. A friend had asked me to make his Wife an Anniversary card... I'm terrible when it comes to requests! I don't mind churning out samples for the shop and the blog for you all to see, some you may like some you may not! And that's fine.. But when it comes to actual requests, my mind goes a blank and I am more worried that the recipient won't like it. I guess I could keep it all very simple and just snap it all together with very little thought, effort or crafting skill. But that is just not my style... You know I like to get the most out of a piece of crafting equipment, and help you to do the same in the process! 
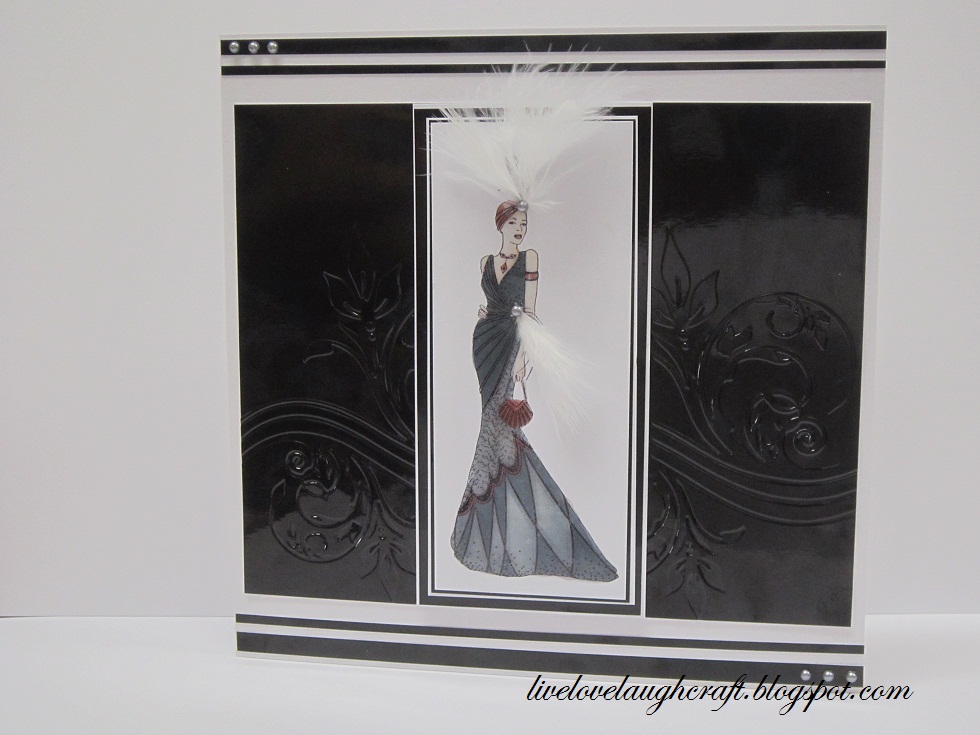
So, here we are with what I came up with..
To be honest, and without blowing my own trumpet I'm pretty impressed with the result. I love the simplicity of it, although there was quite a bit of thought which went into its production, as you'll see below.
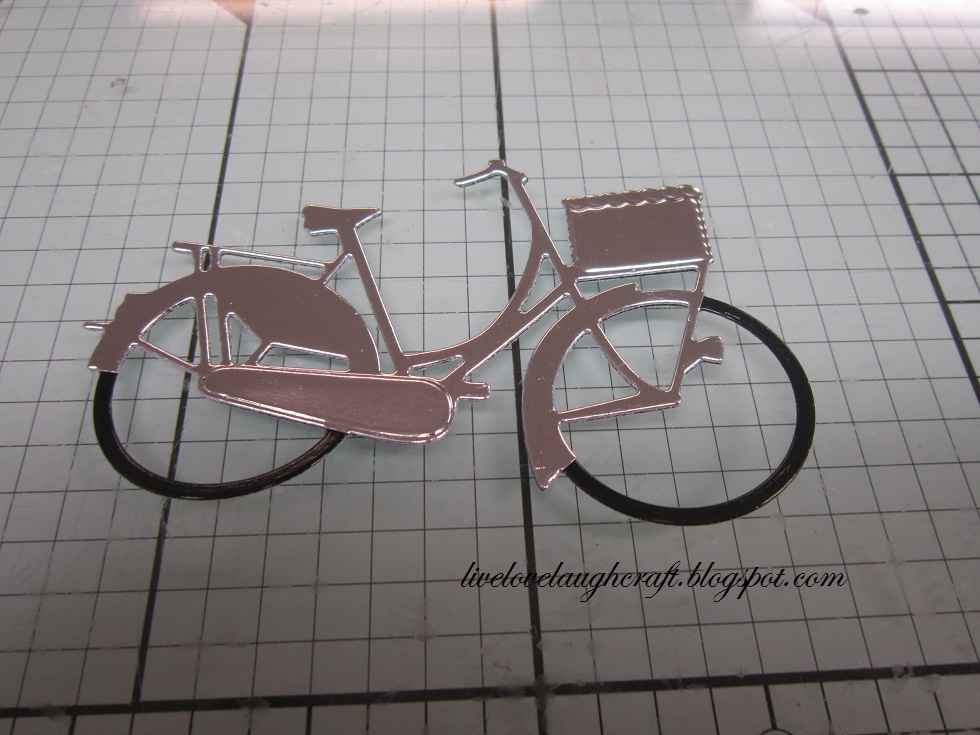
To start off with, I cut out the Marianne Creatables Bicycle Die (LR0233) twice in Black, Silver and Copper coloured Mirror card. This particular Die looks great as a one dimensional image, but I thought it might be worth trying to make it at least a two dimensional!
With one of the Silver images I cut away part of the wheels
so that when it was mounted onto the Black image the wheels showed through in Black.
Next, I cut away sections of the Copper image
so that when it was mounted onto the other images the Black wheels and the Silver spokes of the Bike showed through! I could have left it there and just done a second Bicycle, but what about a Tandem?
So, taking my second Black image
I cut away the spokes from the front wheel!
With the second Silver image, I cut the front wheel; Basket and part of the back wheel off all together
and mounted the remaining part of the image directly onto of the Black.
Doing the same with the second Copper image, this time removing the spokes from the back wheel so that when it was mounted all together,
each element showed through as before minus the front wheel spokes....
So, we have the front part and the back part,
all we need to do is join them together and you have a tandem bike!! Pretty proud of that bit!
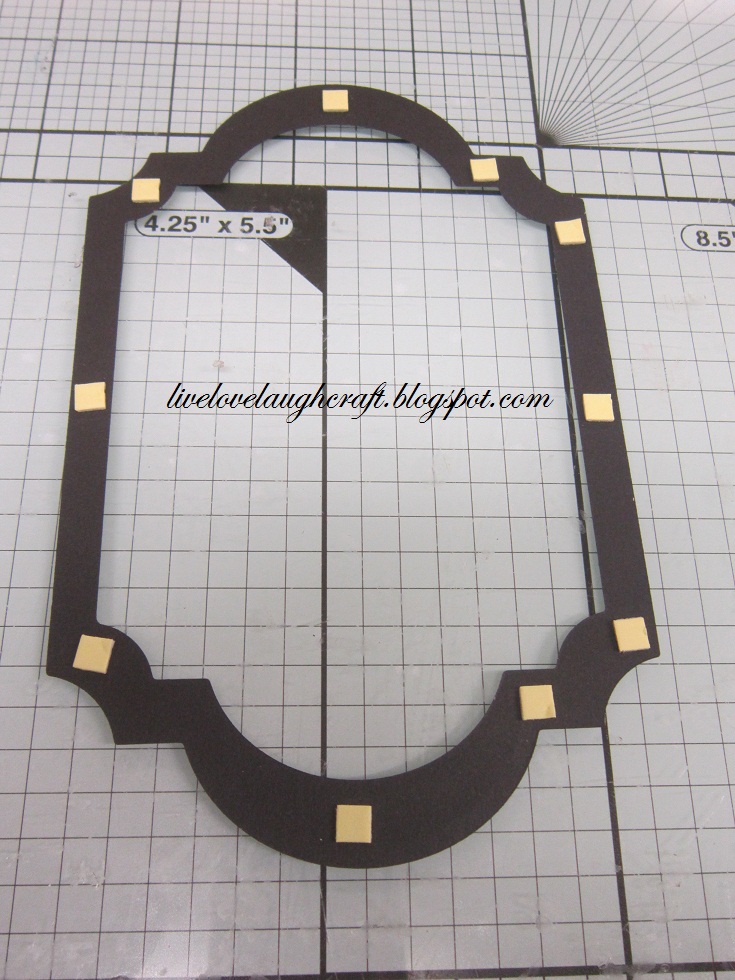
I printed my sentiment onto my card stock and cut it out using a die from the Spellbinders Fancy Framed Tags One (S4-377).
This was then mounted onto my prepared base card
and finished off with the Tandem... I could have perhaps added a little bit of FlowerSoft to the Basket, or tarted it up a little, but this was as far as I was prepared to take it in case I spoilt its simplicity! I think this would work as a great Wedding or Engagement card also... Anyway, thanks for checking us out. See you soon. Andy.

Saturday 27 October 2012

A busy day ahead.....

Hi Gang. All ready here at Pinnacles for today's demo day with Andy Skinner.
Can't wait to see what he has in store for us all.... As I stated in yesterdays quick post, the new November/December Do Crafts promotion has arrived.. It was unpacked, checked off and priced up, and then we had to do the usual impossipuzzle to fit it onto our already bulging shelves.. But fit it on we did!
Looks pretty amazing no?! Like I said earlier this week, I was lucky enough to have a little play with the goodies before they actually came in..
So here is my second sample for you. Although the promo is pretty nondescript in the fact that it does not cover any particular season. This one I have made into a crimbo card.
So, after the usual gubbings of stamping the image, colouring with my Copics and glazing with Glossy Accents
I cut the image out, lobbing off the fronds from the ladies hat! There was just no way that I could cut that fine detail,
but I replaced them with some feathers... Christmas is such a busy time for us all, especially card makers! So, anything which can make the job easier, and above all, quicker is always a bonus.
This particular Embossing Folder (Xmas Joy to All from the Ho Ho Ho Collection from Couture Creations) fills those needs. Not only does it have a nice embossed image, but the sentiment is also part of the folder. Double whammie!! So, once embossed,
I matt and layered it
before adding my stamped image
and mounting it onto an Acetate base card to finish it off.. Simple dimple.... See you later if you are popping in for the demo, and don't forget, it's 20% off in store today for all Pinnacle Crafts Club Members (usual exceptions apply), time to stock up me thinks!! Thanks for checking us out. See you soon Andy..

Friday 26 October 2012

Art Deco'tastic

Oh my, the new Do Crafts promotion is now in stock here at Pinnacles... Want it!, Need it! Got it! See you soon...

Thursday 25 October 2012

Monochromatic....

Hi guys. Here we go with one of the projects we have been doing in our Monochromatic lesson this week.. I suspect that most of us would consider Black & White to be monochromatic? But to give it it's full description it is in fact tint, tone or shade of one colour.. I know!, we like to educate where we can here at Pinnacles... That said, apart from the oodles of samples I prepared for the lesson in various monochromatic tones, we have indeed been playing around with Black and White, with a hint of Red thrown in for those who just couldn't resist playing outside of the box.. You know who you are.. I mention no names!!..... CHRIS!!!!!!!! ;o)
So, here is my sample which everyone has followed, to a lesser or greater extent!
To start off with, I cut out a frame using the two largest shapes from Spellbinders Labels Twenty Eight (S5-127) in black card.
I then cut just the largest die in White card stock.
Positioning the Black frame on top of the White to give me a guide
to place my stamped image on to.
I then added some foam pads to the frame
and stuck it down.
Before applying it to my prepared base card.
To fill in the open spaces I cut a shape from Spellbinders Fancy Framed Tags One (S4-377) in Black card
and in both Black and White card stock I cut the Marianne Creatables Flowers 1 and 3
and applied them to the card to complete the project.. This project works on so many different levels, in many different colour ways and therefore for many different occasions!
Perhaps for a Wedding, Anniversary etc
or just a general Birthday? Don't forget that it is our FREE demonstration day this Saturday (27th October) with the very talented Andy Skinner.. Just turn up any time between 10am - 4pm and be prepared to be inspired... See you there if you are able to make it!! Thanks for checking us out. See you soon. Andy.

Tuesday 23 October 2012

A little bit of Art Deco.....

Hi folks... Just a quick one for you today.. I have been lucky enough to get my hot little (big) crafting hands on some of the new Do Crafts promotion a little before it is due to be released at the end of the week (hopefully!)... Lots of our customers ask for it, and Do Crafts have answered your crafting prayers by releasing a whole new range of Art Deco inspired stash!!! So, here is what I have done with one of the stamps..
This little chickeroonie is called "Lindy" and is one of 3 new stamps, 4 if you include the freebie which comes with the Creativity Magazine (Issue 36)...
After colouring with my Copic pens and glazing with Glossy Accents,
she was matt and layered with Black Mirror card and White card stock.
I embossed two pieces of Black Mirror card using the Breeze Embossing Folder which is part of the Romantic range from Couture Creations..
Hiding the join between the two embossed pieces of card with Lindy herself... Pretty effective me thinks.... More to come later in the week... Thanks for checking us out, see you soon.. Andy..

Tuesday 16 October 2012

O Canada.....

Hi Guyz... Well, that's the folks packed off to Canada for a well deserved Holiday.. Up at stupid O’clock Yesterday to drop them off at the Airport. Some might say "to make sure they actually went" ... how very dare you... But yes, they did actually go, and after a long but rather comfortable flight with Air Canada they have arrived in Calgary safe and sound... Any of our Canadian followers out there, if you see em, don't forget to say hi... At the weekend it was my mate Tony's 40th Birthday "shin dig". And from what I can remember of it, it was a pretty good night.. Like many of you, I struggle when it comes to cards for the guyz.. And I came up with many connotations before I settled on the card I actually sent him... I have no idea what possessed me, but my original idea was to do the whole thing in Monochromatic (mono). Perhaps I was, in a way getting ready for next week’s Mono lesson? Not only did I decide to do Mono, but of all the colours I could have chosen I chose GREEN!! eeekk....
In some way, I kinda like this, but not suitable for this particular Birthday card...
I then tried Black & White.. Now Tony is Italian.. and this could have worked, but I kept getting the "Italian Gangster Mafioso" image in my head.. You don't want to offend an Italian now do you?
It looked equally good in White and Black, but still not what I was after... So, in the end, I plumped for mono Creams and Browns. It worked so well on my recent Skating card that I thought I couldn't go wrong..
And I was right... finally!! Hope these give you some ideas for cards for the guyz in your lives..... Thanks for checking us out. See you soon... Andy..