Hi folks... Well, this time last year'ish I heard the news that I had been accepted to serve as a Design Team Member for Creative Expressions... Can't really believe that that year is almost up.. They have asked me to stay on for a further Six Months... But, after careful consideration I have decided to decline their kind offer.. There are just too many other things I want to try and just don't have the time to do so because of my primary commitment to them..
So, I only have Four more projects left to share with you with this Month’s goodies, and then it's back to freewheeling it with all of the other projects I have floating around in my head!!!!
Now, I don't know about you, but as I type this, it is chucking it down outside, autumn defo seems to have arrived... So today’s project, and, in particular, the sentiments, seem pretty apt!!!

This is my first dabble with the new Cosmic Shimmer Colour Cloud Inks...
And if you fancy giving this resist technique a go, here’s a quick step by step for you...
Encouraged by a few slaps on the wrist for not always using the products I was sent, I thought that, for at least today’s project, I would go all out and do as I'm told for a change...
So, for some of you this stage of the project might be old news!? But, in the great big creative world out there we have newbie’s joining us all the time, so it's worth going over it for them, and it might inspire you to revisit an old technique too?!!
I could of used some of my stamps (Creative Expressions ones of course!), but as I said earlier, I'm trying to be good (not sure for how long though!) and use what I have been sent! So I decided to make some of my own.

This is quite easy and all you need is some Funky Foam to cut out with your choice of Die...
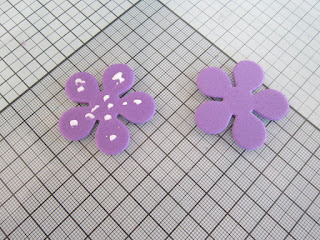
I tend to cut out two of each size
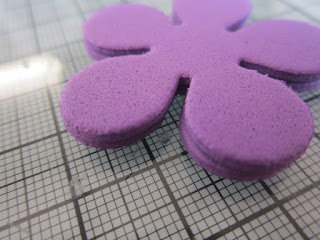
and mount them on top of each other.. The primary reason for doing this is so that when I mount them onto EZ Mount or U Mount I don't have to be too precise with my cutting.. Having the two layers mean the foam end you are inking up is well away from the "sticky" side of the EZ Mount, and therefore you won't ink that up too or stamp onto you chosen media... Obviously, you could just cut out one image and mount it onto EZ Mount; you just need to cut closer to the stamp to make sure the sticky is taken away.. Or use Stick and Spray and a Rock a Block,

or do what I have done for this project and use Tack and Peel on your Acrylic Block... Who knew there were so many choices!!???
Anyway, once you have done this, you're good to go...
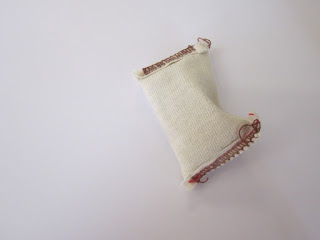
On some White card stock, I applied my Anti Static Bag,

before Inking up my Stamp with Perfect Medium ( or VersaMark),
and randomly stamped the larger of my Three Flowers.

Pouring over Clear Embossing Powder,
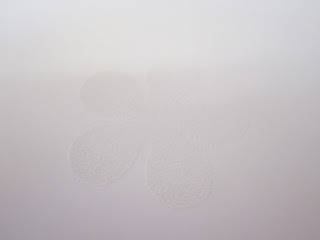
and then heat setting it...
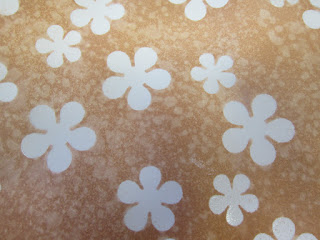
Repeating the process with the two other sizes of Flowers I had made... "I know the pictures don't show the images up much, but to the naked eye they are quite visible, so you do know where you are going!!"

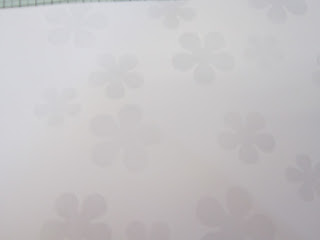
Now to really bring them to life... As the Colour Cloud Inks are water based, the Clear Embossing Powder will resist the water in them
and therefore reveal the image much clearer than before.. (Including one rather large sticky thumb print!)
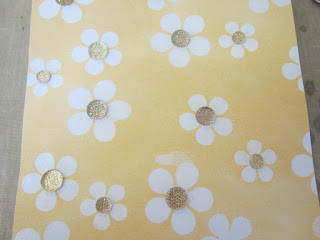
A few Creative Expressions Dazzlers,
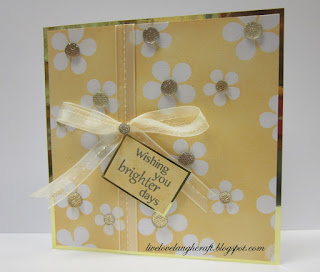
and a well placed sentiment have put paid to that though!!
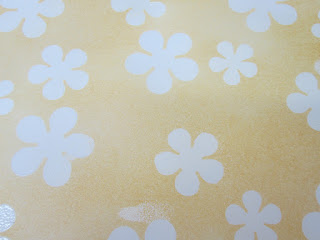
As I said earlier, the Cloud Inks are water based and, like Distress Inks work well with water spritzed on them to give you a nice mottled effect...

So, not too bad for a first attempt with these additions to my Ink collection... Let’s see what my next "play" sessions will bring!!!
Thanks for checking us out, see you soon.
Andy..


