Showing posts with label Memory Box. Show all posts

Saturday, 24 August 2013

Hi Folks.. Welcome to the long Bank Holiday Weekend (for some...) And, in keeping with the British Bank Holiday tradition, the weather is pretty grotty today! Still, it's not set to last all weekend! Which is good, cos I've got things to do!!

Just wanted to share with you a few "quickies" I've been working on!

You can tell I've enjoyed making them cos

I've made more than one!

Normally I would have a fave!!!!

And, if pushed, I would say it was the Green one,

but to be honest, on this occasion, they're all pretty spesh!!
Have a great Bank Holiday Weekend folks.
See you soon
Andy.

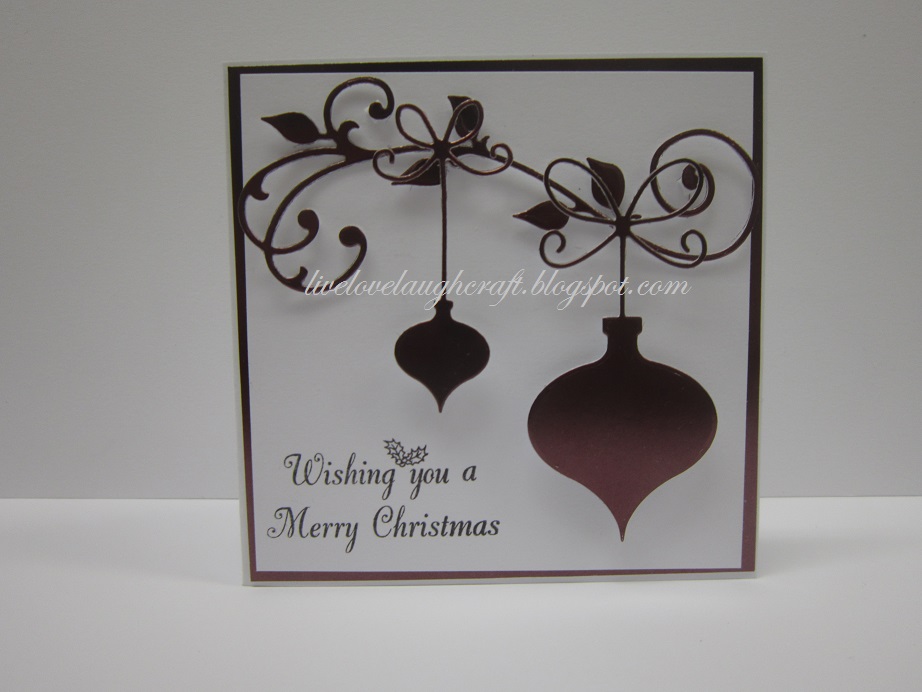
Memory Box Die - 98724 Precious Ornaments
Marianne Designs Creatables Die - LR0271 Anja's Vintage Swirl

Thursday, 16 May 2013

Anniversary in Teal...

Hi folks.. So, here we go, back on track with my "planned" post...
For this one, I have chosen a "Teal" colour theme as I had card stock, Crushed Ribbon and Gems which matched almost exactly!! The only thing that I didn't have to match this project was some Blue'ish Gilding Flakes? Do they actually make them?? I guess there must be some about, as some of the mixed pots of Gilding Flakes we have, such as "Copper Thunder", have a Blue'ish tinge to them!! Rather than pick out the Blue bits specifically, I went with the Copper Thunder as a whole! Which, I suppose gives a nice contrast in the Butterflies wings rather than it all merging into the same "Blueness"!?
Thanks for checking us out, see you soon.
Andy.

Dies:
Memory Box - Vivienne Butterfly (98265)
Cheery Lynn - Fanciful Flourish (B117), Happy (B226), Anniversary (B243)

Gilding Flakes - Copper Thunder

Tuesday, 9 October 2012

Another totally impractical project....

but fun to do all the same....... Hi guys. Good weekend? Yup me too... Got a gazillion things done and started on a bit of a clear up/out!! And straight away made a huge mess and regretted starting, but I have persevered and am making headway, little by little. I guess you've got to break a few eggs to make an omelette hey.. I don't like eggs that much though, unless they come in the form of an egg custard tart.... yum!!! Anyway, I digress... In between having a good sort out, and finding things that I never knew I had!! I did get a little bit of self indulgent crafting done. I say self indulgent as the project I made has absolutely no practical use what so ever. I just fancied making it.. So here it is...
I'm calling it my "Rusty Bird Cage". I've made a few of these kind of things before, see here,and here but I've always wanted them to be a little bigger but have always been restricted by one thing or another. But not in this case! The Die I used was one of the new XCut Dies. And they are HUGE!!! To give you a comparison, they are almost as big as a standard sized Cuttlebug Plate!!
So, I cut out 5 of them using Black Card stock,
scoring down the centre of each one and folding them in half...
and then glued the backs of each half together
until all 5 sides were stuck together...
I then gave the dimensional Bird Cage a dusting of "Burnt Red" Mica Powder to give it that "left out in the rain" rusty look...
To add even more dimension, I cut out some vines using the Memory Box Die Delicate Vine (98120) in Black Card stock,
again colouring with the Burnt Red Mica Powder
and then draping the vines around the Cage.
Just to finish the cage off I cut out some Flowers and Leaves using the Memory Box Dies Petal Party (98304) and Tender Leaves (98313) in the Black card stock,
adding the Mica as before
and then layering the Flowers together
and positioning them, with the Leaves onto the cage...
I.R.L it really does look as though it is made of metal, but as we all know, we are Paper Crafters, and we can make anything look like whatever we want, with the right tools and a little bit of imagination.... So, now my impracticality has been fulfilled, we'll try something a little more everyday for my next post... Thanks for checking us out, see you soon.. Andy

Saturday, 22 September 2012

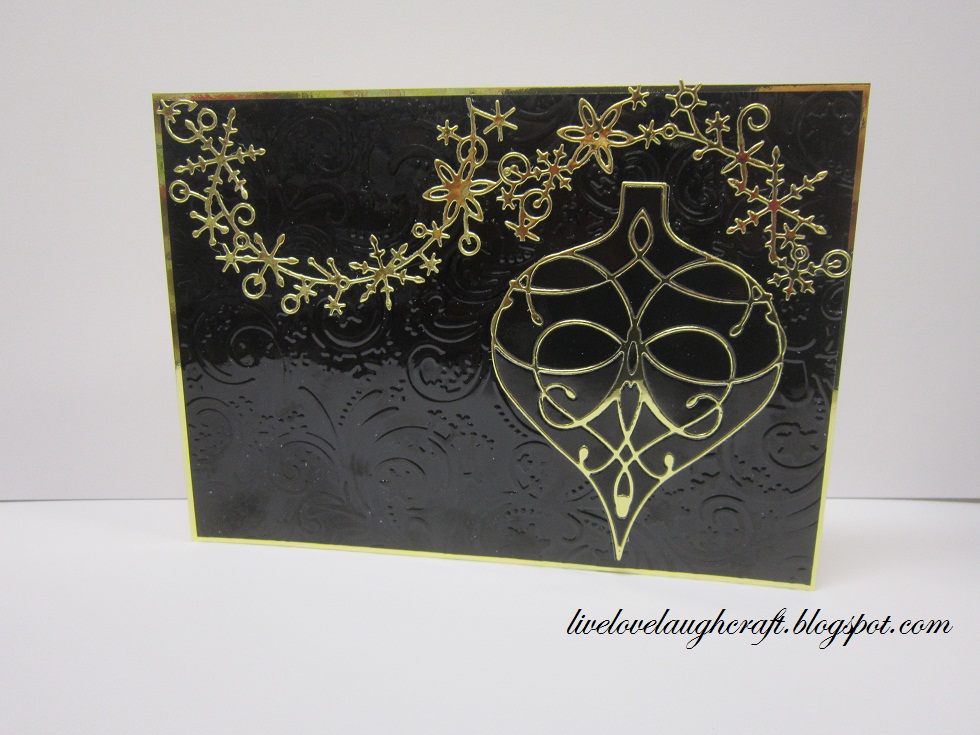
Elegant Ornament.......

Hi Guys! Back onto Crimbo for today’s project.. You may remember my first post of 2012? I shared with you the Christmas cards I made for some of my nearest and dearest. As enjoyable as they were to make they were a little fiddly to do. At the time I thought that they could do with being a little bigger.. So what have Memory box gone and done?? That's right they've made the dies bigger and with new designs to boot.. They must have heard my mutterings!!! Lottery win, lottery win lottery win! Let's hope someone hears that!! he he...
So, today’s project is a slight play on those original cards... But the process is roughly the same.
I started off by cutting out the Ornament Drop (98378) die in both Black and Gold Mirror card.
I then cut out the La Rue Ornament (98377) again in Black and Gold. Trying to keep as much of the "fall out" pieces within the shape as I can, as this makes swapping over the pieces that much easier... But one of the sets has to be removed first anyway, so if they all fall out, so be it!
I covered one of the Drop Ornaments with tape
and popped out all of the "waste" from the alternative coloured La Rue Ornament
before applying the out lined shape to the solid base.. I guess many of you might say that this is good enough for a contrast (without the sticky background spaces)?
But, once you fill in the spaces with the original colour it really does lift the design.
Repeat the process in the reverse colour way and you'll end up with two really elegant Baubles...
Or why not ring the changes and make a feature of the Heart which makes up the La Rue Ornament..
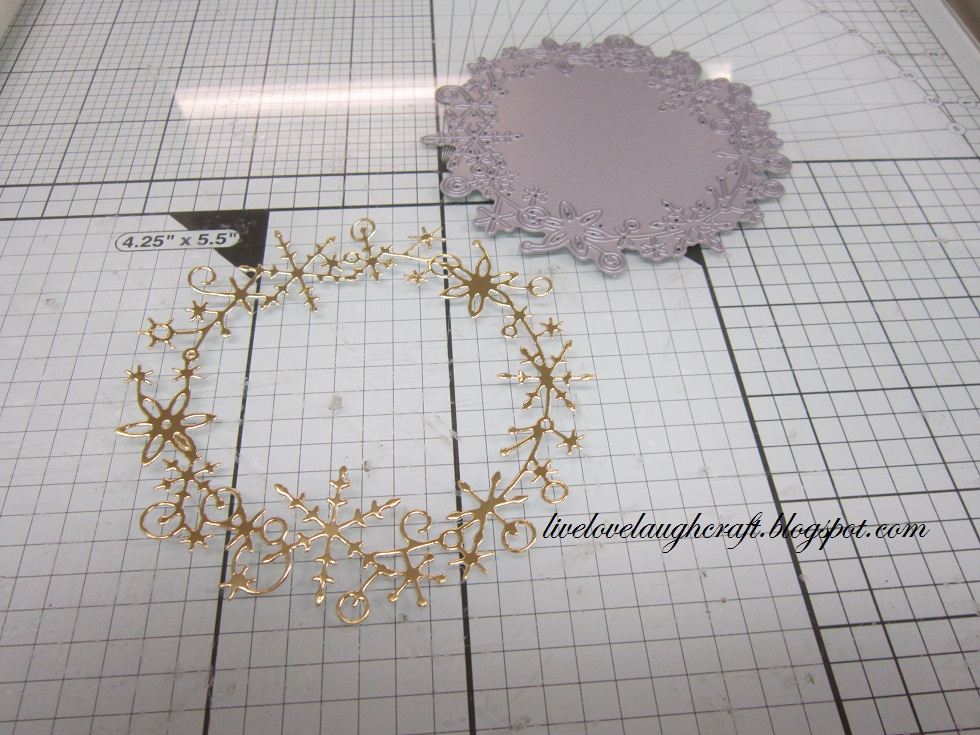
I didn't want anything too fancy as a background to detract from the Ornament so I also cut out the Memory Box Frostyville Wreath (98418) die in Gold Mirror card
and cut it in half to form a swag for the Ornament to hang from..
This was mounted onto a piece of Black Mirror card which I had embossed using the Spellbinders Holiday Magic M-Bossibilitie Folder.
And there you go.... This project would also work using the new Colette Ornament (98379) or the new larger Emma Ornament (98411) as of course the original Snowflake Ornament (98231) and Classic Ornament base (98211).. Pretty elegant, no!? Thanks for checking us out and enjoy your weekend. See you soon. Andy.

Thursday, 20 September 2012

Baby Shower.......

Hi guys. A little break from the family Birthday's today, and Christmas cards! Most of my friends are all turning 40 around the same time. I.E their last or next Birthday will be their 40th! An expensive time for us all! Well, you have to celebrate such an auspicious occasion now don't you?! That said, a few of those, "the women mostly!" ;-) are also having kids! Last egg in the basket syndrome maybe? My friend Leigh, who turns 40 next year, is expecting her first bub in November.. She knows he's a boy and has already chosen his name. Oliver William Carter... She has decided to have a Baby Shower and asked me to make some invites for her..
So, here we go. This is an idea I've had in my head for a while but had no real reason to use it..
The Balloon Dies
and the Cloud Dies are all from Memory Box. As the shapes are quite simple they cut through the 300gsm card stock I used like a knife through butter! Wish all of the dies were like that!
I finished the card off with the Marianne Designs "Baby Script" Die (LR0217). I just love the font of this die. And, as I have nothing to compliment this die in the same font to make "New" (Baby) or (Baby) "Shower". I think I will just leave it at that! Its defo the Blue one I'm going to be making more of for Leigh's invites. But of course I just had to see what the card looked like in other colour combos... So,
we have Pink,
Mint,
and Lemon for those who don't know if it's a Girl or a Boy..
Although I'm loving the "Candy" colours I can use for these Baby cards, I can see the potential of these Dies, (not the Baby one obviously) for some male themed projects... Watch this space... Thanks for checking us out. See you soon. Andy.

Saturday, 28 January 2012

Love Hearts.....

Hi everyone, I hope your weekend is getting off to a good start? Almost at the end of January now!! Wow! where has that Month gone? So, February arrives next week, the Month of Love, which means Valentine's Day, is not too far away!!So, with that in mind, here is a simple, but effective little Valentine's card to make for the one you love...I cut out the two largest shapes from the Spellbinders Heart Circles Die (S4-316) using Red card stock. I also cut out the corresponding sized circles in White card stock using the Spellbinders Classic Circles Large Die (S4-114).And layered all of the shapes together.
For the centre I tried a few different dies, just to see which one worked best...The La Rue Heart...Nope!!The La Rue Flourish...Nope!!!Or the Quinn Flourish...Could be!!.. Is anyone getting a bit of Déjà Vu about Hong Kong Phooey?? No? Well, I guess you have to be of a certain age!! to appreciate where I'm coming from.. This is Rosemary, you're telephone operator!! OK, I'll stop now....
So, Yes the Quinn Flourish was the Die I went with, placing it in the centre of the previous dies I cut. These were then positioned on to my base card to which I had added some of the "waste" Hearts which were left over when I cut out my Heart Circles...To add some Valentine's sparkle I added some Heart Gems around the edges of both the larger and smaller Heart shapes..And there you go,....
Thanks for checking us out and enjoy your weekend..
See you soon.
Andy.