Hi Blogland. I hope you all had a great weekend?

Here we go again with another DT entry for the
Cuttlebug Blogspot. This weeks theme was "Anything Fall". Pop on over and see what the other DT Members have made. Here's what I came up with.

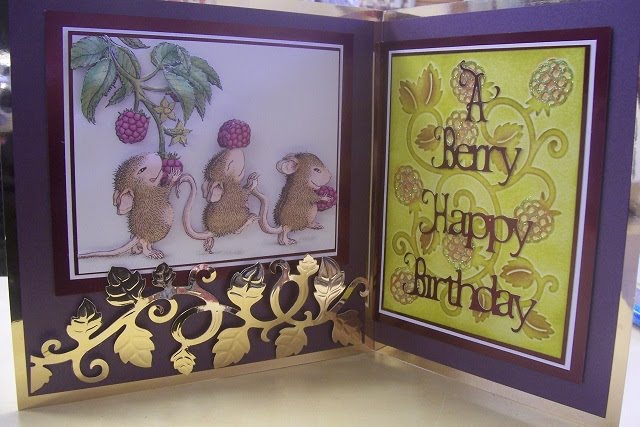
It's a traditional easel card popped onto it's side.
Here's a step by step if you fancy giving it or something similar a go.

I started off by cutting out some decoupage from the Joanna Sheen set of House Mouse called Fruit & Nut.

Matted it onto some Burgundy Mirror card,

followed by some White card stock and then again another layer of the Burgundy.

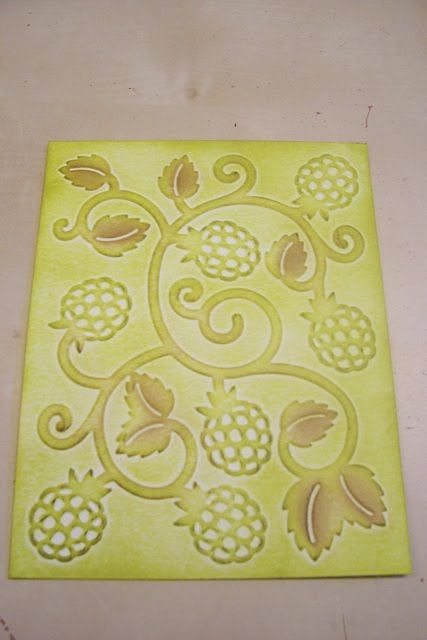
I then took a piece of White card stock and coloured it using
Crushed Olive Distress Ink.

Embossed the card stock through the
Cuttlebug Machine using the
Fruit & Vine Embossing Folder from Sizzix.

Once embossed, I went over the image again with the Crushed Olive Ink to highlight the raised impression.

Adding a little bit of
Brushed Corduroy Distressing Ink to the leaves,

and the vine

and some
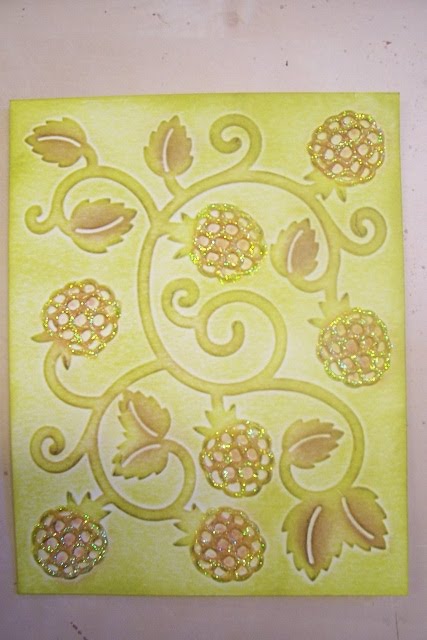
Victorian Velvet Ink to the Berries.

Finishing the berries off with some
Crystal Stickles, putting it to one side to dry.

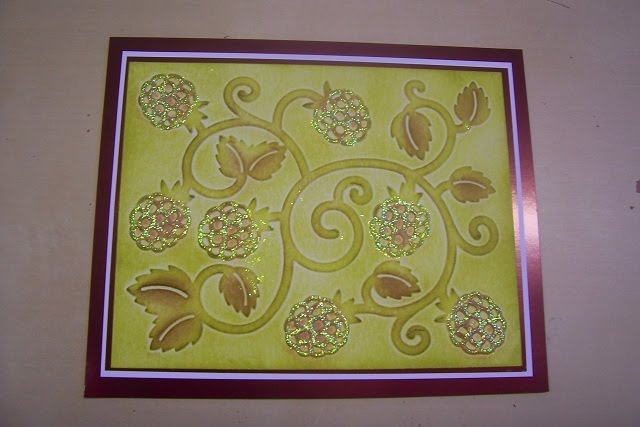
Once dry, I matt and layered the image

using the same card stock combination as I did for the decoupage image.

I then set about making the easel card. I used an 8" x 8" card, folding one side in on it's self to form the easel.

I then matt and layered the card with some Gold Mirror and some Plum card stock,

turning the easel on it's side for something a bit different than the norm. And then mounted my decoupage and embossed images to the card.
I was very happy with the layout, as the decoupage with the berries matched the embossing folder almost perfectly. But it needed something.
Trawling through my stash I came across my "
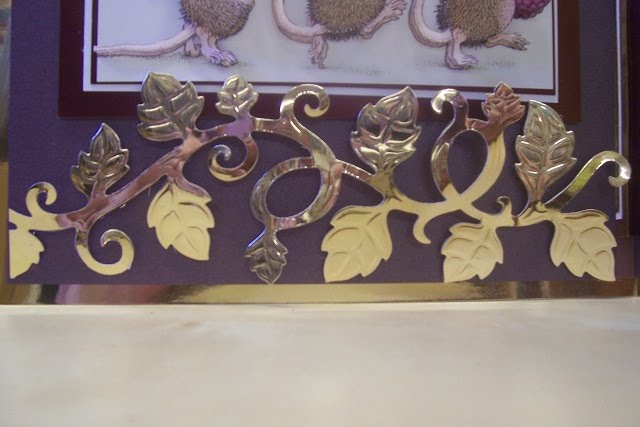
On the vine" 12" border from
Spellbinders.. Now, these go through the Cuttlebug perfectly. Here's how to use them if you are unsure.

To cut it out, take your A and B plates

and lay your card stock and die on top, finishing off with your C plate and cut.

To emboss it, turn your die over so that the cutting edge is facing upwards still with your cut image inside it.

Add your
tan mat
and a shim (extra piece of card stock).

This time you will use a second B plate instead of your C plate. Pass through the machine

and pop out your now embossed vine.

I added some blobs of
Pinflair Glue to add a bit of dimension

and applied it to the project.

It really adds a touch of opulence to the card I think.

Although it now made the other side of the card a bit bare.

So I cut out a sentiment from my
Cricut Machine which I had prepared on my
Gypsy Machine so that I could weld some letters together. I used the
Storybook cartridge for the capitals letters and
Plantin Schoolbook for the lowercase letters.

And there you have it.... I hope you like it and it gives you some ideas. Don't forget to leave a comment. Apart from I enjoy reading them it will enter you into this Months BLOG CANDY where you have a chance to win the Pink Journey Cricut Cartridge...
Have a great day everyone, see you soon.
Andy.
 This is the first one using one of the new Fizzy Moon Stamps...
 After stamping with Memento Tuxedo Black Ink, colouring with Copic Pens and glazing with Glossy Accents
 I matt and layered the image with some Purple and White card stock.
 I then highlighted a piece of pre embossed card stock using Milled Lavender Distress Ink
 and applied it to my base card which had been backed with a piece of Design Paper also from the Fizzy Moon range, and then mounted my stamped image on top. I also added some Crystal Stickles for some Christmas sparkle.
 Finishing the project off with a simple piece of ribbon.
 This next one took no time at all.
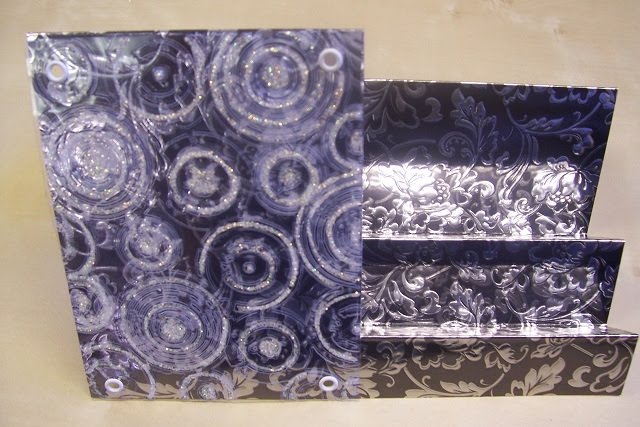
 I embossed a piece of White card stock with the Spring Flowers Embossing Folder from Craft Concepts. Spring Flowers!! I see Snowflakes... It's great to try and get an additional use out of a product other than it's intended purpose I think! I highlighted the embossing using Weathered Wood Distress Ink.
 The embossing was matt and layered onto some Slate Grey Mirror card
 and applied to my base card to which I added some ribbon and my Fizzy Moon Die cut image...
 And there you go.. Another Two Crimbo cards done for this year.