Showing posts with label Gold Leaf. Show all posts

Friday, 14 January 2011

With Sympathy...

Hi Blogland... There comes a time in every crafters life when you need to do the dreaded Sympathy card! Unfortunately on Christmas Day we lost my Uncle. He had been ill for sometime but it really couldn't have come on the worst day.... Whilst we tried to enjoy the day my Dad had to go to the hospital to say his last goodbye's to someone he had grown up with and known for over 70 years... What with the Christmas, the New Years and Bank Holiday's the Funeral has taken some time to arrange but will eventually take place on Monday.It has, and will be a difficult time, but I wanted to share the card I have made.. Initially not for this purpose, but I adapted it to fit the occasion.I started off by taking a piece of Glossy card stock and going over it with an Anti Static Bag to remove any excess moisture and finger prints.I then took a selection of Inks and my Brayerand applied them to the card stock.I then embossed the card with the Sycamore Tree Embossing Folder.Next, I took a 2 way glue pen and some Gilding Flakes.And started adding the glue to the Tree. I prefer to do this in sections as opposed to covering the whole image with glue. The 2 way refers to the fact that the glue comes out Blue (very Wet) and dries Clear (tacky),once the glue has gone tacky, this is the best time to add your Gilding Flakes. I use a soft paint brush to apply the flakes and burnish them to the glue.Repeat this process until the image is covered.I then matted with Gold & Copper Mirror card.Now for the base card. I made a small Easel card for the image to sit on,added a poem I found on the Internet. This tied in very well with the image as the first couple of lines read " Do not weep for I have not gone, I am the wind that shakes the mighty Oak. Ok, the Tree is a Sycamore, but I doubt anyone will notice...Normally I would have mounted the card like this,in fact I had already applied my double sided tape to the back ready to do this. But I thought I would ring the changes a bit..I removed the bottom part of the double sided tapeand de tacked the tape using the Anti Static bag.Hopefully you should be able to make out the difference between the sticky tape at the top and the now un sticky tape at the bottom.So now I could stick the top part of the card to the base as opposed to the bottom part as I normally would. Just to give a different look for a change...And there you go...
Will be back soon with a more cheerful project, thanks for checking us out and see you soon.
Andy..

Saturday, 27 November 2010

Happy Retirement!

Hi Everyone, I hope you are well? Yesterday, my dad finally decided to retire. He has worked hard all his life, and now I think he's ready for a little bit of me (him) time!!... Although I know that Mum has a long list of jobs to keep him occupied in the coming years... Bless!!Here is the card I made for him to wish him a looooooooooooooong and happy retirement.
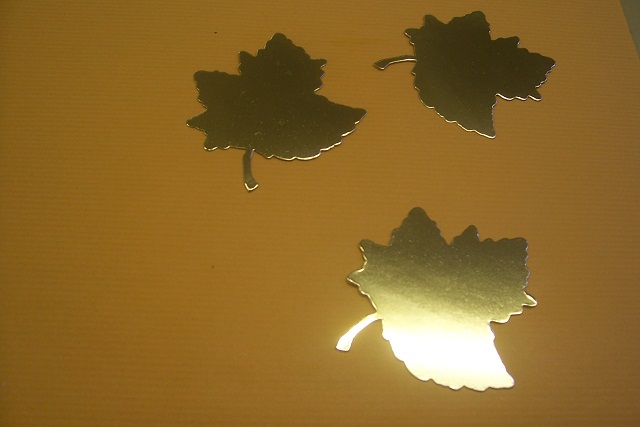
I got the idea from my Cuttlebug Design Team Buddy Julie, who produced a stunning invitation that gave me the inspo I needed.. Thanks Julie. She has music on her blog, so check your PC volume before popping over to visit her, Because it shocked the life out of me as I was wondering where on earth is that coming from??!! I'm bopping along to her tunes now as I type though... Party on!!I cut out 3 leaves using an old Cuttlebug die, which has been discontinued now I think?!I then took my Glue Pad. Now, if you haven't used this before, the pad is dry and comes with a pot of glue.Ideally you only need to apply enough glue for the project you are working on, otherwise the pad will dry out and the glue will go to waste!!So, the glue was applied to the leaves and then, as it was a super special card, I took some gold leaf,well, green/gold leaf to be precise and added it to the tacky glue covered leaves... Sorry, I know there are a lot of leaf/leaves references.. Who knew the English language was that complicated? Still, most of the world can speak it, so you should get the gist!?I then put the leaves into the embossing folder which came with the leaf cutting die and passed them through the Cuttlebug. To be honest I was really surprised how well the embossing came out on each leaf.. So much dimension and texture...For my base card I added a strip of ribbon and a simple sentiment.Before adding the leaves to the card I teased them over the edge of my work bench to give the some dimension and movementand then added them to the card.
Thanks again for the inspo Julie and Happy Retirement Dad.
If you are in the UK, stay warm this weekend.... bbbbrrrrr. Or if you are lucky enough to be somewhere a bit warmer, then stay cool!!!
Have a great weekend and thanks for checking us out.
See you soon
Andy..