 and now for the "Thank You" cards..
 I have tried to keep the Black & Silver them going throughout my projects, so here is my "little" Thank You notelet.
 I started off with a piece of Silver Mirror card measuring 5.5" x 11.5". I wanted a large area embossed! Something much larger than a standard embossing folder allows. So I needed to join the embossing together. And here's how. (This one is for you Sue, who lives in Spain. I said I would eventually get this technique on here for you!!)
  You will need your Cuttlebug Machine and your A & B Plates.
 Insert your card stock into your embossing folder and place on top of the a fore mentioned plates.
 Instead of adding another plate, add your No Shims mat and pass through the machine.
 As the mat passes through the machine you will notice when it comes out the other side it will have dragged, this is fine... It's what is supposed to happen!
 Bring the whole thing round to the front of the machine and place your embossing folder close to the previous embossed image.
 Lay your No Shims mat on top of the folder a little way away from the edge and pass through the machine again.
 And then one last time!
 Perfectly embossed,
 and no lines where the two folders have met!!! If you had used another B plate instead of the No Shims mat, you would have potentially got the edge of the embossing folder marking where to embossing joins! Cool eh??
 I added my embossed image to my Cricut mat in the bottom Right had corner
 and manually moved my blade housing of my Cricut machine to meet the top of my embossing
 and pressed the Set Cut Area button. This button used to be called Set Paper Size, but I think with the addition of the Cricut Cake and the potential of the Cricut Machines to cut other materials than paper, they have changed the description of this button on the newer cartridges...
 I then selected my Fit to page button so that the Machine would work out the largest image it could cut with the size of card stock I was using. You may also notice that on this particular Cartridge, "Christmas Cards" the Paper Saver button has changed it's description to Material Saver! Another updated key!!
 Once the image was cut out,
 I scored the guide lines of my envelope
 and stuck it together
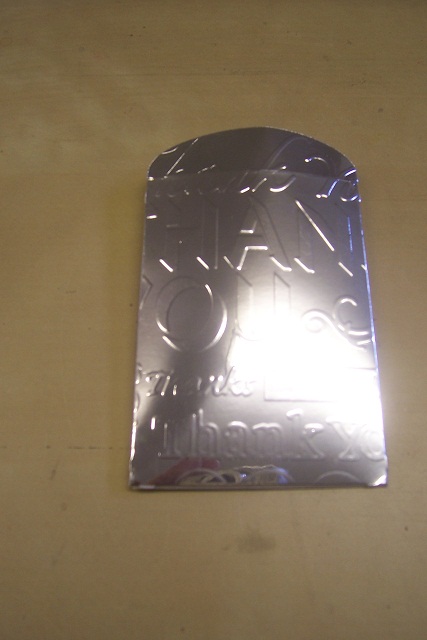 with some high tac tape.
 I then took a piece of Black and a piece of Silver Mirror card cut the same size
 and embossed them with the Thank You set #2 from Sizzix.
 And cut out two tags, one slightly smaller than the other.
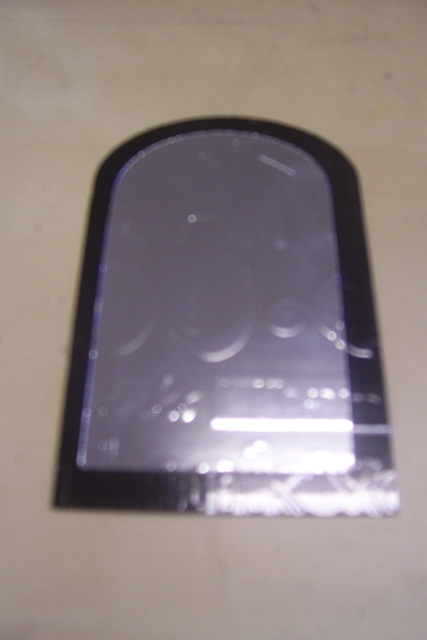 And layered them on top of each other so that the text matched.
 Added an eyelet and some ribbon,
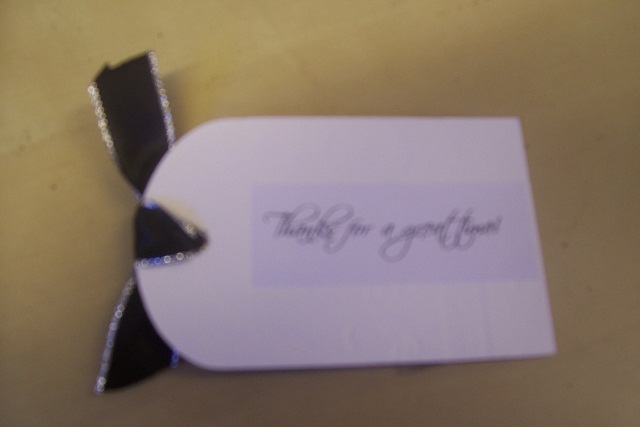 and printed my simple " Thanks for a great time" sentiment on the back,
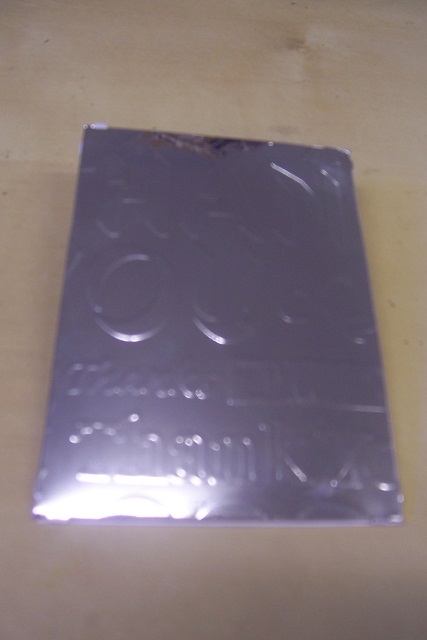 before popping it into the envelope...
 And then taking it out for one last photo...
Hop on over to the Cuttlebug Blogspot to see what all the other fantastic design team members have come up with..
As I said earlier in the post, it was a cold one here in the South East this morning. And as I switched the lights on our work room I noticed the ice which had formed on the Velux windows...


 Beautiful eh?? The sun is out now and they have all melted away, so I'm glad I got to take my photos when I did.
Thanks for checking us out.
See you soon.
Andy.
Fabulous Thank You tag and envelope Andy and thank you sooo much for the tutorial on how not to get marks when multi embossing! I must try this!
ReplyDeleteOh my gosh it's cold in Wales but it looks much colder where you are brrrrr!
Juliexx
Yes, I have to agree......beautiful!
ReplyDeleteIt is gorgious Andy! And I will tell a lot more about Sinterklaas too so see you on my blog!!
ReplyDeleteAnd it is freezing cold here as well, in the Netherlands!!
Wow! Gorgeous! I love your work. I will not complain about our chilly weather because you are obviously lots colder than we are. Hope it warms up some for you!
ReplyDeleteI love your 'thank you' because it is not just a standard card - it's a bit different so shows even more thought behind the sentiment.
ReplyDeleteThe photos are fab and you were lucky to get them as the sun really does play on those windows; doesn't it. I'll be looking forward to seeing you 'scrap' them.
Toni :o)
great for a background...the ice i mean....it is a great capture of it.
ReplyDeleteand your tag and the tut........so cool. tfs!
Just beautiful, Andy! You always do lovely work but I sure don't envy your weather one bit! It was about 70 degrees here yesterday. Wanna come visit? xxD
ReplyDeleteLovely thank you card and a great tutorial on embossing.
ReplyDeleteKim xXx
Fab project Andy!
ReplyDeleteThanks for the embossing tutorial too!
Helen x
Stunning thank you tag and envy Andy! I love that you share your creativity with us all, and minus 2 degrees..., I couldn't weather it. Stay warm, be safe, have a wonderful holiday break.
ReplyDeleteHugz, xx
~L~