 So here is my interpretation..
It is a stepper card turned on it's side with an Acetate wrap around.
And here's a stepper by stepper (step by step) guide of how to make it...
 Take an A4 sheet of card stock and score from one end at 2", 4" and 7 3/4". I used my Hougie Board, but any score board will help you do this.
 Once scored, I folded the card to produce the steps.
 And just for a bit of a change I turned it on it's side.
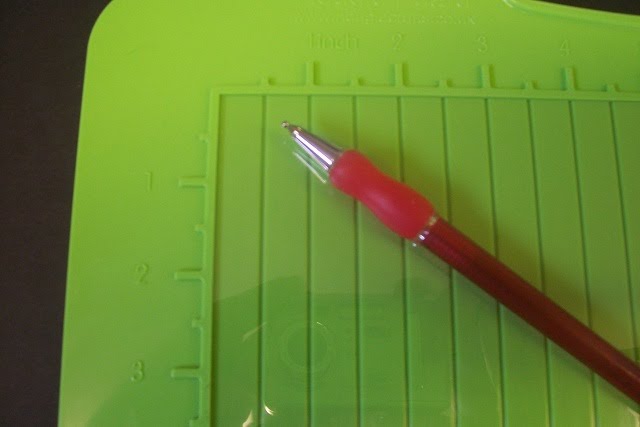 For the Acetate wrap I scored in 1/2" on each of the shorter edges, again using the Hougie Board.
 And folded the score line to produce a nice crease in the Acetate.
 Added some clear tape to the back of the stepper card and attached the Acetate.
 Repeating this process on the far side of the card so that the Acetate surrounds the whole of the Stepper card,
 almost like a Propagator, you know one of those little Green House things...
 At this stage you can fold the card flat and put a nice crease in the Acetate or leave the Acetate rounded.
 For the Rose embossing I used the Spellbinders Grand Rose Border. To cut this through the Cuttlebug you will need an A and B plate,
 followed by your card and die,
 finishing off with a C plate.
 Once cut you can emboss the image by turning the die and card facing upwards,. These should be placed on an A & B plate.
 Next, add your No Shims mat and then finally another B plate and pass through your machine.
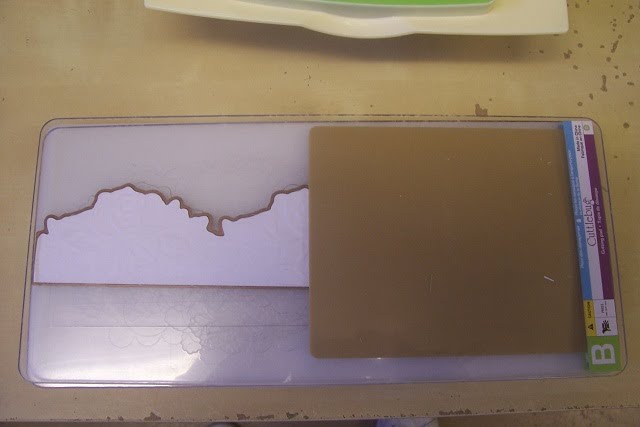 Move your No Shims mat down so that you can emboss the lower part of the die.
 I did this twice and added a piece to the front and middle layers of the stepper card. I really like how this tone on tone colour works...
 I finished the card off with a simple flower and leaf to complement the Rose embossing and my sentiment...
Simple, but very effective..! Don't forget to hop on over to the Cuttlebug Spot to see what all of the other Design Team Members have come up with..
Thanks for checking us out. See you soon.
Andy.
Beautiful Andy! Love the white with the little pop of color. xxD
ReplyDeleteVery nice and "simple" love your take at Valentine! Do wish you a lot of cards though on February 14th!!
ReplyDeletelove
Jannie
Another Gorgeous creation D/T brother!! You are so awesome, love everything about this Andy.
ReplyDeleteHugz, xx
~L~
White on white - classy.
ReplyDeleteLovely card - what a romantic you are
Toni :o)
Fabulous card Andy and thank you for your help on Saturday (re what card to use for copics). luv gina xx
ReplyDeleteAnother gorgeous card, Andy! I love the roses. So romantic! And the splash of color is wonderful!
ReplyDeleteBrilliant card love the freshness if it, no need to post it I will collect it when I am next in the shop.
ReplyDeleteFabulous card Andy - love how you added the acetate!
ReplyDeleteHelen x
Another stunner Andy! Love that rose embossing, so classy white on white and the rose you've added is just perfect!
ReplyDeleteJuliexx
Love white and white, so elegant. Great card.
ReplyDeleteOh my... this is just gorgeous! I can't believe all the details you did! I Thank You for showing the step by step too! Just perfect... love it!
ReplyDelete