Today, Iris celebrates her 80th Birthday!
 And here's the card I made for her "special day". She has always been so active but in recent years, her health and mind have deteriorated some what. She was always a keen gardener and loves her flowers, so I wanted to bring back a reminder of one of her favourite past times on her card...
 I also wanted to give her a card that would give her something to think about when she opened it, not to confuse her, but to give her mind something active to work on.
 So I took a standard Easel Card
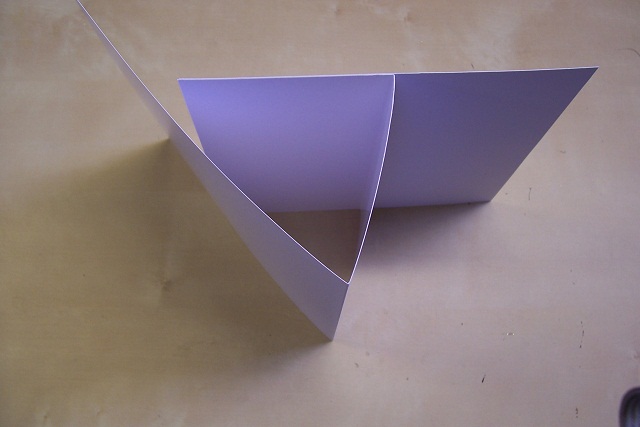 and played around with it a bit,
 seeing if working it a different way would be something different for her.
 Once I settled on my shape I covered the base White card with some patterned Vellum. I adhered the Vellum to the card using some Stick and Stay spray adhesive, as a light misting of the glue will not show through the thin vellum.
 I then punched a border into light Pink Mirror card using the Martha Stewart Doily Lace Trim Punch,
 embossed it with one of the Embossing Folders from The Cuttlebug Art Deco sets,
 attached small foam pads to the back,
 and applied it to the project.
 Adding some clear gems to hide the foam pads and to centre the flowers.
 I still wasn't sure about the shape and still could have used it as a standard Easel card if I needed to.
 But I decided to persevere with the change of shape.
 I punched some Flowers from the same light Pink Mirror card using the Martha Stewart Large Pop Up Water Lily Punch. Remember to use this punch with your card stock upside down,
 this way the petals will be pushed upwards and not downwards when the flower is turned over.
 I added some gems to the centre of the flowers
 and also punched out some leaves from the Martha Stewart Frond Punch in Gold Glitter Card and added them to the flowers in preparation for adding them to the project.
 I cut out my sentiment on my Cricut machine using the welding function on my Gypsy machine.. This was done twice
 and the images stuck together to give them strength and dimension.
 I then applied the sentiment and some of the flowers to the front of the card,
 adding some more of the flowers down the inside of the card to finish it off.
 I could have still used this card as a traditional Easel card (if I hadn't already stuck the sentiment down that is!) but I was more than happy how it came out, and I hope it brings a smile to Iris' face today.Happy Birthday Nan!
Thanks for checking us out, see you soon.
Andy.
Hi Andy what a fab idea to turn the easel card on its side and what a gorgeous card it is too, i think i'll have a go at that as i love making easels. Happy Birthday to your Nan. luv gina xx
ReplyDeleteWhat a stunning card - your Nan will love it.
ReplyDeleteToni :o)
What a pretty card for your Nan, Andy, and a different take on my favourite 'easel card'. I hope she loves it.
ReplyDeleteBelated congrats on your recent appointment to the Cuttlebug DT.......well done! I'm sure you'll enjoy every minute......can't wait to see your usual exceptional offerings........
with love.............French Lin ..xx..
Very pretty lucky Nan!
ReplyDeleteDebe
debmevans@btinternet.com
i totally love this card its beautiful :)
ReplyDelete