
I'm still taking some convincing! But, as they say, it's all about the journey, not the destination! And I certainly enjoyed the process of making it, if not the finished result...

And considering it started off as just a bit of White and Black card stock the results are pretty cool...

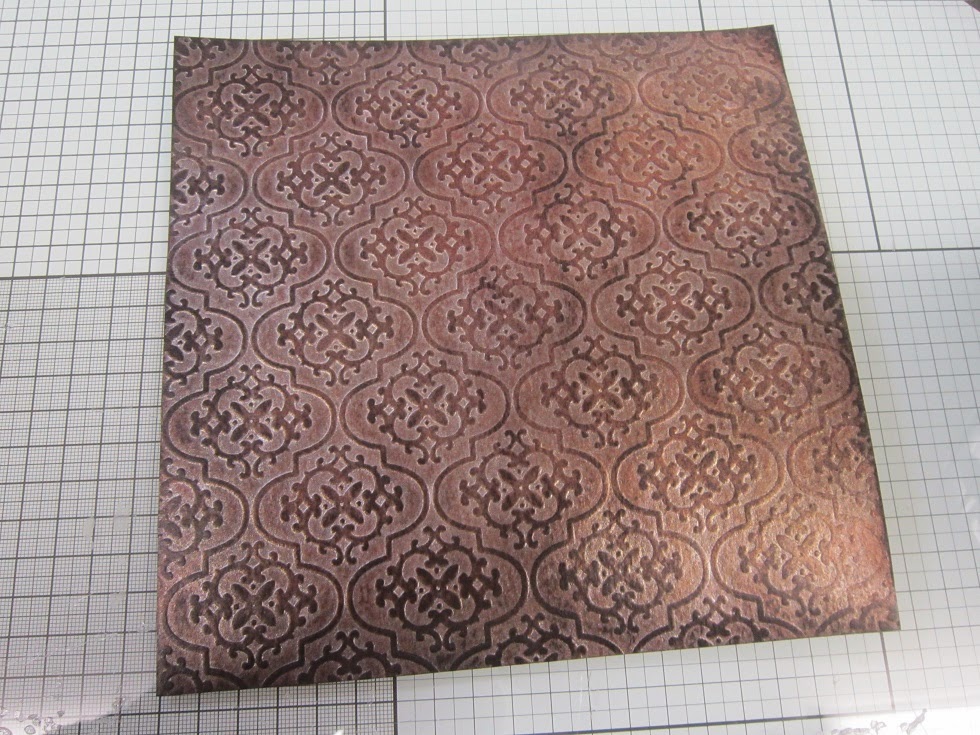
I stated off by embossing a piece of White card stock using the Tapestry (EF-012) Embossing Folder from Creative Expressions.

Placing it in an old box

and selection a range of Spritzing Inks.

The results of spritzing the Inks are always going to vary,

depending on how much of each colour you use..

But carry on until you are relatively happy with the results.. They final colour will still change somewhat as the project dries.

To encourage the project to dry quicker, place it onto a piece of kitchen towel

and place another piece on top.

Take an iron and iron it dry.

As the water from the Spritzing Inks evaporates not only will the project dry but will probably also lighten in colour slightly.

Once dry you can add some colour to highlight the embossing

use what you have
as each different type of Ink will add its own element to the project.

To seal "all" of this "Inkage" you can apply some clear Embossing Powder.

This also adds a nice sheen to the design.
I have in mind to use this project as a book cover at some stage so I wanted to create some sort of binding/hinge effect.

I cut 2 Borders from the Sue Wilson New York Collection Border, Corner & Tags Die Set (CED4102),

coloured them with Graceful Peach Gilding Wax

and applied them to the base card. "Says to me rusty old hinge/spine don't you think?"

I had a couple of Gilded Hearts left over from a previous project,

so rather than let them go to waste I popped them onto the Borders. Not quite sure why, but I do think that it adds to the effect somehow!

I then added a sentiment from the Couture Creations Vintage Rose Garden Paper Collection. I glazed it with Glossy Accents to give it a glazed effect..

This is where I think I should have stopped, but I went ahead and added another sentiment, it's only on foam pads, so it can easily be removed for when I am ready to create my book for this cover to go onto...

So, all in all a fun, if messy project to get your teeth into.. And I kinda like messy!!
Thanks for checking us out.
See you soon.
Andy.
Love the lacy spine Andy. Great project.
ReplyDeleteToni xx
Love your projects Andy. Best wishes.
ReplyDelete