Friday, 24 August 2012
Christmas Baubles...
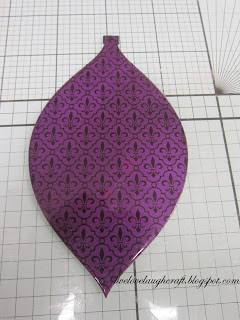
Hi guys, here we go again with another sample for our Stamping and Inking Demo Day on the 1st of September..This final pic doesn't do the colour of the card justice! As hopefully you'll see as we go through how it was made. But, photography is not my biggest skill!To start off with, I cut two shapes using the Spellbinders 2012 Heirloom Ornaments (S5-116) die.As in my previous post, I rubbed my Anti Static bag over the shapeand then stamped my image using VersaMark Ink. Even like this I think it looks pretty nice,but with the addition of some Mica Powderand a glaze of Spray and Shine... YUM!! See, I said the final pic of the card didn't do the colour of this card justice!!
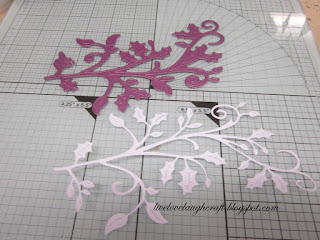
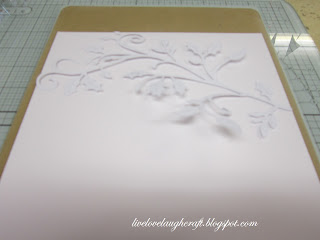
Whilst this part of the project was drying, I got on with my base card.I cut out the Cheery Lynn Mega Holly Flourish (B168) die using some 290gsm card stock. My intention was to use it to emboss onto my base card to give the Ornaments something to hang from.So, to prepare, I took the Base plate from my Grand Calibur Machine,added my tan mat,followed by a piece of card stock,the Holly Flourishand finishing off the "sandwich" with my Calibur Embossing plate and ran it through my machine. Hopefully you can just make out the embossing?A little bit of ink should help you see it better!..To set the Ink and to add a little Christmas Sparkle, I added some of the NEW Crafter's Companion PINK Iridescent Spray and Sparkle.Before adding the Ornaments (finger prints and all) you really need to let the Spray and Shine dry thoroughly before picking it up!!To add just a little bit of dimension, I took the Holly Flourish I cut out earlier and applied it to the card,slightly off setting it against its embossed image to add a little bit of shadow.And there we go. Another one for the pile...
Thanks for checking us out, see you soon.
Andy.
Labels:
Christmas,
Cosmic Shimmer,
Cuttlebug,
Embossing,
Mica Powders,
Nestabilities,
Sizzix,
Spellbinders,
Stamping
Subscribe to:
Post Comments (Atom)


Gorgeous card, love the dies used the mica really does give another dimension to the ornaments.
ReplyDeleteKim xXx
Love the card.
ReplyDelete