I knew that she would probably get lots and lots of flowers for her Birthday, which she did.. LOADS! Her home looks like a small regional branch of Interfloral at the moment! So colourful, and also so heartwarming that all of her friends thought so much of her on her special day! So I planned on giving her some flowers which would last forever, by way of making them out of paper in a hanging basket that she can keep above her desk here at Pinnacles, the company she started 7 years ago with Jo..
 And as Pinnacles emblem is a Rose, what better flower to choose to make!
Here we go with a step by step, it's a long one so grab a cuppa...
 I started out by cutting out 33 Flowers using a cut from The George and the Basics Cricut cartridge @ 2 1/2".
 Taking a selection of Green's and Red's Alcohol Inks I coloured each Flower,
 some with more Green than Red, some with more Cranberry than Green etc, etc....
 But finishing each one with a splash of Gold...
 Each full Rose requires 3 separate flowers. 1 has just one cut in it, the second flower you cut off one petal and the third flower you cut off 2 petals. Don't worry you will use all of these elements, so nothing will go to waste.
 The first flower with one slit in it gets glued in on itself, to form a cone. I used Glossy Accents as the bonding time is so so quick.
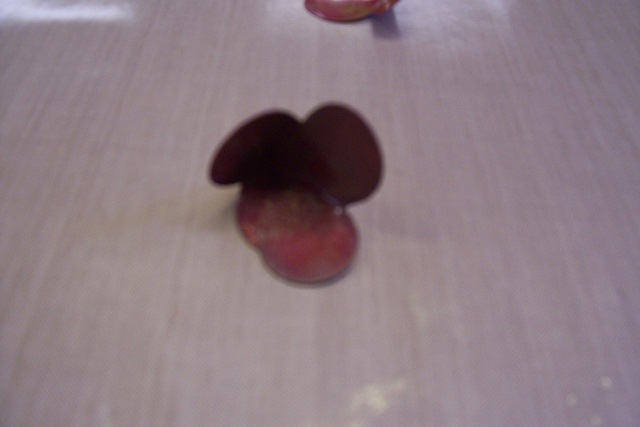 You do the same with the flower which has had one of the petals cut off, this will form a smaller cone. Repeat this for the flower which has had 2 petals cut off.
 The next step is to cut off the tips which have formed on the back of the cones, so that when you stack the layers they will sit more comfortably together.
With the remaining pieces of the flower i.e you should have a set of 2 petals and one petal left over.
 Roll the set of 2 petals into a cigar shape
 and attach it to the single petal to form the centre of the Rose.
 Then you are ready to assemble your Rose.
 Place each layer inside each other and secure with some Glossy Accents,
 teasing back the petals to give some dimension to the Rose.
 Do this with all of your images.. All different in their own way, just like they should be..
I knew I wanted to put these Roses is a basket of some sort, but how??
 Then I had a brain wave, (which is very rare to be honest!!) to use the Martha Stewart Garden Trellis Deep Edger Punch.
 I punched into a piece of Mirror card and then trimmed off the loops at the top which left a lattice effect strip.
 I did this a few times.
 I then took the Martha Stewart Doily Lace Trim Punch and punched 2 long strips from the same Mirror card.
 And glued them together to form a ring.
 And then started to attach my lattice strips.
 To form a basket.
 I needed to fill the basket to give it some strength and stability, I didn't have any Brown (earth coloured) tissue paper, so I had to use the nearest alternative I had which was Gold Tissue paper..
 Now for the hanging bit! I punched 3 strips from Mirror card using the EK Success Chain Edger Punch
 and attached them to the Basket.
 I then glued my Roses to the Tissue paper, initially I thought the Roses would fill the whole area, mmmmm NOT!! So I needed to fill in the spaces with some leaves.
 So I cut some at 2" from Gypsy Wanderings which is one of the pre loaded cartridges on the Gypsy machine.
 I embossed
 them using a folder from the Cindy Loo Cuttlebug Set
 and applied them to the project using Pinflair Glue.
 Adding a few thin strips of paper as vines
 and then giving the project a spray of Gold Glitter to finish it off.
Something a little bit different I think and something I hope she will enjoy looking at in years to come.. Happy Birthday Mum.. xx
Thanks for checking us out, see you soon..
Andy.
Andy this is stunning and I know Pauline will love having it there to look at - clever you.
ReplyDeleteHope she enjoyed her birthday.
Toni :o)
Andy -- this is positively gorgeous. Thanks so much for sharing it with the CC and for the fantastic directions!
ReplyDeleteSUPER WOWZA!!! The flowers are STUNNING! I thought you had them in a regular hanging basket. GEEZ! you even made your own hanging basket....How COOL is that!!!!
ReplyDeleteThis is an absolutely fabulous project. Thanks for sharing. Gives me an idea what I can do with some of the flowers I have laying around in my stash.
ReplyDeleteMyrna
I have said it once but will say it again, Stunning Andy the hanging basket I mean! I am sure Pauline will treasure it. Well done you clever person.
ReplyDeleteLyn (wed)
Happy Birthday to Pauline and "Dad"!
ReplyDeletestunning flower basket and card! x
This is gorgeous! And so glad you took all those pictures and made a tutorial because I would have asked, "How did you do that?" Very cool! I wanted to stop by and say hello. I'm looking forward to getting to know you on the Cuttlebug Spot design team!
ReplyDelete