Hi Blogland, Today is a very special friends (cough, cough)'th Birthday.. She loves her crafting so I thought I would make her a Craft Room card..
As is sometimes the case, my project head thinks faster than my practical head.. and the card ended up a tad bigger than I first thought.. Any hoo this is it!

Firstly the outside..

And when you open it up... viola!!
I'm pleased with how it turned out, but I've never seen any craft room like it! Certainly not mine.. No way would mine be this tidy!!! I enjoy making nice, neat and tidy cards, but to be honest the process of getting them there is anything but!! Hands up who agrees??

So, I started off by cutting out a desk from the
Sentimentals cartridges @ 7". This also included the draws.

I then used my
Gypsy to cut out Two more desks. I wanted the desk the same height as the first desk, but not as wide as they were going on the side of the card and needed to be narrower to fit..

This is something I knew the Gypsy would come in handy for as I was able to make them narrower without loosing the height, something the
Cricut machine is unable to do on it's own.

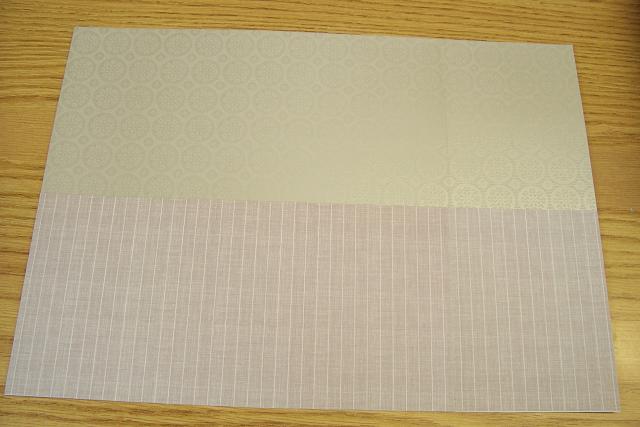
I took an A3 piece of card and covered the top half in Patterned paper and the bottom half in stripped paper. As I was using 12" x 12" paper this was too short to cover the A3 card stock in one go so I had to use 2 pieces. I have even managed to line up the patters so you can bearly see the join, a bit like wall paper..

My Dad would be so proud!!!

Next step was to cut out the chair, a crafter has to have somewhere to set for all those long crafting hours after all.

This again was cut from
Sentimentals at 7"
Lyn is as fanatical about her Cricut machine as much as I am about mine! So what is the ultimate Cricut machine??

That's right a Gold one, oh and while I'm at it what about a Gold Cuttlebug to match!! These were cut from Store Front..

And what would a Cricut be without cartridges? I cut a small piece of card 3" x 3 3/4" and masked off a line at the bottom and a larger line at the top and rubbed blue chalk in these areas to create the branding on a Cricut cartridge box. I also cut out little Cricut heads using Store front. Finally adding the name of a few cartridges with Black Peel Offs..

Lyn is also a big CDROM crafter.. So I cut out a computer from
Cursive 101
and printed off my homepage from
Pinnacle Crafts as a screen saver..

Do crafters really care what time it is? I suspect not. If you are anything like me then you can loose literally hours when you are crafting. Remembering to eat when your tummy starts rumbling, not because it is dinner time!! How many cups of tea have you let go cold, because you are in the flow?? I cut this clock from
Designer's Calendar Cartridge.
So all the prep work done it's time to move in I guess..

First the heavy furniture.. Tables & Chair..

The Cricut & Cartridges.

And the Cuttlebug.. I also added a few scraps of Ribbon and paper to make it a more lived in craft room.
Last but not least the cover of the card.
Sentimentals has quite a few crafty items on it, such as a sewing Machine, Ink, Quill and also the most amazing ornate Scissors.

These were cut out at 7" in shadow and the basic image

and then stuck together.

I covered the front of the card with some foiled paper and tied a ribbon around the whole card finally placing the Scissors on the front.

And once the bow is un done, in you go..
Happy Birthday Lyn.. Have a great day from all of us at Pinnacles..xxx
Thanks for checking us out.
See you soon.
Pinnacles.
 So here is today's project.
 You will need a 4 1/4" circle
 divided into 8 equal sections.
 Line the centre of the Punch up with one of the lines.
 Repeat this process all of the way around the circle until the inner shape is cut out from the outside frame.
 Glue the shape back onto the outside frame, off setting it slightly. I also added a little bit of bling to the centre of each of the Daisy's.
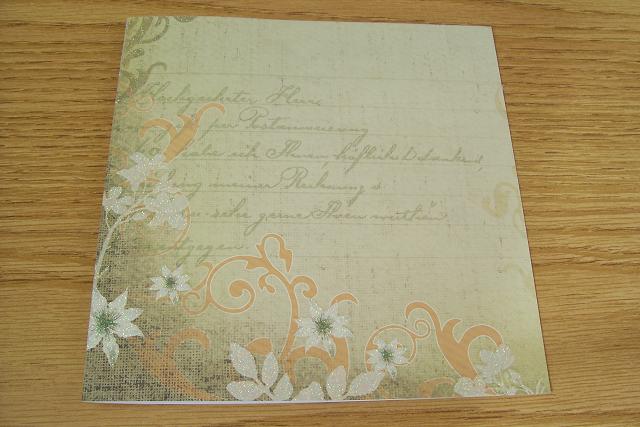 Now, I'm not a paper stroker like some, (you know who I'm talking about..) but I do know a quality piece of 12 x 12 when I see one, and we have just taken delivery of some, I don't like to use the word, but, "STUNNING" Best Creations 12 x 12 card stock, and this piece suited the Daisy image pretty well, pick up the Creamy Orangey colour perfectly..
 Lastly, I mounted the Daisy image onto some foam pads and applied it to the card, applying a sentiment to finish off the card.. Now who to give it too.. Emmm I already have a recipient in mind...