Besides this, its made good use of some of the MDF shapes I was sent by Creative Expressions for this weeks Design Team project.

I wasn't sure that this Months goodies were going to be my cup of tea but they really have given me the opportunity to re visit techniques I had thought I had long forgotten about, and this is the case with this tag!

So, to start with I took the tag

and "primed" it with Gesso to give it a good surface to work on.

Whilst the Gesso was still wet I added some Gilding Flakes to add some texture.
Once the initial layer was dry, I painted a second layer. One, to seal the Gilding Flakes and Two to make them White.

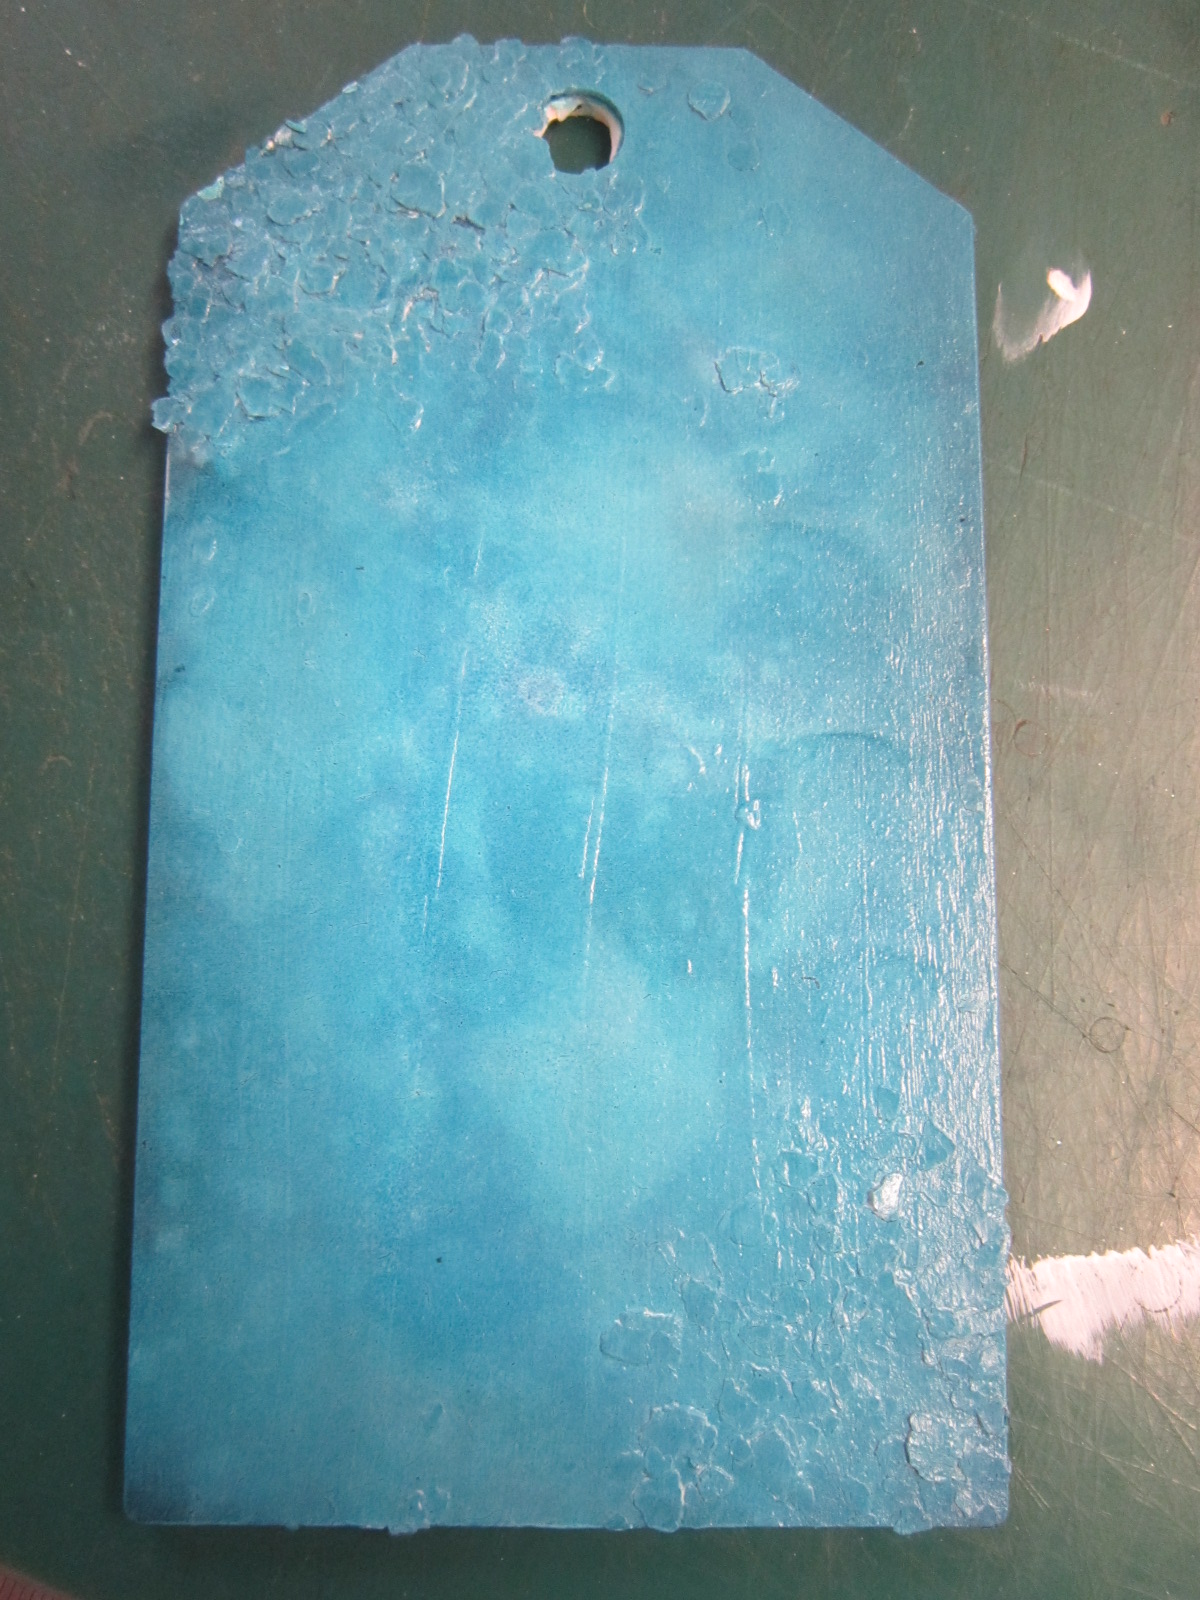
Next, I took some Distress Ink (Mermaid Lagoon) and a Creative Expressions Smoothie

and applied the Distress Ink over the tag.

As the Gesso has made the tag NON porous, the Ink just lays on the surface and is easily "moveable" so, using the Smoothie and dragging it through the Ink can create some interesting effects.

Still, it needs something more than just some interesting effects, so I firstly applied some Black Soot Distress Ink

followed by some Seedless Preserves.

Not bad?! But as Distress Inks are water based Inks they can be reconstituted by adding water to them whilst they are on your project to create even more different effects.
I blotted this with a kitchen towel whilst it was still wet after I had dropped water on it, but to keep the initial effect it would have been better to dry it with a heat gun.
So, if you are not happy with the result just re apply some ink and try again.

This time I spritzed with water

and then stood the tag up and let the water run off.

And so for some decoration. Now that last years Sue Wilsons Festive Collection Dies are back in stock I thought I'd put one of my faves to good use.

I had the plan to use it as a mask, so once it was cut out I placed it onto the tag and used my Smoothie to ink over and around it!

Which created a nice stencil effect, although the Ink over the surface did lose some of the texture created when the water was applied! Still, I can live with that!

To seal the Ink to the tag, I sprayed it with some Glitter Spray, not my best move as it obscured the wording somewhat.

Not all is lost though as I put the initial die cut image to good use and sprayed it first with the Glitter Spray

and laid it over the stencilled image, slightly off setting it to create a drop shadow..

Decorating it with some Snowflakes from Spellbinders Create a Flake #5 and some Dazzlers from Creative Expressions..

Quite a big tag obviously needs quite a big prezzie to put it on!! Guess this ones for me!!
Thanks for checking us out, see you soon.
Andy.
Lovely tag Andy and the 'happy accident' has created a super effect with the die-cut.
ReplyDeleteToni xx