Showing posts with label Spellbinders. Show all posts

Wednesday, 28 October 2015

Holiday Baubles....

Hi folks... Today's my last post as part of the Creative Expressions Design Team for 2014/15..

After 50 projects, it's time to move on to pastures new...

So, here we go with one final project for you..

I've always been a fan of Cream and Brown, the balance in colour is just so pleasing to the eye!!

I've teamed up the Spellbinders Ornament Die

with a new Embossing Folder from Couture Creations (Lilliputana Curtain)...

Finishing off with Sue Wilson's Holly Spray Die...

I'd like to thank those who have taken the time to leave a comment on all the projects, it's nice to know that all of our hard work here at Pinnalces is appreciated... And we hope you'll all stick around for all of our future posts...
Thanks for checking us out.
See you soon.
Andy.

Wednesday, 30 September 2015

Christmas Musical Notes....

Hi folks... No real technique for today's Creative Expressions Design Team project I'm afraid.

Just several Die Cuts strategically placed to produce something I'm quite proud of.. Was going to add some words or a sentiment , but I think it's well left alone at this stage, unless I reconsider that is!!!
So, I'll give you a little step by step, although I'm sure you don't need one, just so you know what Creative Expressions goodies I've used, in case you fancy giving it a go yourself...

So, we start off with the Kalini Musical Notes Die (CO724245),

the Kalini Treble Clef Die (CO724246)

and the Sue Wilson Finishing Touches Die, Laurel Leaves (CED1437)...

As I said, all I have done for this week’s project is to strategically place these Die cuts onto my base card,

highlighting the Treble Clef image,

and adding an element of colour using the Creative Expressions Pine Cone Embellishments...

Well, it says Christmas to me, and seeing as a family member has already laid claim to it, that's another one done off of my list!!!!
Thanks for checking us out, see you soon.
Andy..

Sunday, 21 June 2015

Happy Father's Day.....

.... to my Dad in a million.
Although I won't be able to spend much of the day with him, I will be able to give him a special present by way of bringing Joanne and Paul home from their travels for Father's Day'ish.. Hope you'll be awake in the early hours of tomorrow morning Dad!

So, here's the card I made for him.. It's one I will be sharing with you all at our Demonstration Day next Saturday (27th) which focuses on more masculine themed projects..
Thanks for checking us out, see you son.
Andy.

Wednesday, 17 June 2015

Let it Snow!!!

I know, I know.. It's gearing up to be a warm one this week, but I'm already thinking Chrimbo!! Subconsciously it might keep me cool!!
Besides this, its made good use of some of the MDF shapes I was sent by Creative Expressions for this weeks Design Team project.

I wasn't sure that this Months goodies were going to be my cup of tea but they really have given me the opportunity to re visit techniques I had thought I had long forgotten about, and this is the case with this tag!

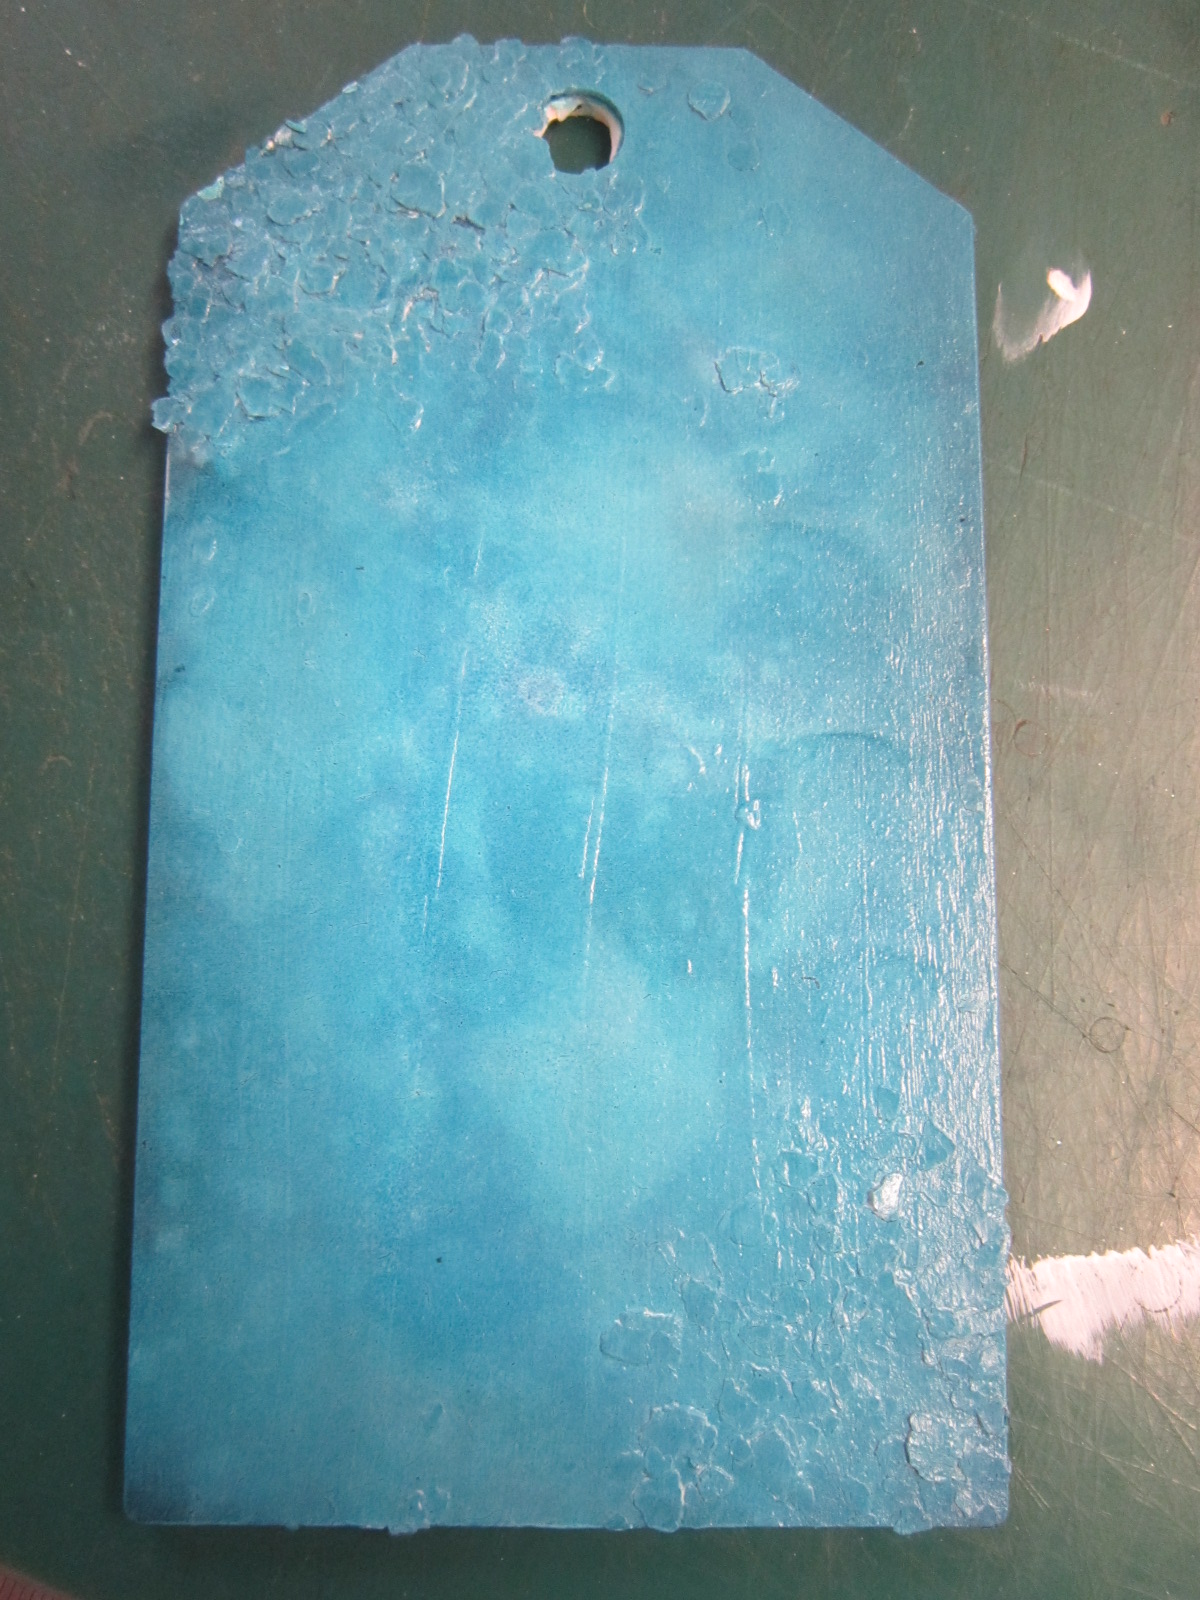
So, to start with I took the tag

and "primed" it with Gesso to give it a good surface to work on.

Whilst the Gesso was still wet I added some Gilding Flakes to add some texture.
Once the initial layer was dry, I painted a second layer. One, to seal the Gilding Flakes and Two to make them White.

Next, I took some Distress Ink (Mermaid Lagoon) and a Creative Expressions Smoothie

and applied the Distress Ink over the tag.

As the Gesso has made the tag NON porous, the Ink just lays on the surface and is easily "moveable" so, using the Smoothie and dragging it through the Ink can create some interesting effects.

Still, it needs something more than just some interesting effects, so I firstly applied some Black Soot Distress Ink

followed by some Seedless Preserves.

Not bad?! But as Distress Inks are water based Inks they can be reconstituted by adding water to them whilst they are on your project to create even more different effects.
I blotted this with a kitchen towel whilst it was still wet after I had dropped water on it, but to keep the initial effect it would have been better to dry it with a heat gun.

So, if you are not happy with the result just re apply some ink and try again.

This time I spritzed with water

and then stood the tag up and let the water run off.

And so for some decoration. Now that last years Sue Wilsons Festive Collection Dies are back in stock I thought I'd put one of my faves to good use.

I had the plan to use it as a mask, so once it was cut out I placed it onto the tag and used my Smoothie to ink over and around it!

Which created a nice stencil effect, although the Ink over the surface did lose some of the texture created when the water was applied! Still, I can live with that!

To seal the Ink to the tag, I sprayed it with some Glitter Spray, not my best move as it obscured the wording somewhat.

Not all is lost though as I put the initial die cut image to good use and sprayed it first with the Glitter Spray

and laid it over the stencilled image, slightly off setting it to create a drop shadow..

Decorating it with some Snowflakes from Spellbinders Create a Flake #5 and some Dazzlers from Creative Expressions..

Quite a big tag obviously needs quite a big prezzie to put it on!! Guess this ones for me!!
Thanks for checking us out, see you soon.
Andy.

Wednesday, 10 June 2015

Self indulgence!

Hi folks.. Todays Creative Expressions Design Team post is literally what the title says, "self indulgent" crafting.. When this Months goodies arrived from Creative Expressions I did wonder what I was going to do with them! But, with thinking cap on they have allowed me to revisit crafting techniques I had long thought I had forgotten about!, and also the SteamPunk genre that I just love as it allows you to use these creative techniques and colours that you might not usually use or try...

So, here she is!! SteamPunk Betty!! One of Creative Expressions new range of colouring images.. I've teamed her up with some cogs from Spellbinders (Sprightly Sprockets), a clock die from Couture Creations and a frame from Creative Expressions which has been texturised (not a word I know) and distressed using Paints and Gilding Waxes..
Ok, the result has no practical use what so ever, unless you pop a picture in the frame before embellishing it, but the process and techniques used may give you some inspiration for you own crafting projects!?
So, if you fancy giving it or something similar a go, here's a step by step as to how it was achieved.

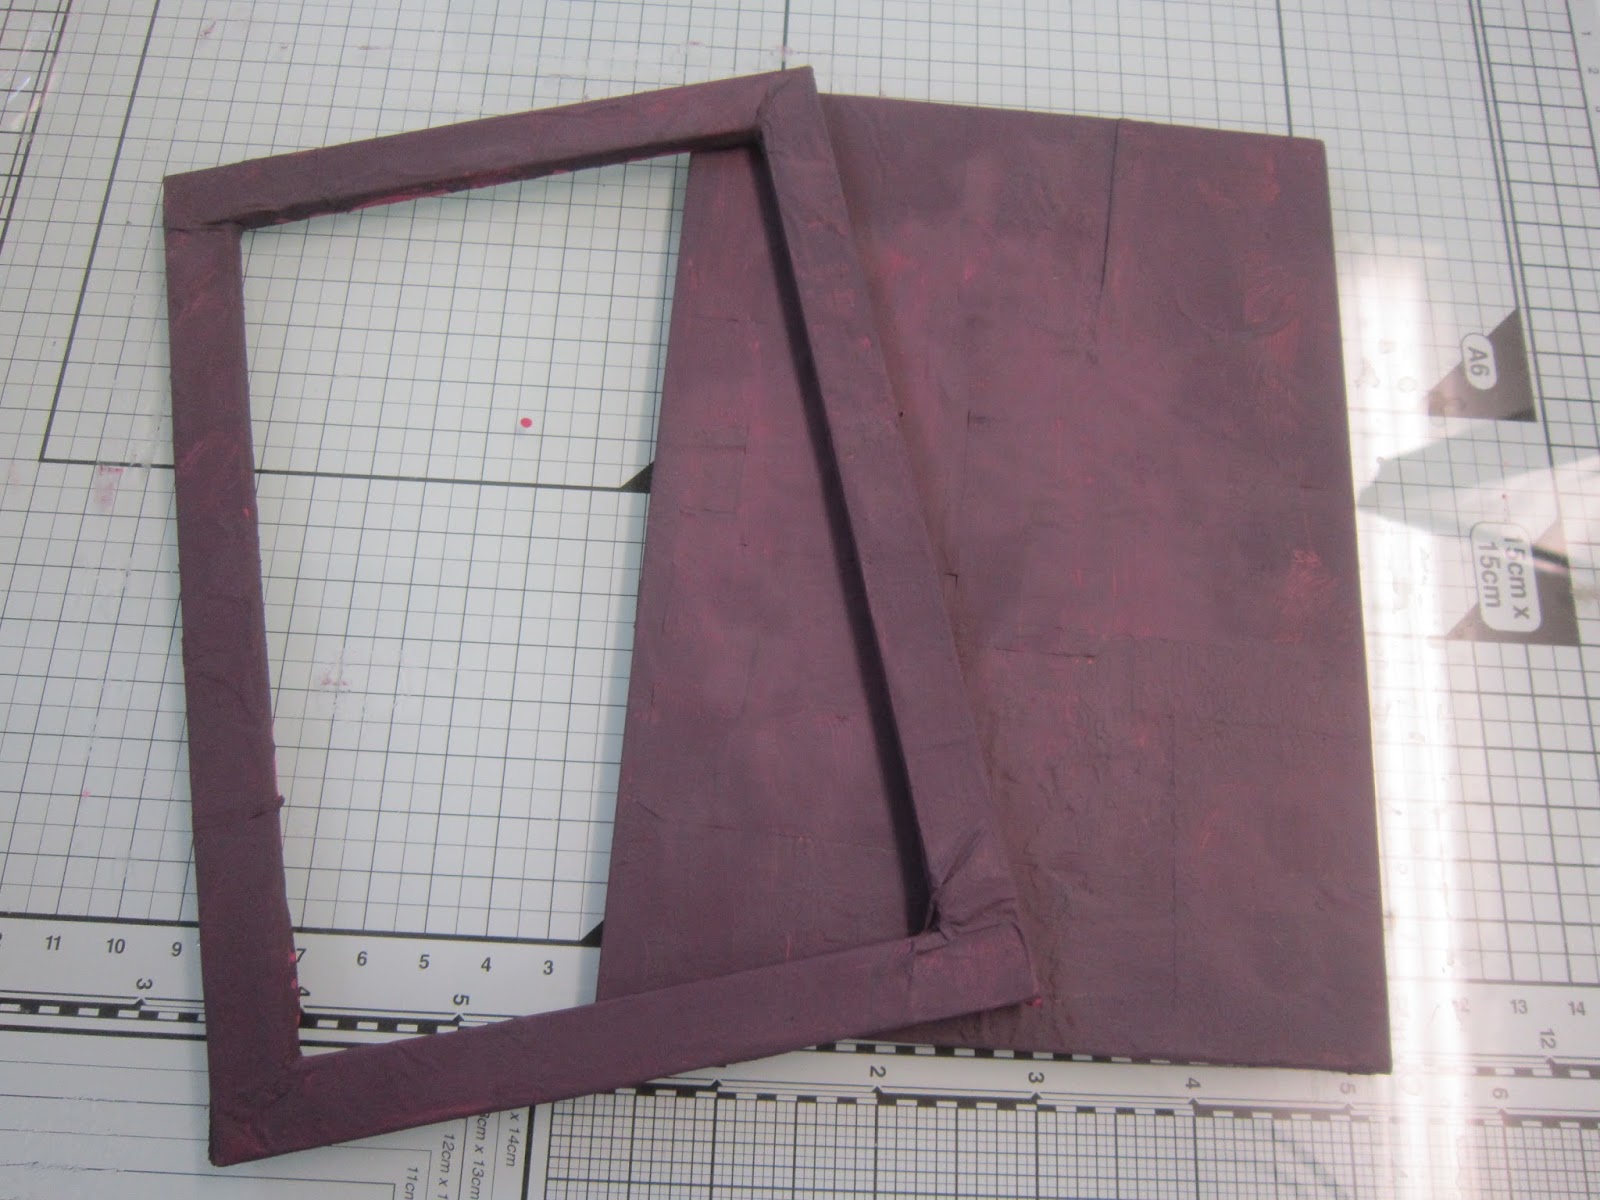
So, to start with I took one of the MDF frames I was sent

and some of the Decoupage papers.

Cutting them into different sized Squares and Rectangles.

To adhere the Decoupage Papers to the Frame, take a Paint Brush and some Cosmic Shimmer PVA Glue

and paint a small area onto the Frame

and apply a piece of the Decoupage Paper.

Sealing it with more PVA Glue

and overlapping another piece of the paper

building up layers all over the Frame until it is all covered.

Obviously, the appearance of the edges is a bit raggedy but this can be quite easily rectified by the use of a Sanding Block.

Just angle the block against the edge of the frame and the Decoupage paper will simply fall away leaving you with a nice tidy background.

Repeat the process with the front of the frame.

mitre the corners

before sanding to give a nice clean edge.

There was no way that the Paisley design Decoupage Papers were going to fit in with my plan so the back and the front of the frame got a couple of coats of paint. I used Spiced Raspberry mixed with some Midnight Black.

To highlight the layers of paper, I "Dry Brushed" over the Frame using Warm White Paint,

finishing off with some Autumn Bronze Gilding Wax...

To embellish the Frame, I cut out some cogs from the Spellbinders Die Sprightly Sprockets and some images using the Couture Creations Die - Antique Clock (CO723706) in Black card stock

colouring them using Autumn Bronze and Chic Pumpkin Gilding Wax

and then placed them onto the frame.

To complete the project I added my stamped and coloured image "Betty SteamPunk".

And there you go, self indulgent creative urge fulfilled!!!
Thanks for checking us out.
See you soon, Andy.