Showing posts with label Inks. Show all posts

Wednesday, 14 October 2015

Shadow Stamping....

Hi folks.. Another little stamping technique for you today...

I know it's not very clear in this pic

but the vase for these Christmas Poinsettia's has been shadow stamped to give the impression that one is behind the other.. A great little technique to add dimension to your projects without adding too much depth..
You can do this technique with most images, although solid (silhouette) stamps do tend to work best.
Again, I thought I'd put some of the Dies I was sent to good use and make them into stamps, which gives them yet another use.

To start with I cut the solid part of this Die using some funky foam,

Then positioned the inner part of the Die ready for cutting.

As I would have expected it cut all the way through, however, the fact the pieces didn't drop out was advantageous...

as this allows for it to be positioned onto a second plain image but will still give the detail..

So, stamp the image using a clear Ink such as VersaMark or Perfect Medium.

Cover with Embossing Powder

and heat set.

Cut a solid image out in light/medium weight card stock

and position this over your initial stamped image,

Ink up your stamp again and stamp just to the side of the original image,

add Embossing Powder, and heat set.

Makes the second vase appear that it is behind the first!!

I cut mine out just to give a little dimension, but you could do this directly onto your project and sill have the desired effect...

Then, decorate how you see fit!!

Thanks for checking us out, see you soon.
Andy.

Wednesday, 7 October 2015

Can you resist?.....

Hi folks... Well, this time last year'ish I heard the news that I had been accepted to serve as a Design Team Member for Creative Expressions... Can't really believe that that year is almost up.. They have asked me to stay on for a further Six Months... But, after careful consideration I have decided to decline their kind offer.. There are just too many other things I want to try and just don't have the time to do so because of my primary commitment to them..
So, I only have Four more projects left to share with you with this Month’s goodies, and then it's back to freewheeling it with all of the other projects I have floating around in my head!!!!
Now, I don't know about you, but as I type this, it is chucking it down outside, autumn defo seems to have arrived... So today’s project, and, in particular, the sentiments, seem pretty apt!!!

This is my first dabble with the new Cosmic Shimmer Colour Cloud Inks...
And if you fancy giving this resist technique a go, here’s a quick step by step for you...
Encouraged by a few slaps on the wrist for not always using the products I was sent, I thought that, for at least today’s project, I would go all out and do as I'm told for a change...
So, for some of you this stage of the project might be old news!? But, in the great big creative world out there we have newbie’s joining us all the time, so it's worth going over it for them, and it might inspire you to revisit an old technique too?!!
I could of used some of my stamps (Creative Expressions ones of course!), but as I said earlier, I'm trying to be good (not sure for how long though!) and use what I have been sent! So I decided to make some of my own.

This is quite easy and all you need is some Funky Foam to cut out with your choice of Die...
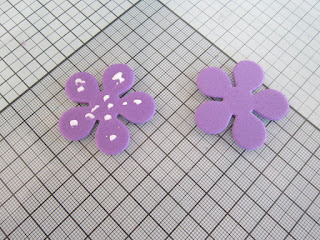
I tend to cut out two of each size
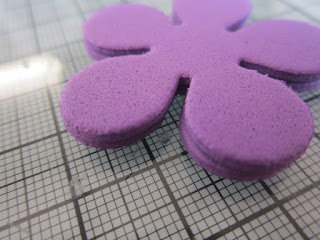
and mount them on top of each other.. The primary reason for doing this is so that when I mount them onto EZ Mount or U Mount I don't have to be too precise with my cutting.. Having the two layers mean the foam end you are inking up is well away from the "sticky" side of the EZ Mount, and therefore you won't ink that up too or stamp onto you chosen media... Obviously, you could just cut out one image and mount it onto EZ Mount; you just need to cut closer to the stamp to make sure the sticky is taken away.. Or use Stick and Spray and a Rock a Block,

or do what I have done for this project and use Tack and Peel on your Acrylic Block... Who knew there were so many choices!!???
Anyway, once you have done this, you're good to go...
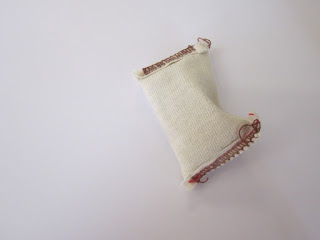
On some White card stock, I applied my Anti Static Bag,

before Inking up my Stamp with Perfect Medium ( or VersaMark),
and randomly stamped the larger of my Three Flowers.

Pouring over Clear Embossing Powder,
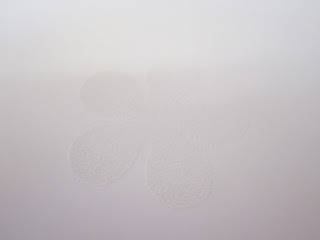
and then heat setting it...
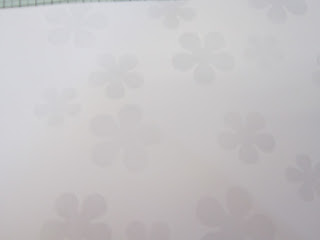
Repeating the process with the two other sizes of Flowers I had made... "I know the pictures don't show the images up much, but to the naked eye they are quite visible, so you do know where you are going!!"

Now to really bring them to life... As the Colour Cloud Inks are water based, the Clear Embossing Powder will resist the water in them
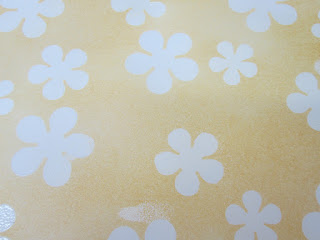
and therefore reveal the image much clearer than before.. (Including one rather large sticky thumb print!)
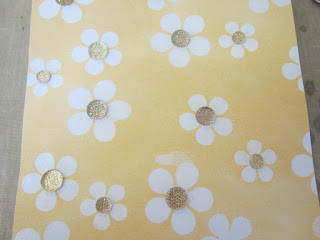
A few Creative Expressions Dazzlers,
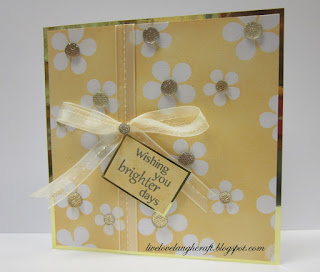
and a well placed sentiment have put paid to that though!!
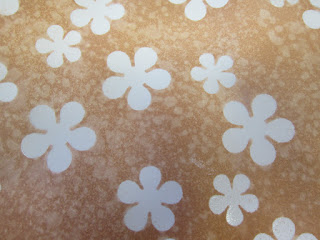
As I said earlier, the Cloud Inks are water based and, like Distress Inks work well with water spritzed on them to give you a nice mottled effect...

So, not too bad for a first attempt with these additions to my Ink collection... Let’s see what my next "play" sessions will bring!!!
Thanks for checking us out, see you soon.
Andy..


Wednesday, 9 September 2015

Alcohol Ink Background...

Hi folks.. Creative Expressions Design Team time again today...
As I said in my last post, this Month’s goodies were anything but Christmassy! And although I made last week’s project Christmas because I was in that mode, this weeks has reverted back to everyday use. And more specifically something I can use for a Birthday..
September che Pinnacles is defo a Birthday Month! At the weekend we celebrated the shops 12th Birthday with a little Christmas Demonstration Day, (and I'd just like to thank everyone who was able to pop along, and I hope you enjoyed the inspiration!?) Next week is my Dads Birthday, followed 3 days later by my Mums, then it's mine and finally at the end of the Month we have my Nans!! You wait all year and then they all come at once!!!
Anyhoo... Here's todays sample, I've decided that it’s going to be the one I send my Dad for his Birthday...

And if you fancy giving this fun technique a go, here's a little step by step on how it was achieved...

To start off with I took three colours of Alcohol Ink

Randomly applied them to my Craft Mat

and then added some Alcohol Blending Solution, the final results of how light or dark the colours will be will depend on how much of the solution you add, as it not only reconstitutes the Alcohol Inks, but will also lightens them if you use a little more.

To allow the colours to blend together I tip my Craft Mat from side to side, trying to stay within the centre of the Mat so as not to waste too much of the Ink.

Next, place a piece of Acetate into the Ink

and then remove it and place to one side to dry. As the Inks and the Blending Solution are solvent based, this should only take a minute or two to dry as the Alcohol evaporates.

As effective as this looks on the Acetate, it's not until it is backed onto a plain piece of White card stock that the true effect comes thru..
Now the only decision you need to take is what to do with it.

For this particular project I decided to stamp one of the Silhouette images I was sent. Wasn't quite sure whether to have the Red at the top or the bottom as it seemed to work both ways, but finally went with having it at the bottom.

A little bit of Mat and Layering

and there you have it!!

Using different coloured Inks will give you a choice of different backgrounds to add your Stamps or Die Cut images to..

Using more Brown/Yellow tones has seemed to work wonders as a Desert background for this Die Cut,

or actually any colour combinations seems to work!!
As a result of Saturday’s demo, I now have a nice little pile of backgrounds to work with.. Just need to wait for the right image to add to the front of them though!!
Thanks for checking us out, see you soon.
Andy...

Wednesday, 15 July 2015

Making good use....

.... of a few left over’s for this week’s Creative Expressions Design Team projects...

Hi folks.. Following on from last week’s project, I had a few backgrounds left over which were too nice to not use, or put to one side and get lost in the ether!

So, with the addition of a couple of the new Sue Wilson Christmas 2015 Dies, I hope you'll agree that I've put them to good use?!

This Black and Brown combo was just crying out to be used.

So, with the addition of the Three Wise Men Striplet Die

it almost creates a desert background for them!

And this Aqua/Blue background

works so well with the Snowflake Striplet...
Last week’s post will give you a step by step guide on how to achieve something similar yourself if you fancy giving this technique a little try!

Thanks for checking us out, see you soon.
Andy.

Sue Wilson Festive Collection Die - CED3038 Wise Men Mini Striplet
Sue Wilson Festive Collection Die - CED3036 Snowflake Mini Striplet
Alcohol Inks
Alcohol Blending Solution