Tuesday 25 October 2011

One Embossing Folder, 3 differents ways.. Part 3

Hi Everyone. Well, here we go with my last project (for now) using one embossing folder in several different ways...
To be honest, this is going to be a very short post as apart from the drying time this project took moments to do.. Which, when you are in a rush and churning out your Crimbo cards is a blessing... But, although the process took no time at all the effect is no less effective I think!!I started off by embossing my image onto a White piece of card stock and then went over it with some Silver Ink. Parts of the Windows and the Trees had very intricate detail so it was difficult to get into all the nooks and crannies, but I actually like the effect it has given..I then went over the Church, Trees and Hills with my trusty Glossy Accentsand once it was dry matt and layered it onto some Silver Mirror card before adding it to my prepared base card...Simple, yet oh so effective. In this colour way I suspect it would also make a great Wedding card!!So, there you have it. One Embossing Folder, 3 different ways!! I hope these last few posts have given you some inspo to try using your Embossing Folders in some interesting ways?!!
Thanks for checking us out, see you soon.
Andy.

Friday 21 October 2011

One Embossing Folder, 3 different ways.. Part 2

Hi Everyone. Today I'm going to share with you the second project I have made using the Winter Village Embossing Folder (EF).. But not before I let you know how our new recruit (Holly) is getting on..As you can see she is growing at a rate of knots.. These pictures, taken just 2 Weeks apart show just how much she has grown and how beautiful her colouring is.. She certainly seems to be a very happy puppy and is not short of love and affection or cuddles!!
On to equally important matters.. Crafting! Well, almost as important as the Holster!!This was the first of the 3 projects I made with the EF and therefore probably my favourite... I love how the whole thing came together and the fact that the EF has enabled me to Decoupage it has added a whole other dimension to its use..I started off by colouring a piece of White card stock with Weathered Wood and Worn Lipstick Distress Inksand then ran the image through the Cuttlebug Machine.On a separate piece of White card stock, I embossed the image first this time and then applied Shabby Shutters Distress Ink to the image to highlight the Treesand then cut away the skyline.On a Third piece of card stock I again embossed the image first and then coloured it with Pumice Stone Distress Ink to highlight the Church. This time cutting away the skyline and the Trees..Finally, I embossed the image on a plain piece of White card stock and cut away the skyline, the Trees and the Church..I then mounted all of the layers together to form my winter scene. Adding some Crystal Stickles for some Christmas Sparkle..This is such a diverse EF and really could be used for several different occasions other than Christmas.. Hence the fact that I have yet to put a sentiment on it!!
So, that's two down, one to go.. Back next week with the final instalment.
Have a great weekend and thanks for checking us out.
See you soon.
Andy.

Tuesday 18 October 2011

One Embossing Folder, 3 different ways.. Part 1

Hi Blogland... I've decided to do another series using one product in a few different ways.. Just like I did with the Snow Cuddles Stamp recently.. OK, I can hear the groans from here!!
But this time I will be using an Embossing Folder..
We all have them, probably far too many of them.. But how often do you use them more than once? I don't mean like a Snowflake background which can be used on a batch run for your Chrimbo cards, I mean like use the same Embossing Folder (EF) to create different looks, for different occasions! Basically to justify you getting it!!
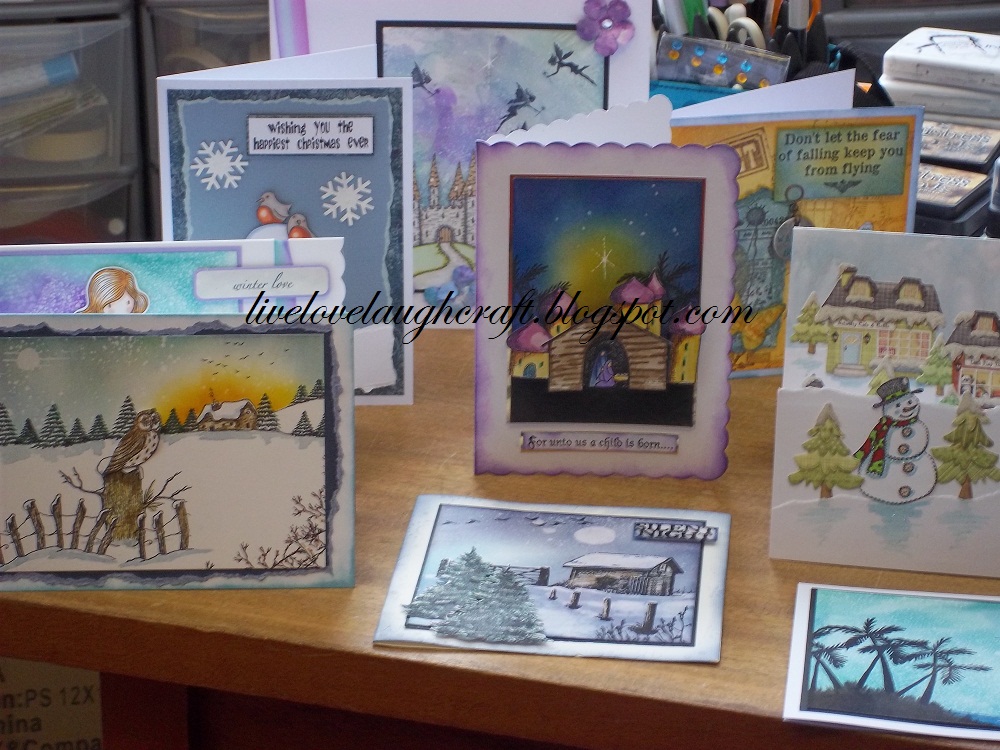
So, here are the 3 projects I have made using the Winter Village Embossing Folder.
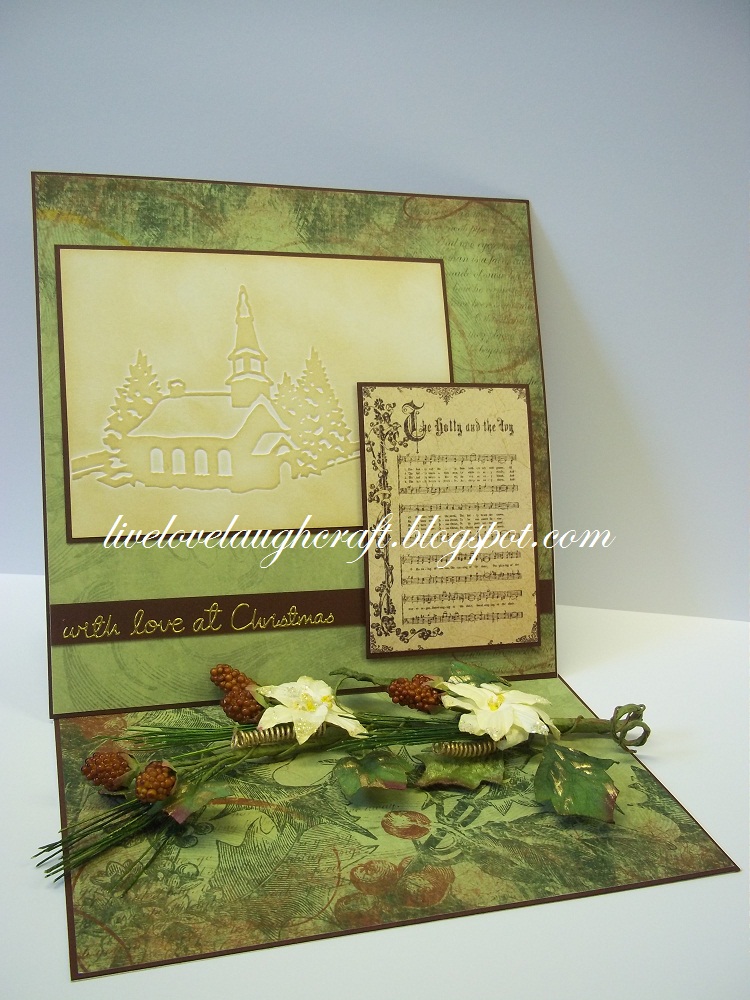
And here is Today's project and of course a step by step...I started off by embossing a White piece of card stock with the Winter Village Embossing Folder and then went over the whole piece of card using Antique Linen Distress Ink. There's a reason why I chose Antique Linen, which I will come to in a mo..I then matt and layered the image using some Burgundy card stock and put it to one side..The reason I chose to use the Antique Linen Distress Ink was because I came across this backing paper from Graphic 45 which had a selection of Christmas Carols on one side of the double sided paper.. Seeing as it was in a Creamy Colour the Distress Ink which complimented it the best in my opinion was Antique Linen...I chip chopped all of the Carols, some were full images, some had bits cut out of them depending on where they were positioned on the sheet, all usable though as I will show you at the end of this post... You're certainly getting a lot out of me on this one.. And I’m more than happy to share as always...So, I chose one of the Carols to work with my projectand matt and layered it with the same Burgundy card stock used to matt the Winter Village image.Adding the two images to the top of my prepared Easel cardand a bit of extravagance to the bottom layer with a prepared Winter Sprig as a stopper for the Easel...Really love how the colours work together on this card.. It defo says Christmas to me...As I said earlier about using all of the bits from the Graphic 45 backing paper, off cuts and all!! Simple and effective and quick and easy... yada yada yada...
Back later this week with another step by step using the Winter Village Embossing Folder...
Thanks for checking us out.
See you soon.
Andy.

Saturday 15 October 2011

Christmas Poinsettia....

Hi Blogland.. A very cold start to the weekend here.. Just how October should be!!, But, that does depends on where you are in the world and what you are use too I guess..
Just getting ready to watch the Rugby this morning.. C'mon Wales...Today I wanted to share with you a quick and simple card I made as a sample for our lesson this week here at Pinnacles which was "Have a Black & White Christmas..So, obviously I made it in Black & White too.I started off by cutting out and embossing 3 full sets of the Spellbinders Poinsettia Creations Die (S5-055) in Red card stock and the largest of the Dies in Green card stock.Layering them together and adding a gem in the middle of each full Poinsettia.These looked great and very realistic, but needed some Christmas sparkle...Before being applied to a prepared Side Stepper Card...
See, I said it was quick and simple....
Have a great weekend and thanks for checking us out.
See you soon.
Andy.

Tuesday 11 October 2011

Demo Day, Distress Inks & Doggies...

Hi Blogland. I hope you had a good weekend? Before I share with you Today's project I thought I'd show you some of the pictures I took of our Demo Day with Lindsay Mason on Sunday..She brought along with her some wonderful samples for all of our crafters to look atand see what can be achieved with Alcohol Inks, Stamping and a little bit of imagination..She certainly kept our eager crafters enthralled with her techniques and dare I say "crafting banter".. An absolutely brilliant day.. I know I learnt a lot from Lindsay and dare say, so did everyone else. Can't wait to put all of the techniques into practice!!
Thanks so much for coming to visit us at Pinnacles Lindsay; we look forward to your next visit..Needless to say, one member of the Pinnacles Team slept through most of the day!! But she did enjoy all the cuddles in the brief moments she was awake..This puppy is certainly getting the love and attention she needs and deserves.....
Anyhoo... On with Today's project..Quite a simple one today...And although I have put a Christmas sentiment on the card, to be honest I think that it could be used for a Winter Birthday, or any other Birthday come to that!!I started off by colouring a piece of White card stock using Stormy Sky Distress Inkbefore embossing it with the Pine Tree Scene Embossing Folder.I then coloured from the bottom of the card stock using Shabby Shutters Distress Ink. Coming in from the bottom of the card stock potentially means that I will only get the Tree's as opposed to the Sky with the Green Ink.However, the foreground did catch a little too much of the Green Ink in my opinion, so I decided to cut it awayand mount it on to another piece of White Card stock to form a snowy foreground.Next, I matt and layered the scene onto some Silver & Blue Mirror cardbefore mounting it onto my prepared base cardand finishing off with my sentiment.
As I said before, although I have used it as a Christmas card it really could be for any occasion.. Which is great to get more than one use out of any piece of crafting equipment eh?!!
Thanks for checking us out..
See you soon.
Andy.

Friday 7 October 2011

Gingerbread Cukoo Clock...

Hi Blogland. Just popping by to share with you another project I made using one of the new Spellbinders Dies..
This one was made using the Cuckoo Clock Die (S5-075).I started off by cutting out the largest shape in a Gingerbread Brown and a Sugar Pink coloured Card stock, cutting the "Eaves" and Mantle of the Clock in White Card stock.Next, I cut off the Chimney and the Pendulum of the Pink Clock imageand then layered all the pieces together with Silicone Glue to add dimension.Once the Silicone had "gone off" (started to dry) I added the Clock Face and Bird Perchand some Christmas candy coloured gems to make it look really sickly sweet!!Finishing the project off by adding the image to some Snow Dotty card stock and a simple sentiment...
Good enough to eat!! mmmmmmm
Thanks for checking us out, see you soon..
Andy,