Showing posts with label Paint. Show all posts

Wednesday, 10 June 2015

Self indulgence!

Hi folks.. Todays Creative Expressions Design Team post is literally what the title says, "self indulgent" crafting.. When this Months goodies arrived from Creative Expressions I did wonder what I was going to do with them! But, with thinking cap on they have allowed me to revisit crafting techniques I had long thought I had forgotten about!, and also the SteamPunk genre that I just love as it allows you to use these creative techniques and colours that you might not usually use or try...

So, here she is!! SteamPunk Betty!! One of Creative Expressions new range of colouring images.. I've teamed her up with some cogs from Spellbinders (Sprightly Sprockets), a clock die from Couture Creations and a frame from Creative Expressions which has been texturised (not a word I know) and distressed using Paints and Gilding Waxes..
Ok, the result has no practical use what so ever, unless you pop a picture in the frame before embellishing it, but the process and techniques used may give you some inspiration for you own crafting projects!?
So, if you fancy giving it or something similar a go, here's a step by step as to how it was achieved.

So, to start with I took one of the MDF frames I was sent

and some of the Decoupage papers.

Cutting them into different sized Squares and Rectangles.

To adhere the Decoupage Papers to the Frame, take a Paint Brush and some Cosmic Shimmer PVA Glue

and paint a small area onto the Frame

and apply a piece of the Decoupage Paper.

Sealing it with more PVA Glue

and overlapping another piece of the paper

building up layers all over the Frame until it is all covered.

Obviously, the appearance of the edges is a bit raggedy but this can be quite easily rectified by the use of a Sanding Block.

Just angle the block against the edge of the frame and the Decoupage paper will simply fall away leaving you with a nice tidy background.

Repeat the process with the front of the frame.

mitre the corners

before sanding to give a nice clean edge.
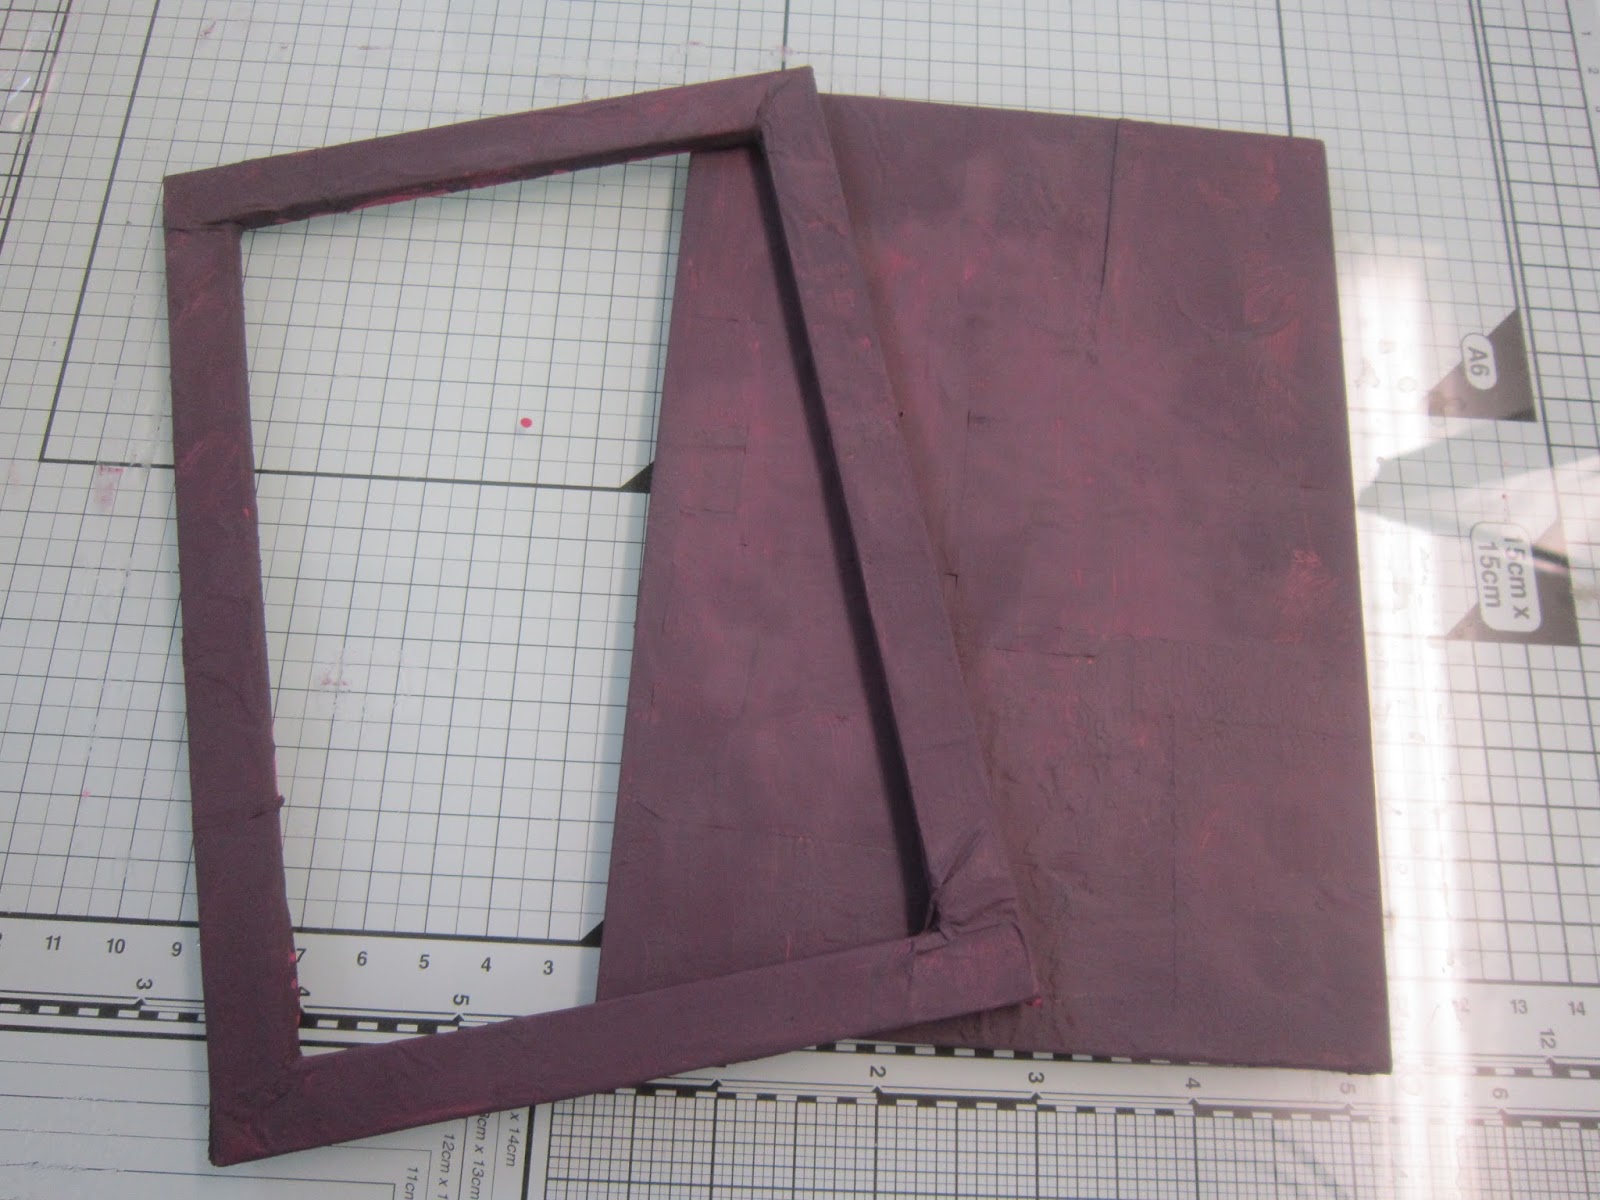
There was no way that the Paisley design Decoupage Papers were going to fit in with my plan so the back and the front of the frame got a couple of coats of paint. I used Spiced Raspberry mixed with some Midnight Black.

To highlight the layers of paper, I "Dry Brushed" over the Frame using Warm White Paint,

finishing off with some Autumn Bronze Gilding Wax...

To embellish the Frame, I cut out some cogs from the Spellbinders Die Sprightly Sprockets and some images using the Couture Creations Die - Antique Clock (CO723706) in Black card stock

colouring them using Autumn Bronze and Chic Pumpkin Gilding Wax

and then placed them onto the frame.

To complete the project I added my stamped and coloured image "Betty SteamPunk".

And there you go, self indulgent creative urge fulfilled!!!
Thanks for checking us out.
See you soon, Andy.




Wednesday, 3 December 2014

Espresso yourself.....

Hi folks... Creative Expressions Design Team time again today...
For December’s projects we have been given some new stamps to play with... This time revolving around one of my favourite subjects, food and drink!!!
I like to think that we all try and get the most out of our crafting goodies other than just using them on cards and scrapbook pages!! So, for today’s project I've decided to think outside of the box a little bit.

Well, not so much "outside" of the box, just "the box" in general... and use it as the main focus of my project....

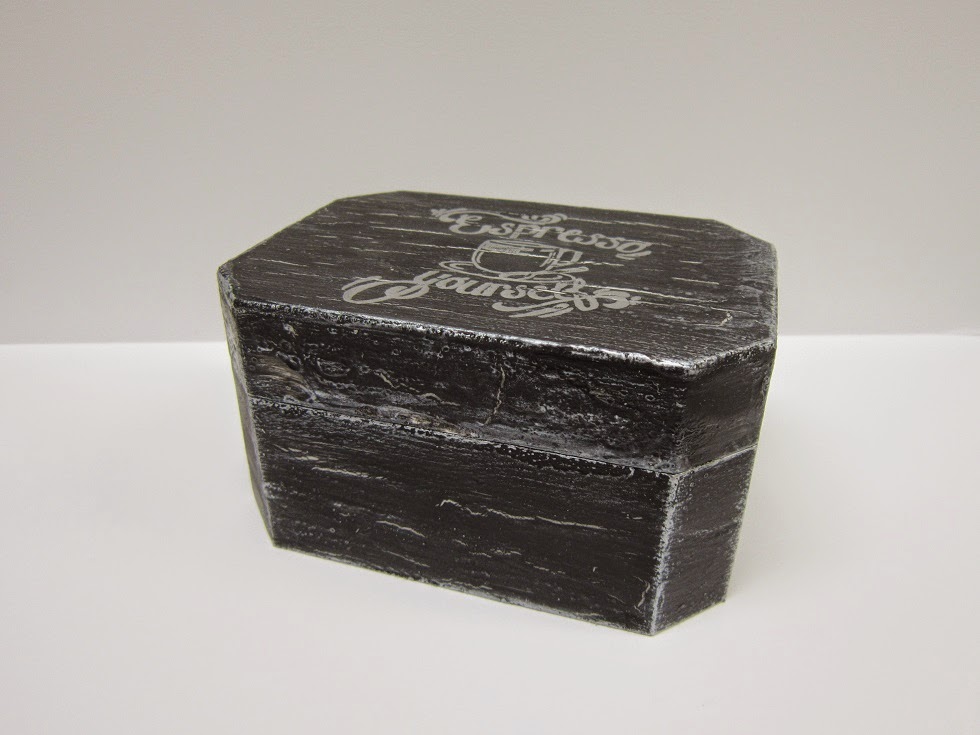
Considering how the box started off, the change in its appearance is pretty dramatic..

It's ended up looking like slate.. Which is no mean feat seeing as I was actually going for a distressed wood effect!!! oooppps...
This distress/crackle effect is pretty easy to achieve with products you probably already have, so if you fancy giving it a go here's a step by step....

To start with, if your box has hinges,

take them off so that you have a nice clean surface to work on.

Then paint the box (inside and out) with your chosen base colour and let it dry thoroughly.

Next, take some Cosmic Shimmer Glue

decant some onto your craft sheet

and then apply a thick layer to your project. (I know, White on White is not the best photo op, but I hope you get the jist!?)

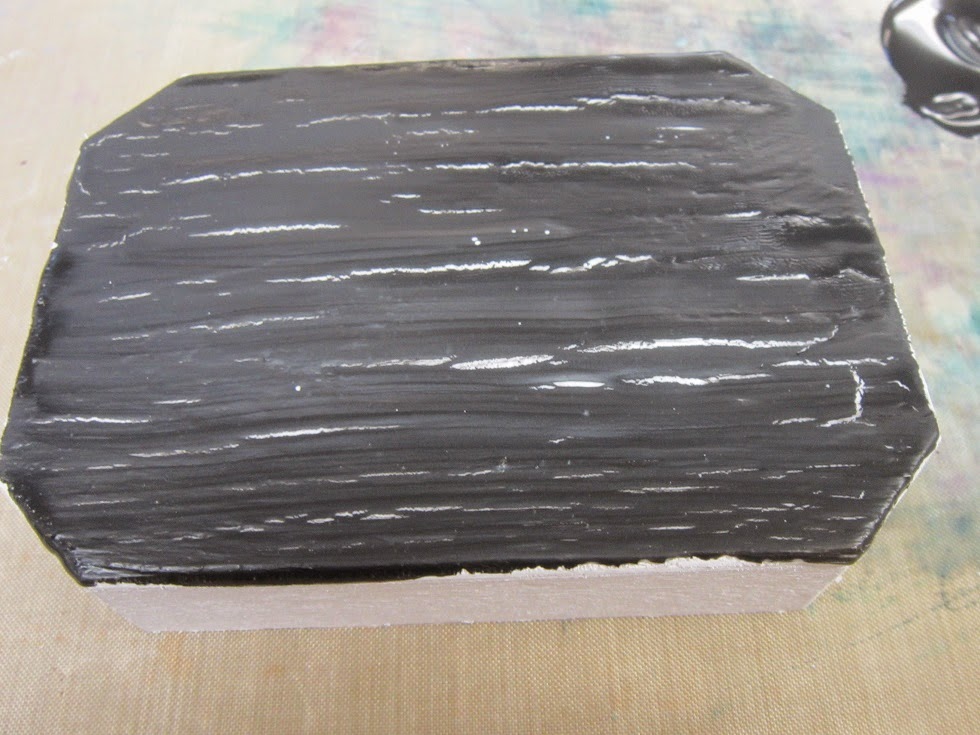
Whilst the Glue is still wet decant your second colour choice onto your craft mat

and apply over the wet glue, trying not to mix the Paint and Glue too much..

You can either leave this to air dry or if you are as impatient as me you can encourage to drying process with your heat gun, although don't get too close to the paint or it will blister as opposed to split/crackle... "The crackle effect is achieved because the drying time of the paint and the glue are different and therefore the glue splits revealing the base White colour you applied first".. Pretty cool eh!?

It's best to do the lid and sides in two separate stages as you'll get in a right old mess if you try and do everything at once...
But the effect is well worth the effort..
As I said earlier, I was actually going for a distressed wood effect, but I think the colours I have chosen certainly have given it a more slate like look!!
Once the project is completely dry you are good to go and carry on. You can tell when the glue is dry by gently touching the project with the back of your fingers, if it feels quite cold then the glue is still wet; if it is warm to the touch then it is pretty much dry.

Once the hinges were put back on the box I applied some Cosmic Shimmer Pewter Gilding Wax to enhance the Slate effect.

To stamp your chosen image, firstly dust your project with an antistatic bag, this will dry any moisture on it like fingerprints etc and help the embossing powder only go where you want it too.

Ink up your image with Perfect Medium

and stamp onto your project

Apply some Silver Embossing Powder

and set with your heat gun...

Now, I know it almost looks like slate, cos I put it next to a piece and I think we have a pretty good match?!!!
I think this would make a nice little gift for any coffee lover, maybe filled with some chocolate covered coffee beans, or in my case some chocolate covered Peanuts as the shop didn't have any coffee beans!! Ho hum...
Thanks for checking us out..
See you soon..
Andy.

Ingredients used;
Cosmic Shimmer Matt Chalk Paint - Warm White
Cosmic Shimmer Matt Chalk Pain - Midnight
Cosmic Shimmer Glue
Cosmic Shimmer Silver Shine Detail Embossing Powder
Creative Expressions Gilding Wax - Pewter
Creative Expressions Non Stick Craft Sheet
Creative Expressions Anti-Static Bag


Friday, 8 March 2013

Tim Holtz "style'ie" Book...

Hi Folks. Just wanted to give those of you who are attending our Tim Holtz stylie'ie lesson tomorrow a heads up of what you can expect to be making! From wood to metal to pastles (not really Tim's style!) to basically whatever you want to create. If you have half as much fun creating as I have had preparing, we should be in for a fun packed creative day.. See you all at 10! Andy.

Tuesday, 17 April 2012

Cuttlebug Blogspot - Easel Challenge

Hi Folks. It's Tuesday so that must mean it's time for another Cuttlebug Blogspot Challenge. This week’s theme is quite simple. It's an Easel card of your choice..
And here's my Design Team entry.. A very unusual theme I bet you are thinking to yourselves? But there is reasoning and a method in my madness!! One of my friends has just completed her first, and probably her last! Half Marathon.. This epic feat of Olympic proportions was made all the more remarkable due to the fact that she completed the Half Marathon whilst unbeknownst to her; she was in fact 23 weeks pregnant..... So, my congratulations card for completing her Half Marathon has an Olympic theme, cos if she can manage to complete the Half Marathon whilst carrying her little bub's inside her, well, the next step must be London 2012 wouldn't you agree?! So, if you have a budding Olympian to make a project for or if you are getting your scrapping stuff ready for London 2012, then here's a quick how to...
Every now and then I see potential in something to use it above and beyond its intended use. In this case it's this Grey Board (Chip Board) Fob Watch..., I saw it as a Medal... I chose to make it into a Silver Medal as the colours I had to hand were ideal. So, I covered the Medal completely with the following colours of Acrylic Paint:
Stream,
Pearl,
Black,
and another coat of Pearl to achieve the worn, distressed Silver Metallic effect I wanted. I know you're going to say, "Why didn't you just colour it with Silver Acrylic Paint?” good call! Purely because it wouldn't have given me the effect I was after and one coat of silver against several different colours blending to create something individual and unique is much more fun and creative!!
I then glued the 2 halves of the medal together
and applied my London 2012 Peel Off in the centre.
I could have left it well enough alone then and there, but I wanted to give it a little more depth and interest so I filled the centre with Glossy Accents, and once it was dry...
bada Bing bada Boom, London 2012 immortalised and encased in Glossy Accents forever! Now for the Easel card.. Don't be put off by a new type of card fold, once you've done it a couple of times it will become second nature. And a standard Easel card couldn't be easier to achieve.
All it is really is a standard card shape
with one of the sides folded in half to form the easel.
All you have to do is choose your card stock to decorate the base,
and the top. Once you've got this fold under your belt then why not try a twisted easel or even a tri easel card...
Anyway, back to this project.. Now, every easel card needs a stopper for the easel to rest against. So, I cut out some Circles using the Spellbinders Classic Circles Large Die (S4-114) in Blue, Black, Red, Gold (Yellow) and Green Mirror card
and inter linked them together to form the Olympic Rings.
These were then glued onto the base of my Easel card to form the stopper,
with the medal attached to the top of the Easel... And there we go one Olympic themed card for a truly deserving recipient... Don't forget to hop on over to the Cuttlebug Blogspot to see what my fellow Design Team Members have created this week. Thanks for checking us out. See you soon. Andy.