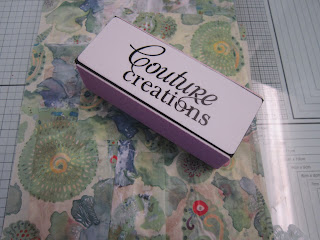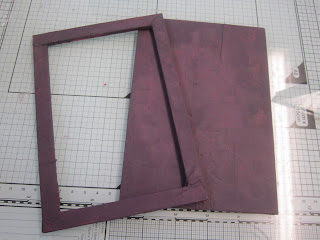
So, here she is!! SteamPunk Betty!! One of Creative Expressions new range of colouring images.. I've teamed her up with some cogs from Spellbinders (Sprightly Sprockets), a clock die from Couture Creations and a frame from Creative Expressions which has been texturised (not a word I know) and distressed using Paints and Gilding Waxes..
Ok, the result has no practical use what so ever, unless you pop a picture in the frame before embellishing it, but the process and techniques used may give you some inspiration for you own crafting projects!?
So, if you fancy giving it or something similar a go, here's a step by step as to how it was achieved.

So, to start with I took one of the MDF frames I was sent

and some of the Decoupage papers.

Cutting them into different sized Squares and Rectangles.

To adhere the Decoupage Papers to the Frame, take a Paint Brush and some Cosmic Shimmer PVA Glue

and paint a small area onto the Frame

and apply a piece of the Decoupage Paper.

Sealing it with more PVA Glue

and overlapping another piece of the paper

building up layers all over the Frame until it is all covered.

Obviously, the appearance of the edges is a bit raggedy but this can be quite easily rectified by the use of a Sanding Block.

Just angle the block against the edge of the frame and the Decoupage paper will simply fall away leaving you with a nice tidy background.

Repeat the process with the front of the frame.

mitre the corners

before sanding to give a nice clean edge.

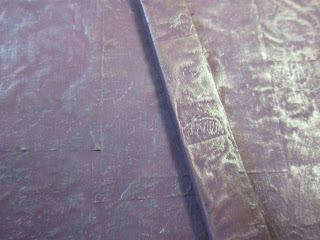
There was no way that the Paisley design Decoupage Papers were going to fit in with my plan so the back and the front of the frame got a couple of coats of paint. I used Spiced Raspberry mixed with some Midnight Black.

To highlight the layers of paper, I "Dry Brushed" over the Frame using Warm White Paint,

finishing off with some Autumn Bronze Gilding Wax...

To embellish the Frame, I cut out some cogs from the Spellbinders Die Sprightly Sprockets and some images using the Couture Creations Die - Antique Clock (CO723706) in Black card stock

colouring them using Autumn Bronze and Chic Pumpkin Gilding Wax

and then placed them onto the frame.

To complete the project I added my stamped and coloured image "Betty SteamPunk".

And there you go, self indulgent creative urge fulfilled!!!
Thanks for checking us out.
See you soon, Andy.
Fabulous creation Andy. Crafting should be fun so a bit of self-indulgence is no bad thing.
ReplyDeleteToni xx
Epic! I love Steampunk Betty! I think she's my favourite Betty. I love what you've done with her and the mdf frames! xx
ReplyDeleteLove all your work Andy.xx
ReplyDelete