Hi Blogland. Another
Cuttlebug Spot Design Team Challenge for you today. Throughout January our themes have been "Inspiration".. Where do you get yours from?
Well, today we were asked to take inspiration from a magazine... You may recall our
first challenge of the year was inspiration from a Book. I said at the time I don't really have the time to read, so therefore I have even less time to check out a magazine. Although I do occasionally flick through the Financial Times or the Independent Newspapers. Ok, more like the Sun or the News of the World!!
For this project I worked backwards. I knew what I wanted to do and use, so I therefore found an article from an on line magazine to match the inspiration...

And here it is. The magazine was about gardens, and specifically gates!!.. Yeah! Not my cup of tea and doesn't exactly rock my world either, but it takes all sorts to make the world go round!!

And here is the project I came up with. It's a play on a New Home card I recently sent to a friend who has just moved..
And here's an "Andy" step by step for you if you fancy giving something similar a go..

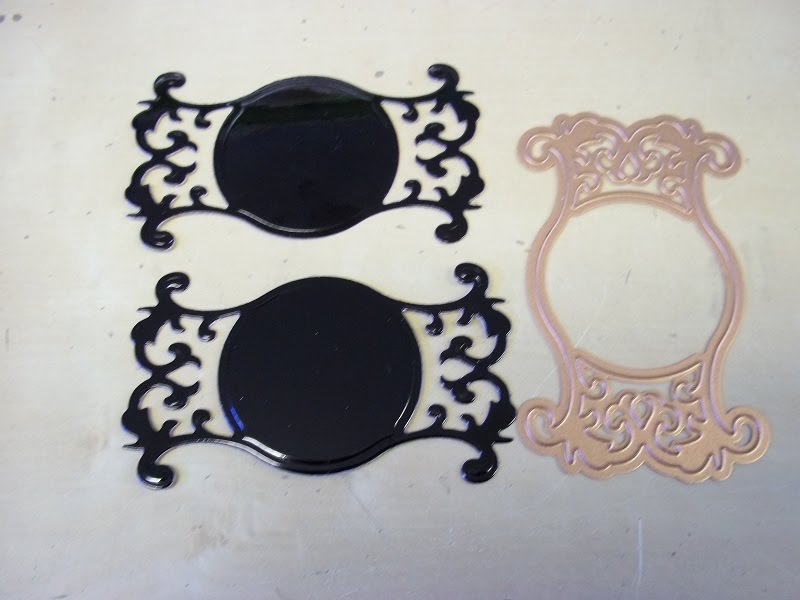
I started off by cutting out my Flower Shapes. I used a Marianne Designs Creatable Die
(LR0128 Flower Fantasy). To cut these dies through the
Cuttlebug you will need your
A and B plates followed by your card stock and dies.

Finishing of the "sandwich" with your
C plate and pass through the machine.

Once cut you are ready to emboss the image. Turn the dies over and place on top of an A and B plate.

Add your
"Tan" mat,

and then this time another B plate. NOT a C plate as the "sandwich" will be too thick to go through the machine.

Once embossed I coloured in the centre of each Flower using a
Copic Pen (Lionet Gold Y28)

and flicked the pen from the centre of the flower outwards.

I then curved the petals of the flowers over the edge of my desk to add dimension.

Added a foam pad to the centre of the larger flower

and popped the smaller one on top.

Finishing off with a "blob" of
Glossy Accents in the centre.

Cool eh?!

Now for the
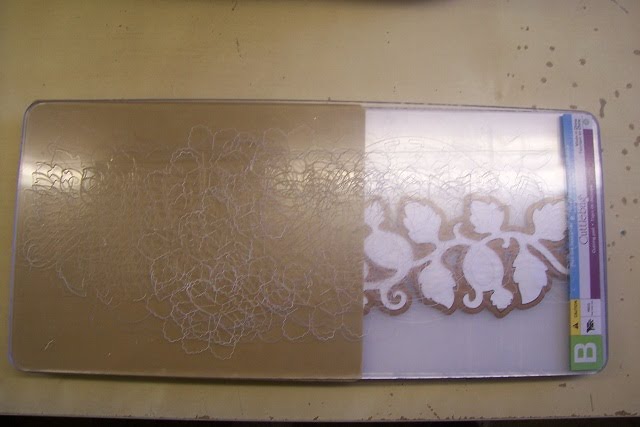
vine... You will need the
Extra Long Cuttlebug plates to cut out this die fully, but if you are only going to use a bit of the die then the standard plates will be fine.
Again, to cut you will need your A and B plates

followed by your card stock and die

finishing off with your C plate.

To emboss the die, turn it over so the cutting side is facing upwards.

Add your "Tan" mat and then your B plate.

I used the
No Shims Maxi mat as this is the one I had to hand at the time

and just did the process twice, but normally I would have used the larger
12" x 12" Tan mat which I could have cut to size.

Et Viola!!

Now for the
brick wall.. This has proved a very popular Embossing Folder since I used it on my
last project. It's a 5" x 7" Folder and at only £3.99 a bargain to boot!!
I coloured some light Cream card stock with
Frayed Burlap Distressing Ink, popped it into the Embossing Folder and passed it through the Cuttlebug.

I then went over the image with some
Pumice Stone Distressing Ink to bring out the brick work pattern

and then cut the image to the size I needed.

To give the brick wall a little bit of interest I punched an edge along the top using the
Martha Stewart Double Arches Deep Edger
Punch Around the Page Punch.

I then added the wall images to my gate image. The gate was cut at 7.5" from the Ornamental Iron Cricut Cartridge.

Time for the background.. I was struggling of bit with this one... But eventually came across some card stock from the
Bird Song Collection from the current
Do Crafts promotion Which fitted the theme perfectly.

Unfortunately I had already opened up the
12" x 12" version before I realised that the images were repeated in the
8" x 8" version. However the 12" version had a large tree image printed on it which was better for the project. The scaled down 8" version I decided to use for the back of the card.

So, I added the tree paper to the front of a side folding Easel Card (
Instructions can be found here). Measured my gate and wall images against the front of the card and trimmed them to size.

Added some hefty "blobs" of
Silicone Gel to the back

and mounted it to the base card.

Whilst this was drying I mounted the 8" tree image onto some Gold Mirror card

and added it to the inside of the side folding easel card.

I then added the Vine

and the flowers as my easel card "Stopper".

Finishing off with my "New Home" sentiment...

And there you go... When it's closed,

and open
Don't forget to pop on over to the
Cuttlebug Spot to see what all the other Design Team Members have come up with for this weeks theme...
Have a great day and thanks for checking us out.
See you soon.
Andy..
 Anyway, I eventually made it on the day, so at least I could give it to them on the correct date.. Phew!!
 I started off by selecting my goodies which I was going to use for this project.. It's always a good idea having everything you need at hand so you don't have to go hunting for things..
 I punched a circle from a post it note.. Make sure you punch including some of the sticky on the back so that it adherer's to your card stock..
 I then turned my card stock the way that I was going to apply my Brayer and Ink.
 Anyway, once you have applied your Ink, this is what the card stock looks like,
 and by removing the Post It Note circle, you now have a Moon!!
 I then stamped my image using Stazon Black. The Stamp is a Clarity Stamp LOFRAME-GG (Love Frame).
 I then positioned the second image inside the "O", this was also a Clarity Stamp.. Sorry, not sure which set this came from as there was no reference code on the packaging!!
 I then added my Peel Off sentiment
 before matting the card onto some Light Blue Mirror card...
 For my base card I took some Kanban printed Acetate
 and applied it to a White A5 card,
 adding a complimentary piece of Ribbon
 before finishing the project off by adding the stamped topper...
 Phew! done.. And on the right day too... Right! let's see if I can get ahead of myself for once... What's next on the list!! Father's day and Christmas.. Yikes...