Hi Blogland. Today is Paul's (Joanne's Partner) Birthday. The man loves his food HOT!!! I think he would have hot sauce on his Christmas Dinner if he could!!

So, when I saw a decoupage image in the
Food & Drink House Mouse set I knew this would work for his Birthday Card!!

I started off by cutting out all of the images

and layering them together.

I know that decoupage can be fiddly, but the time spent cutting and layering the pieces together is so worth it when you can get this sort of dimension. Don't get me wrong, die cut decoupage would make life sooooo much easier!!

I then matt and layered the image with some Gold and Red Mirror card.

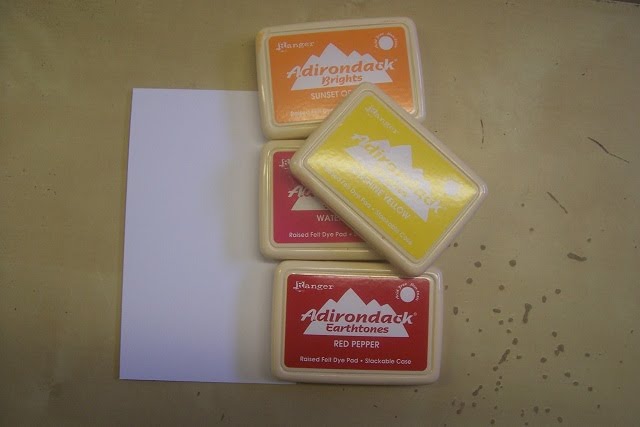
I then took a selection of
Adirondak Inks, and covered a piece of White card stock,

initially with Sunshine Yellow and Orange Sunset.

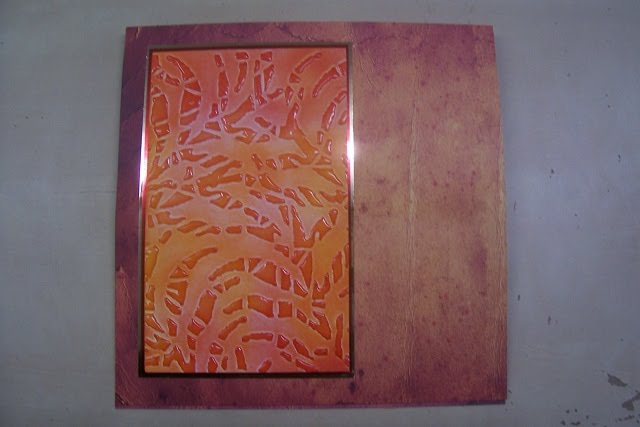
I then embossed the card through the
Cuttlebug using the
Fauna Embossing Folder.

And then went over the image again, this time using Red Pepper and Water Mellon Ink.

Highlighting the raised sections with
Glossy Accents.

Once it was dry I matt and layered the image with Gold and Red Mirror card.

I also came across this piece of flame backing paper which I cut to size, matted in Gold

and added it to my pre made Easel card.

I then added the embossed image to the front of the card,

overlaying the decoupage image...

I printed my sentiment in a "flame font" from my PC.

I really wanted to cut it out in a Chilli shape. The only thing I could find on My
Cricut that looked similar was a cut from the Pumpkin Carving cartridge. So I loaded it onto my
Gypsy and positioned the image on the cutting mat so that the sentiment would be included in the cut. I stretched the Pumpkin shape to look a little more like a Chilli, this has got to be one of the greatest features of the Gypsy, the fact that you can manipulate any image above and beyond it's intended use!!

Once cut out, I applied some Red Pepper and Lettuce Adirondak ink to the image

before covering it entirely with Glossy Accents and leaving it to dry overnight.

Once it was dry I added it to the card to finish it off!!!

And there you go, one very HOT looking card!!! Happy Birthday Paul.
Thanks for checking us out, see you soon.
Andy.
 For this card I used a digi stamp from Mo Manning..
 It was coloured with Copic Pens and Glazed with Glossy Accents.
 Whilst it was drying I had a play with my Cricut Machine and Gypsy and welded some Mobile (Cell) Phone shapes from the Smiley Cards cartridge to a Rectangle from Plantin Schoolbook and cut them out on some Silver Mirror card.
 Once the image was dry I matted it onto the rectangle and added some Black Mobile Phone shapes to make them stand out a little more..
 After matting one more time onto some light Blue card stock
 I attached the image to my base card.
 I then cut out a tag using a die from the Spellbinders Ribbon Tags Trio Three (S4-323) set.
 Added a peel off sentiment
 and then threaded some ribbon through the loops before adding it to the card to finish the project off.
 So, just an idea for some of the younger guy's in your life..