Showing posts with label Distressing Inks. Show all posts

Wednesday, 17 June 2015

Let it Snow!!!

I know, I know.. It's gearing up to be a warm one this week, but I'm already thinking Chrimbo!! Subconsciously it might keep me cool!!
Besides this, its made good use of some of the MDF shapes I was sent by Creative Expressions for this weeks Design Team project.

I wasn't sure that this Months goodies were going to be my cup of tea but they really have given me the opportunity to re visit techniques I had thought I had long forgotten about, and this is the case with this tag!

So, to start with I took the tag

and "primed" it with Gesso to give it a good surface to work on.

Whilst the Gesso was still wet I added some Gilding Flakes to add some texture.
Once the initial layer was dry, I painted a second layer. One, to seal the Gilding Flakes and Two to make them White.

Next, I took some Distress Ink (Mermaid Lagoon) and a Creative Expressions Smoothie

and applied the Distress Ink over the tag.

As the Gesso has made the tag NON porous, the Ink just lays on the surface and is easily "moveable" so, using the Smoothie and dragging it through the Ink can create some interesting effects.

Still, it needs something more than just some interesting effects, so I firstly applied some Black Soot Distress Ink

followed by some Seedless Preserves.

Not bad?! But as Distress Inks are water based Inks they can be reconstituted by adding water to them whilst they are on your project to create even more different effects.
I blotted this with a kitchen towel whilst it was still wet after I had dropped water on it, but to keep the initial effect it would have been better to dry it with a heat gun.
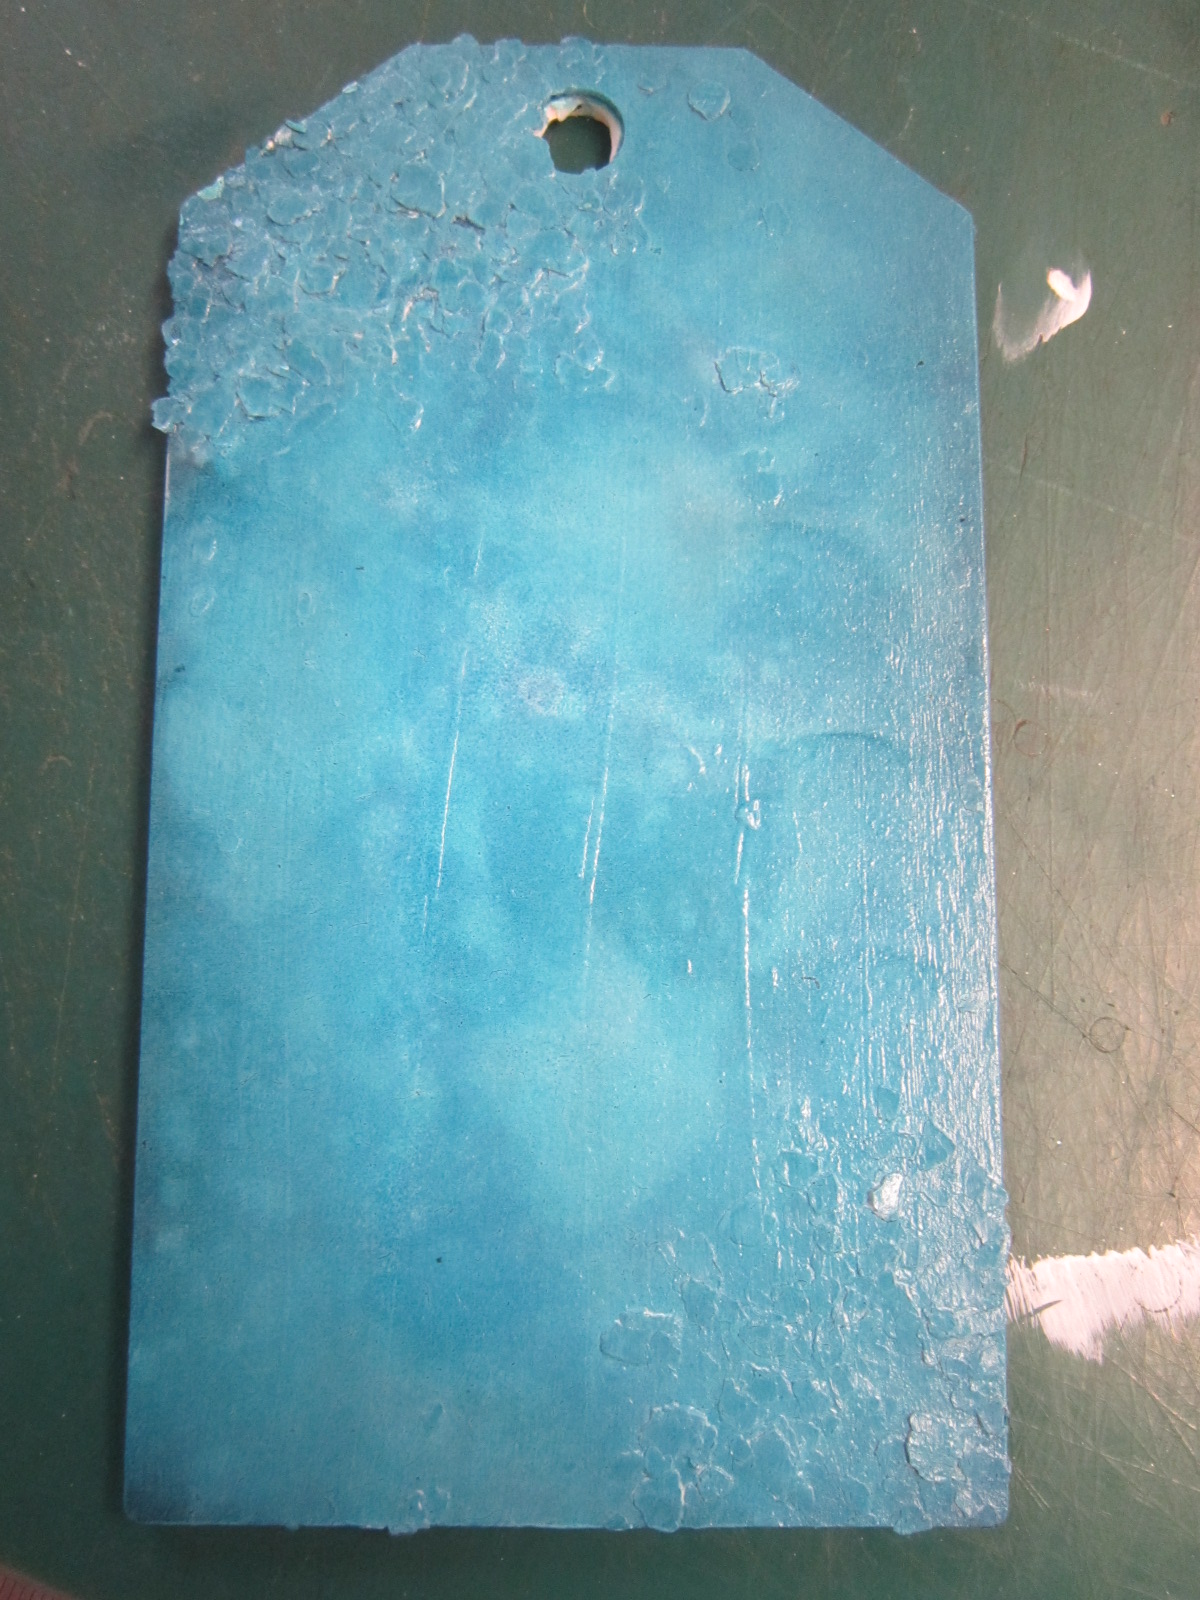
So, if you are not happy with the result just re apply some ink and try again.

This time I spritzed with water

and then stood the tag up and let the water run off.

And so for some decoration. Now that last years Sue Wilsons Festive Collection Dies are back in stock I thought I'd put one of my faves to good use.

I had the plan to use it as a mask, so once it was cut out I placed it onto the tag and used my Smoothie to ink over and around it!

Which created a nice stencil effect, although the Ink over the surface did lose some of the texture created when the water was applied! Still, I can live with that!

To seal the Ink to the tag, I sprayed it with some Glitter Spray, not my best move as it obscured the wording somewhat.

Not all is lost though as I put the initial die cut image to good use and sprayed it first with the Glitter Spray

and laid it over the stencilled image, slightly off setting it to create a drop shadow..

Decorating it with some Snowflakes from Spellbinders Create a Flake #5 and some Dazzlers from Creative Expressions..

Quite a big tag obviously needs quite a big prezzie to put it on!! Guess this ones for me!!
Thanks for checking us out, see you soon.
Andy.

Wednesday, 25 March 2015

Another Marmite project....

Hi folks... I've gone "reet" grungy for today's Creative Expressions Design Team project.. And I think, as the title of today’s post suggests, it's another Marmite project, you'll either like it or not..

I'm still taking some convincing! But, as they say, it's all about the journey, not the destination! And I certainly enjoyed the process of making it, if not the finished result...

And considering it started off as just a bit of White and Black card stock the results are pretty cool...

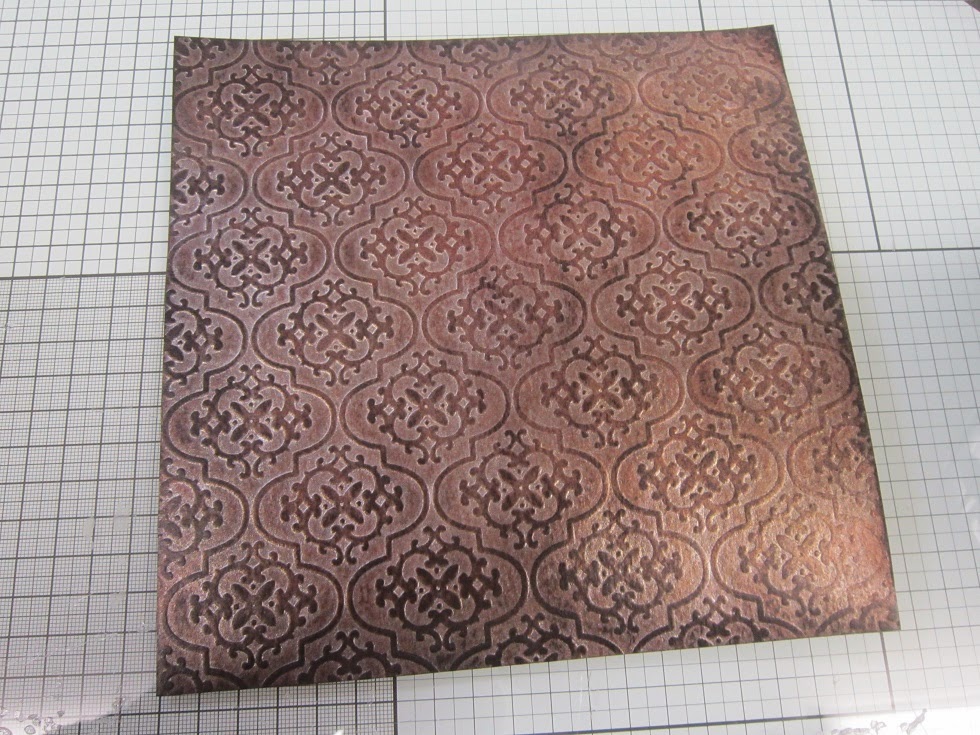
I stated off by embossing a piece of White card stock using the Tapestry (EF-012) Embossing Folder from Creative Expressions.

Placing it in an old box

and selection a range of Spritzing Inks.

The results of spritzing the Inks are always going to vary,

depending on how much of each colour you use..

But carry on until you are relatively happy with the results.. They final colour will still change somewhat as the project dries.

To encourage the project to dry quicker, place it onto a piece of kitchen towel

and place another piece on top.

Take an iron and iron it dry.

As the water from the Spritzing Inks evaporates not only will the project dry but will probably also lighten in colour slightly.

Once dry you can add some colour to highlight the embossing

use what you have

as each different type of Ink will add its own element to the project.

To seal "all" of this "Inkage" you can apply some clear Embossing Powder.

This also adds a nice sheen to the design.
I have in mind to use this project as a book cover at some stage so I wanted to create some sort of binding/hinge effect.

I cut 2 Borders from the Sue Wilson New York Collection Border, Corner & Tags Die Set (CED4102),

coloured them with Graceful Peach Gilding Wax

and applied them to the base card. "Says to me rusty old hinge/spine don't you think?"

I had a couple of Gilded Hearts left over from a previous project,

so rather than let them go to waste I popped them onto the Borders. Not quite sure why, but I do think that it adds to the effect somehow!

I then added a sentiment from the Couture Creations Vintage Rose Garden Paper Collection. I glazed it with Glossy Accents to give it a glazed effect..

This is where I think I should have stopped, but I went ahead and added another sentiment, it's only on foam pads, so it can easily be removed for when I am ready to create my book for this cover to go onto...

So, all in all a fun, if messy project to get your teeth into.. And I kinda like messy!!
Thanks for checking us out.
See you soon.
Andy.

Thursday, 3 April 2014

A little more inking....

Hi folks.. Just another couple of samples from this week’s lesson..

I've moved on from Distress Inks to Memento Inks as I was intrigued to see if the results would be the same or different using another brand..

Ironically, it would seem that although the pigment/dye in the Memento Ink is probably stronger, it has given a much lighter tone to the background, that could also be just my application of the Ink though?!!

Still, more play time to be had!!!
Thanks for checking us out..
See you soon.
Andy.

Tuesday, 1 April 2014

INKredible!!!

Hi folks... This week’s lesson che Pinnacles is all about Inks!!
Now, I've been known to have a dabble every now and then! And why not, when you can achieve such dramatic results!?
Who would have thought that this little project started out as just a plain piece of White card stock?!

I've added Distress Inks for my background, made my own stamps from some of my (our) Dies (Yes, I'm still churning them out!), heat embossed and water coloured with Distress Inks...
Loving the results so far... More to come during the week...
Thanks for checking us out.
See you soon.
Andy..