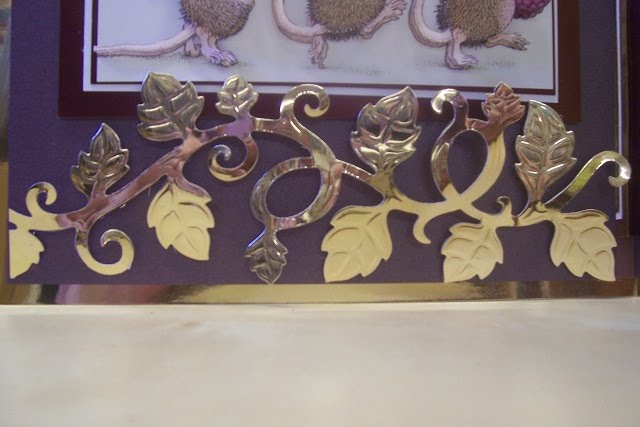
First things first. The winners of our 30,000 visitor Blog Candy. I say 30,000! In fact we have had over 40,000 visitors since we started our little Blog in July 2009! I was having a tour of our Blog the other day and tidying a few things up and noticed a stats button I never even knew I had! It tells me where everyone visits us from and gives a true visitor number. I had taken my 30,000 figure from the NeoWorks Scroll at the bottom of our Blog. I have only had this for little over a year so I guess it only picks up stats from that period of time.. So, the winners of our newly named 40,000 visitor Blog Candy drawn at random are.......
 Drum Roll please..... Cricut Straight from the Nest Cartridge... Winnie and the winner of the Cuttlebug Companions Set Cindy Loo is Charity Crafter aka Leigh.. Congratulations ladies. I have e:mailed both of you to let you know you are winners and to arrange delivery or collection of your new stash!!
Thank you to everyone who left comments and good luck for our next Blog Candy contest.
So on with the crafting side of today's post.
 This Month over at the Cuttlebug Spot it's all about embellishment's on your crafting projects. Of course, as it's the Cuttlebug Spot Embossing will also be involved!!
Today's theme was to incorporate Hat Pin's onto your project! I like to think outside the box but for this project I stuck with the obvious.. Well, obvious to me anyway!
I've always wanted to do a project just in one tone of colour, particularly in Grey's. Not an easy colour to work with but am pleased with how the whole thing turned out!!
 You probably know that I'm well into my Digital Stamps at the moment! I got this image from Sassy Studio Designs. Once printed, I coloured it in with my Copic Pens (Cool Grey #1 and Cool Grey #5 and Strong Red for the lips). Of course she had to have a glaze of Glossy Accents to finish her off!
 Once the image was dry I added a selection of feathers to the hat,
 popping on a hat pin and some beads I had left over from an old Pinflair Kit. Looking at the image now I think the pin is not in proportion to the hat, but I think anything smaller would get lost on the image..
 For the base card for the image I embossed a piece of White card stock using the Flourish Embossing Folder
 and matt and layered it onto some Silver and White card stock.
 I then cut out some layered shapes from the Storybook Cartridge using my Cricut. Looking back, a Nestabilitie Labels shape would have worked easily as well!!
 Just for fun, and because I wasn't sure in which direction I was going to take this project! I cut the frames in half!!
 These were added to the front of an 8" x 8" easel card
 with the embossed image placed over the top of them. It looks like the frame shapes are much bigger than they actually are, almost like one of the Grand Nestabilitie Labels.. I think this is a great way to get more out of your standard Labels Dies if you don't have the Calibur or the Grand Dies!
 For the step of the Easel card I used one of the new X Cut Border Dies.
 These Border Dies are really quite big compared to say one of the Marianne Designs Creatables Borders. OK, maybe not as detailed, but for this project size does matter!!
 They are about 8 1/4" long so in fact too long to use the standard Cuttlebug Plates if you want to use the whole of the die, so therefore I had to use the longer Cuttlebug plates.
 To cut the die, you will need an A and B plate followed by your card stock and the die,
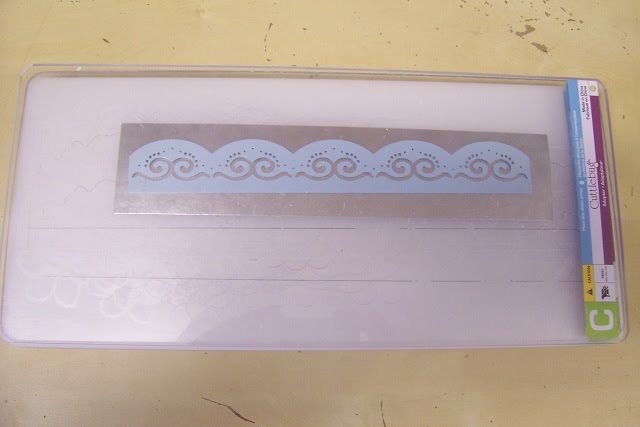 finishing off with your C plate and pass through your Cuttlebug Machine.
 To emboss the die, turn the die over keeping the card stock within the die.
 As the die was so long I added a strip cut form the Spellbinders 12" x 12" Tan Mat and passed it through the Cuttlebug.. Absolutely nothing happened. I guess these Dies are not as deeply cut as the Nestabilitie Border Dies which is what the Spellbinders mats are designed to emboss.
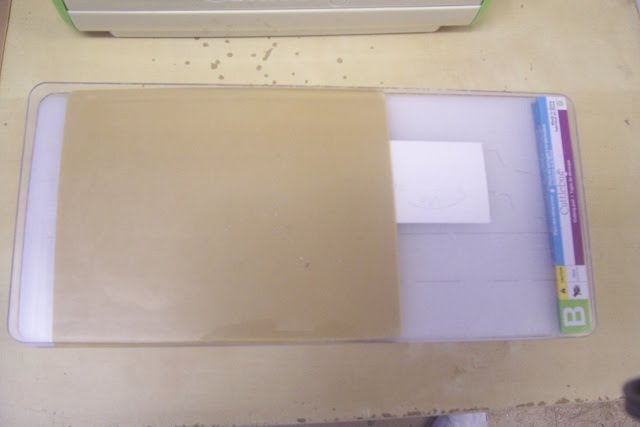 I could have added a shim of card stock but seeing as I had my No Shims Required Mat to hand I just popped this on followed by a second B plate this time
 and passed it through the machine twice..
 Eh voila!!
 I then added it to the base of the Easel Card.
 I really wasn't sure where I was going to place my stamped image. So YES, I just shut my eye's and went with it!! It really could have gone anywhere, good job I had it up the right way!!
 The easiest part of the whole project was the sentiment. The new Do Crafts Promotion for March/April is now in stock and one of the new items is this sentiment sheet.. The perfect match for this Grey/Silver/White card....
 And there you go... I hope this gives you some ideas for you projects, and don't forget to hop on over to the Cuttlebug Spot to see all the other Design Teams projects.
Thanks for checking us out.
See you soon.
@ndy