Today is another post for the Cuttlebug Spot. As you may be aware this Month we are sharing with you projects using embellishments. Last week it was Hat Pins and this week we are being oh so charming with you and using Charms.. Doh!!
 I must admit I struggled a little with this one.. We have pretty much everything else here atPinnacles! But do you think I could find a Charm!! So, I decided to make my own with some Shrink Plastic...
 I started off by cutting out some Sunflower shapes in Shrink Plastic from the Stretch Your Imagination Cartridge using my Cricut Machine.
 Before doing anything else I punched a hole into the Shrink Plastic with my Eyelet Setter. I say do this now as I nearly always forget to do this before I have shrunk the plastic and by then, it's too late!!
 I used a frosted Shrink Plastic, which has a smooth side and a rough side. The rough side is ideal for stamping an image on and then shrinking it. It is also ideal for holding colour. So I coloured the image in using some Copic Pens.
 I then popped the image in a box and heated it up with my Heat Tool.
 If you give this technique a try, don't panic!! Just let the image shrink with the heat.. Shrink Plastic generally shrinks to a 7th of it's size.
 Also any colouring will generally intensify by a 7th,
 so lighter colours will become darker... Cool eh!!?
 I then embossed a piece of White card stock with the Autumn Sunflower Set (656653) from Sizzix.
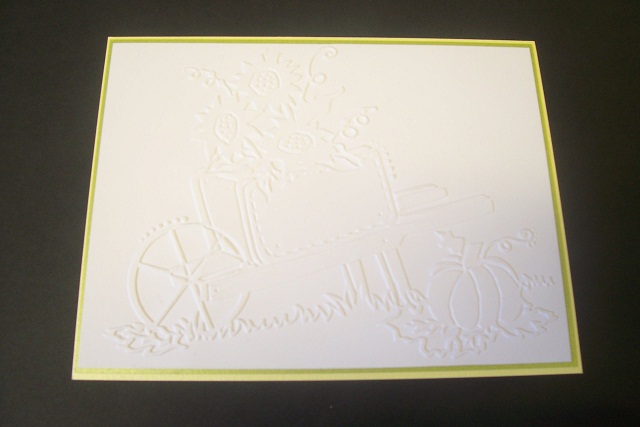 Although it's an Autumnal image I decided to matt and layer it with some Springtime coloured card stock.
 Adding some pre made flowers and some leaves I had punched out using the Martha Stewart Frond Punch.
 Adding my Charm Embellishments with some cord threaded through those holes I remembered to punch out before the images were shrunk. The hole will also shrink by about a 7th, so make sure you punch a big enough hole to start off with.
 And there you go.. A bit of a Spring/Autumn mix, but a bright an cheery card non the less... Don't forget to pop on over to the Cuttlebug Spot to see what my fellow Design Team Members have come up with, or visit their individual Blogs for some great inspiration... Links to their Blogs can be found at the top of my Blog on the Right!
 Have a great day, and thanks for checking us out..
@ndy.


