Hi Blogland, you just never know when something is going to prove so popular! Just sitting in the shop at my new work area playing about with my Martha's, punches that is! and suddenly you're surrounded by inquisitive on lookers and a spur of the moment demo ensues..
 Here's the card I was making and a step by step.
 I punched a whole lot of leaves from some White Glitter Card using the Martha Stewart Branch Punch (M230367).
 Using the same Glitter Card I cut a Circle frame from the Plantin Schoolbook Cartridge using my Cricut, this was done at 5 1/4" using the Roly Poly function to achieve the cut out in the centre. For those with a Cricut Machine you could use the Centre Point function on any Cartridge which has a Circle to achieve a thicker or thinner circle frame, for those without a Cricut then any shape cutting system such as XCut will give you a similar effect.
 I used Pinflair Silicone Glue to attach my leaves. Firstly applying a decent amount of the glue
 and then adding the leaves,
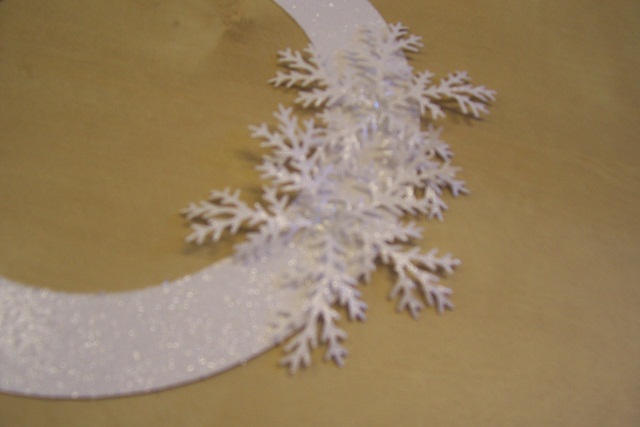 then more leaves,
 until I had gone all the way around the circle.
 I then went around with a second layer of leaves to give the wreath a fuller effect.
 Adding some gems to centre of each group of leaves.
 Whilst this was drying I prepared my base card. An 8"x8" White card with a matt of Silver Mirror Card, Yes that's me waving at you...
 Then a matt of Snow effect backing paper.
 I added Pinflair Glue to the back of the Circle
 to give the wreath some depth when it was added to the base card.
 I stamped my sentiment
 And applied an Image I had stamped, Coloured and glazed previously.
I think this is a great way to use this leaf punch, so much so I made a few more...
One in Champagne Gold
 Adding an image cut from the Christmas/Noel Cricut Cartridge.
Chocolate Brown
 Blue
Blue Burgundy/Red
 Green
Green And more Green
Not sure what I'm going to do with them yet, but they might give you some ideas. I have also done one in a Copper/Orange which would be great for Halloween or Thanksgiving, I'll pop it on here nearer the time..
Thanks for checking us out, and don't forget to leave a comment to be in with a chance to win the Independence Day Cricut cart...
See you soon.
Andy.


