Showing posts with label Stamping. Show all posts

Wednesday, 6 January 2016

A little Colouring....

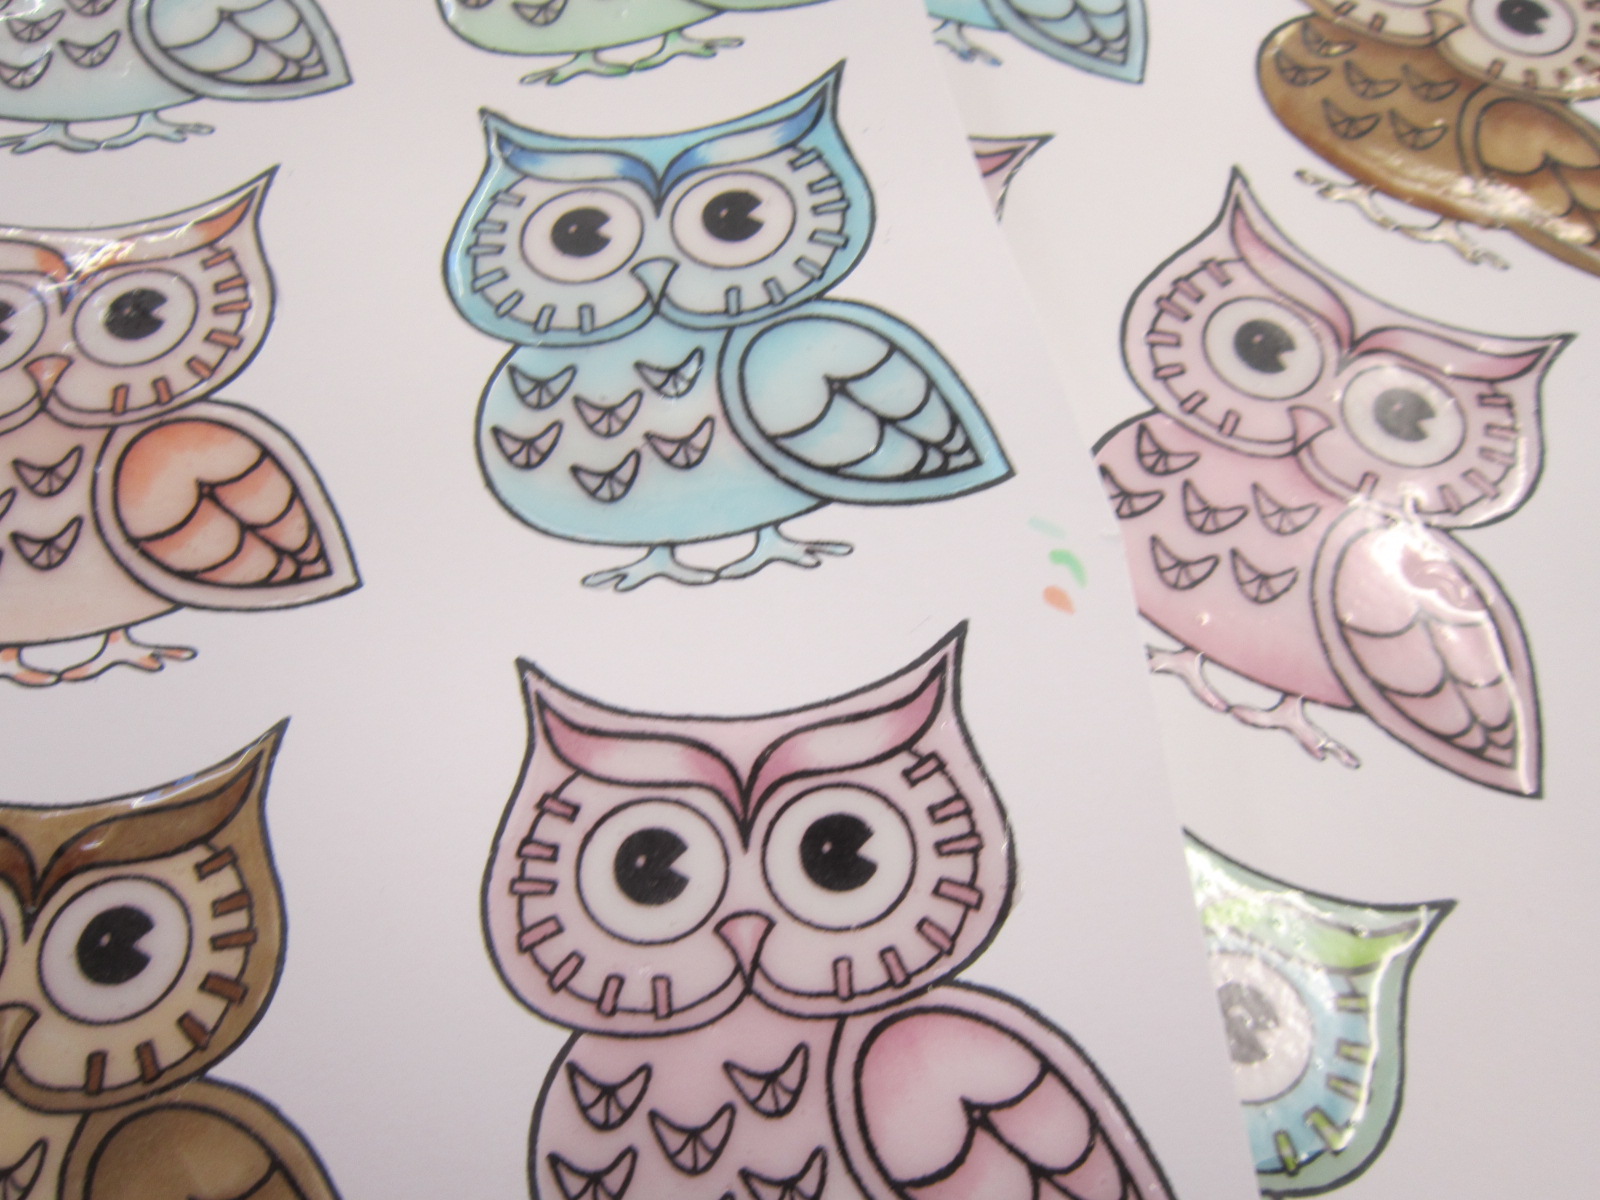
Well, quite a lot actually!! Hi folks... not an actual New Year’s resolution, but I did say to myself that I would try and do more of what I wanted to do this year craft wise.. And for me, that means colouring... Be it with Inks, Wax's or in today’s projects case, Pens..

I'm sure if you've been following us for a while now you'll know that I love me some Copic's?!!!

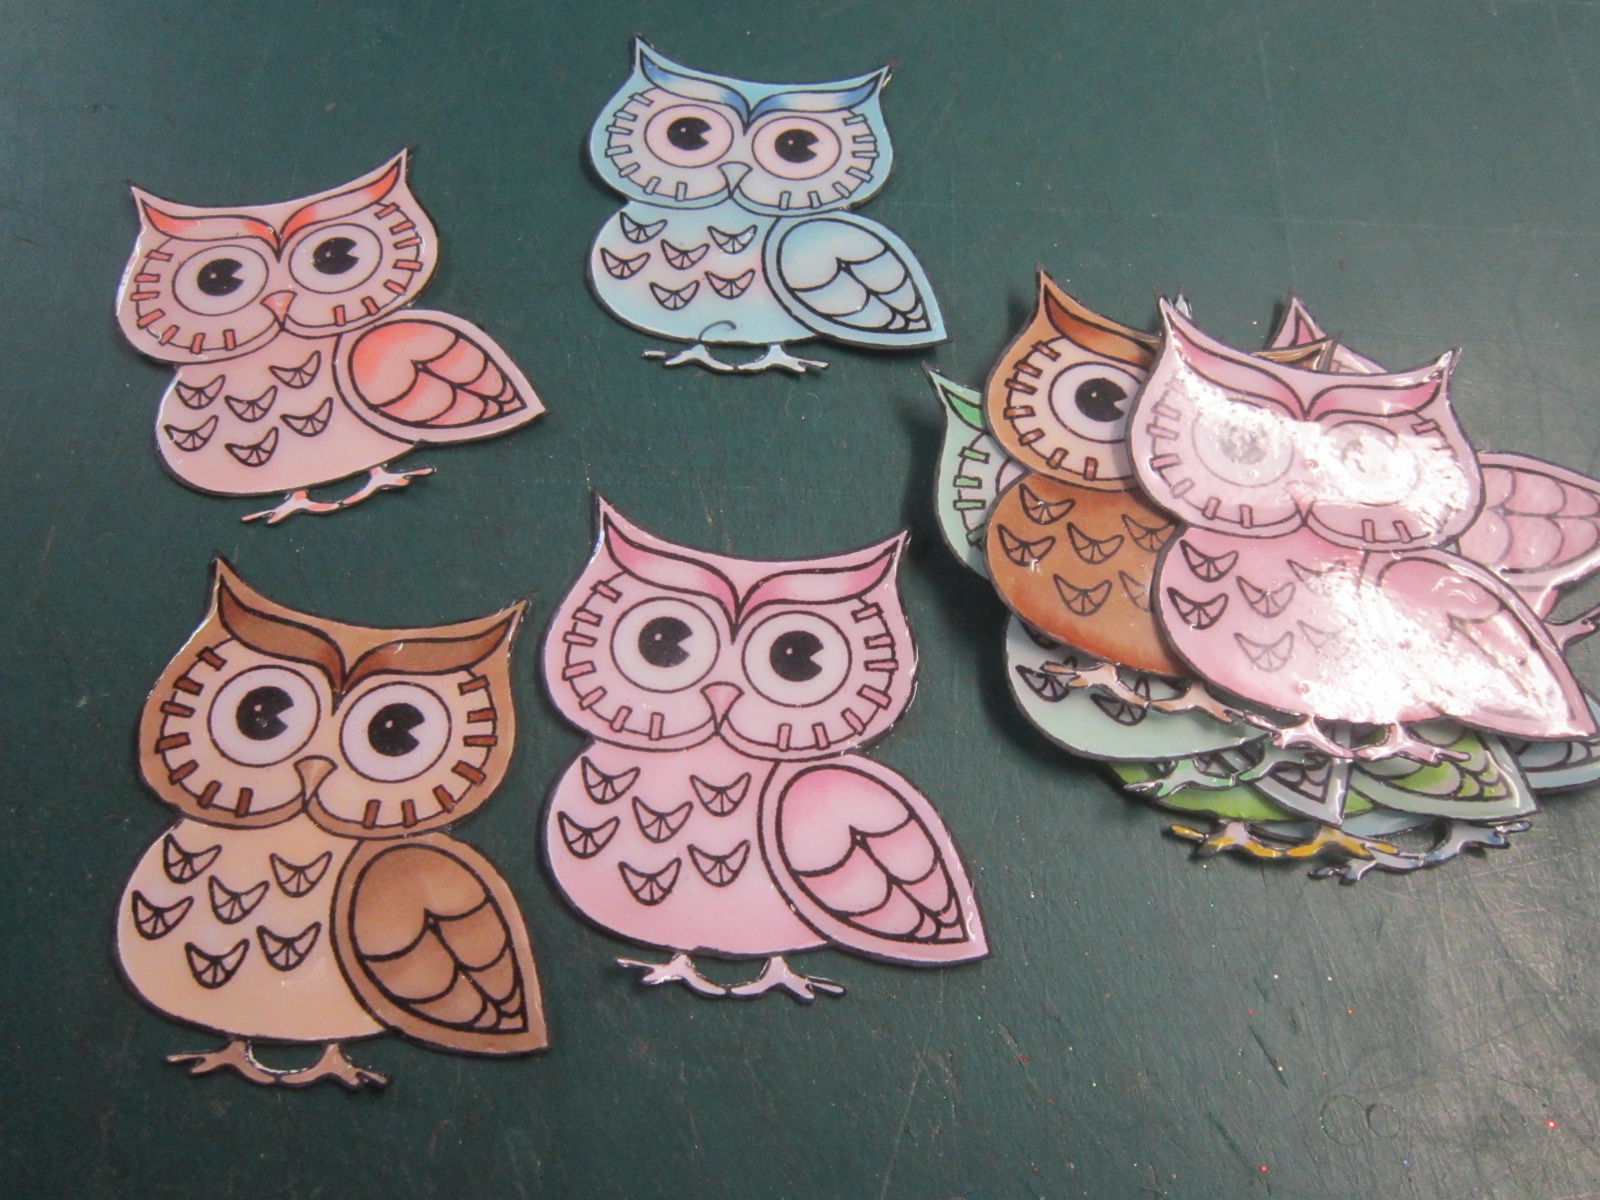
So, over the Christmas and New Year break I put them to good use in preparation for our colouring workshop on 13th February...

Yeah, got a bit carried away!!!
Still, it's got me into the zone to carry on colouring in between the day to day running of Che Pinnacles...

So, lots more colour on its way folks...
Thanks for checking us out.
See you soon.
Andy.

Wednesday, 14 October 2015

Shadow Stamping....

Hi folks.. Another little stamping technique for you today...

I know it's not very clear in this pic

but the vase for these Christmas Poinsettia's has been shadow stamped to give the impression that one is behind the other.. A great little technique to add dimension to your projects without adding too much depth..
You can do this technique with most images, although solid (silhouette) stamps do tend to work best.
Again, I thought I'd put some of the Dies I was sent to good use and make them into stamps, which gives them yet another use.

To start with I cut the solid part of this Die using some funky foam,

Then positioned the inner part of the Die ready for cutting.

As I would have expected it cut all the way through, however, the fact the pieces didn't drop out was advantageous...

as this allows for it to be positioned onto a second plain image but will still give the detail..

So, stamp the image using a clear Ink such as VersaMark or Perfect Medium.

Cover with Embossing Powder

and heat set.

Cut a solid image out in light/medium weight card stock

and position this over your initial stamped image,

Ink up your stamp again and stamp just to the side of the original image,

add Embossing Powder, and heat set.

Makes the second vase appear that it is behind the first!!

I cut mine out just to give a little dimension, but you could do this directly onto your project and sill have the desired effect...

Then, decorate how you see fit!!

Thanks for checking us out, see you soon.
Andy.

Wednesday, 7 October 2015

Can you resist?.....

Hi folks... Well, this time last year'ish I heard the news that I had been accepted to serve as a Design Team Member for Creative Expressions... Can't really believe that that year is almost up.. They have asked me to stay on for a further Six Months... But, after careful consideration I have decided to decline their kind offer.. There are just too many other things I want to try and just don't have the time to do so because of my primary commitment to them..
So, I only have Four more projects left to share with you with this Month’s goodies, and then it's back to freewheeling it with all of the other projects I have floating around in my head!!!!
Now, I don't know about you, but as I type this, it is chucking it down outside, autumn defo seems to have arrived... So today’s project, and, in particular, the sentiments, seem pretty apt!!!

This is my first dabble with the new Cosmic Shimmer Colour Cloud Inks...
And if you fancy giving this resist technique a go, here’s a quick step by step for you...
Encouraged by a few slaps on the wrist for not always using the products I was sent, I thought that, for at least today’s project, I would go all out and do as I'm told for a change...
So, for some of you this stage of the project might be old news!? But, in the great big creative world out there we have newbie’s joining us all the time, so it's worth going over it for them, and it might inspire you to revisit an old technique too?!!
I could of used some of my stamps (Creative Expressions ones of course!), but as I said earlier, I'm trying to be good (not sure for how long though!) and use what I have been sent! So I decided to make some of my own.

This is quite easy and all you need is some Funky Foam to cut out with your choice of Die...
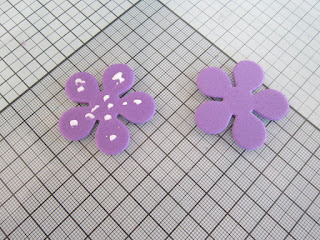
I tend to cut out two of each size
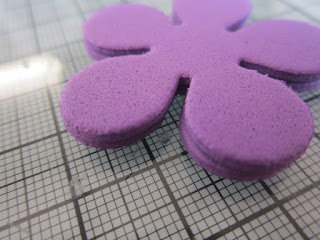
and mount them on top of each other.. The primary reason for doing this is so that when I mount them onto EZ Mount or U Mount I don't have to be too precise with my cutting.. Having the two layers mean the foam end you are inking up is well away from the "sticky" side of the EZ Mount, and therefore you won't ink that up too or stamp onto you chosen media... Obviously, you could just cut out one image and mount it onto EZ Mount; you just need to cut closer to the stamp to make sure the sticky is taken away.. Or use Stick and Spray and a Rock a Block,

or do what I have done for this project and use Tack and Peel on your Acrylic Block... Who knew there were so many choices!!???
Anyway, once you have done this, you're good to go...
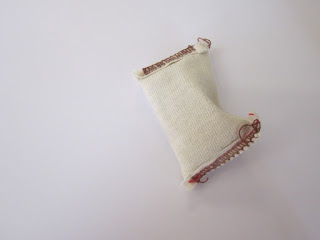
On some White card stock, I applied my Anti Static Bag,

before Inking up my Stamp with Perfect Medium ( or VersaMark),
and randomly stamped the larger of my Three Flowers.

Pouring over Clear Embossing Powder,
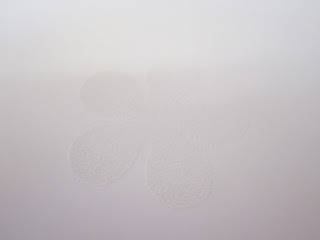
and then heat setting it...
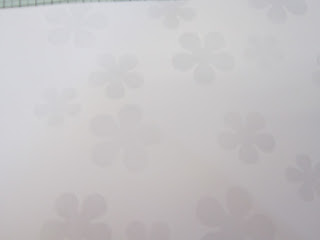
Repeating the process with the two other sizes of Flowers I had made... "I know the pictures don't show the images up much, but to the naked eye they are quite visible, so you do know where you are going!!"

Now to really bring them to life... As the Colour Cloud Inks are water based, the Clear Embossing Powder will resist the water in them
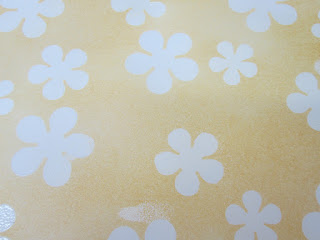
and therefore reveal the image much clearer than before.. (Including one rather large sticky thumb print!)
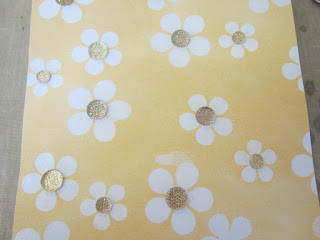
A few Creative Expressions Dazzlers,
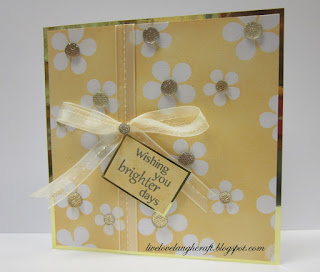
and a well placed sentiment have put paid to that though!!
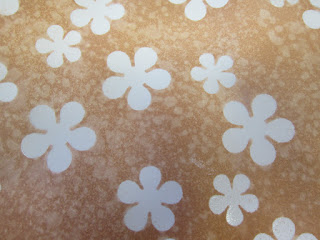
As I said earlier, the Cloud Inks are water based and, like Distress Inks work well with water spritzed on them to give you a nice mottled effect...

So, not too bad for a first attempt with these additions to my Ink collection... Let’s see what my next "play" sessions will bring!!!
Thanks for checking us out, see you soon.
Andy..

Wednesday, 23 September 2015

Christmas Finial (Bauble)....

Hi Folks...More Christmas inspo for today’s Creative Expressions Design Team project...
Back in the day when I was growing up (some would say I am still trying to grow up now!!) I remember our Christmas tree... It was White with little Red "stoppers" on the ends of each branch, which I can remember were to hide/protect you from the twisted wires (no 1970's health and safety here!) which made up the branches of the tree, and against the Whiteness of the Tree looked like Red berries.. I can also remember that we decorated it with everything under the sun.. No real colour coordination like you see now a days, just 1970's nuttiness!!!!

Anyhoo, one of the main things I remember were the baubles.. Or, as I now know they are called, Finial's!! and yes, we still have some of them (those which have not broken over the years) in the loft with the current tree.. Not that we use them anymore but you know you just keep these sort of things for sentimental reasons...
So, these finials are the inspiration for today’s project....

I've used one of Sue Wilson's new Configurations Dies to create my own Finial....

Now I know the card looks unusual in the fact that the sentiment is running down the side of the project, and yes I'm sure the recipient would think that you've made the card back to front as it could quite easily be turned landscape and everything would be upside down!, I guess if you see it on their mantelpiece that way you'll just have to correct them on it!!

So, if you'd like to have a little go at this nostalgic Christmas card here's a little step by step guide for you.

To start off with I cut the Sue Wilson Charming Lace Trim Configuration Die (CED6404) out twice with White Card... Getting rid of all the waste pieces from these two particular images!

I then created a "tacky" area on a piece of card

and stuck the two pieces down next to each other to form one solid image.

Next, I cut the Die using some Red card stock, fortunately both the positive and negative (waste) all stayed in the Die, which is an advantage for the next process which will be to back fill with the previously cut images.

For me, the easiest was to do this is to lay the Die over the image and basically poke the pieces back into place.

You may get all of the pieces back in one go or you may have to "manually" pop the last few back yourself...

Either way, it's worth it for the effect it gives!!

Once both sides are back filled

you can then cut the image out..

Obviously you now have a Red image to play around with,

and you can back fill these in the same way as before using the waste from the original White images (if you still have them) or, just cut some more....

So, we now have a Red and White Finial and a White and Red one...

I added mine to a DL card, to which I added my stamped sentiment and using the Berry Sparkle PVA Glue created the chain effect for the Finial...

And there you go!! A little 1970's Christmas nostalgia!!
Thanks for checking us out, see you soon.
Andy...