Tuesday, 17 April 2012

Cuttlebug Blogspot - Easel Challenge

Hi Folks. It's Tuesday so that must mean it's time for another Cuttlebug Blogspot Challenge. This week’s theme is quite simple. It's an Easel card of your choice..
And here's my Design Team entry.. A very unusual theme I bet you are thinking to yourselves? But there is reasoning and a method in my madness!! One of my friends has just completed her first, and probably her last! Half Marathon.. This epic feat of Olympic proportions was made all the more remarkable due to the fact that she completed the Half Marathon whilst unbeknownst to her; she was in fact 23 weeks pregnant..... So, my congratulations card for completing her Half Marathon has an Olympic theme, cos if she can manage to complete the Half Marathon whilst carrying her little bub's inside her, well, the next step must be London 2012 wouldn't you agree?! So, if you have a budding Olympian to make a project for or if you are getting your scrapping stuff ready for London 2012, then here's a quick how to...
Every now and then I see potential in something to use it above and beyond its intended use. In this case it's this Grey Board (Chip Board) Fob Watch..., I saw it as a Medal... I chose to make it into a Silver Medal as the colours I had to hand were ideal. So, I covered the Medal completely with the following colours of Acrylic Paint:
Stream,
Pearl,
Black,
and another coat of Pearl to achieve the worn, distressed Silver Metallic effect I wanted. I know you're going to say, "Why didn't you just colour it with Silver Acrylic Paint?” good call! Purely because it wouldn't have given me the effect I was after and one coat of silver against several different colours blending to create something individual and unique is much more fun and creative!!
I then glued the 2 halves of the medal together
and applied my London 2012 Peel Off in the centre.
I could have left it well enough alone then and there, but I wanted to give it a little more depth and interest so I filled the centre with Glossy Accents, and once it was dry...
bada Bing bada Boom, London 2012 immortalised and encased in Glossy Accents forever! Now for the Easel card.. Don't be put off by a new type of card fold, once you've done it a couple of times it will become second nature. And a standard Easel card couldn't be easier to achieve.
All it is really is a standard card shape
with one of the sides folded in half to form the easel.
All you have to do is choose your card stock to decorate the base,
and the top. Once you've got this fold under your belt then why not try a twisted easel or even a tri easel card...
Anyway, back to this project.. Now, every easel card needs a stopper for the easel to rest against. So, I cut out some Circles using the Spellbinders Classic Circles Large Die (S4-114) in Blue, Black, Red, Gold (Yellow) and Green Mirror card
and inter linked them together to form the Olympic Rings.
These were then glued onto the base of my Easel card to form the stopper,
with the medal attached to the top of the Easel... And there we go one Olympic themed card for a truly deserving recipient... Don't forget to hop on over to the Cuttlebug Blogspot to see what my fellow Design Team Members have created this week. Thanks for checking us out. See you soon. Andy.

Friday, 13 April 2012

An Art Deco Birthday...

Hi Blogland.. Today is the Birthday of another very special friend to us here at Pinnacles, Mrs Harrison...
And here is the card I made for her...
To start off with I printed my Art Deco image from a Debbie Moore CD,
cutting out the images
and then layering them all together.
As much as I like the Art Deco theme, I can't be doing with cutting out all of the fine detail on her hat and waistband. Instead, choosing to cut these elements off of each layer and favouring making my own embellishments with some Fibres and Beading.
The inspiration for this particular project stemmed from a new Sizzix Framelits Die I was given. It's called Ironworks (657556) and has Art Deco written all over it (not litterally!) and is suitable to be used through the Sizzix Big Shot, Cuttlebug and Grand Calibur Machines. So, I cut it out on some Silver Mirror card,
and mounted it onto some White Card Stock which I had sprayed with Stick and Stay.
I then cut the die out onto some printed Vellum
and filled in the spaces with the waste from the Vellum onto my Silver image. As the White card stock was still sticky, these pieces were held in place.
I then cut off the excess white card stock.
Continuing the Vellum theme through the project, I mounted another piece of the Vellum onto a flourished piece of card stock; you can just see the design coming through the Vellum I hope? This in turn was matt and layered onto a piece of Silver Mirror card and adhered to my base card.
Although the Art Deco style is more about straight lines and concentric shapes, I could not resist using my Cheery Lynn Flourish (B-169 Mega Flourish Two) again!
Mounting the Art Deco topper over the centre of the Flourish,
and the adding my Decoupage image.
Completing the project with a simple little bow in the top corner.. Happy Birthday Mrs Harrison, we all hope you enjoy your day xx... Thanks for checking us out, see you soon. Andy...

Tuesday, 10 April 2012

One card, two different looks..

Hi Folks. I hope you all had a great Easter Bank Holiday weekend, despite the traditional Bank Holiday "grotty" British weather?! I used my down time quite productively over the weekend, in between munching on the odd choccie egg or two!!! And this is what I came up with!!
And here's an Andy "step by step" if you fancy giving it or something similar a go...
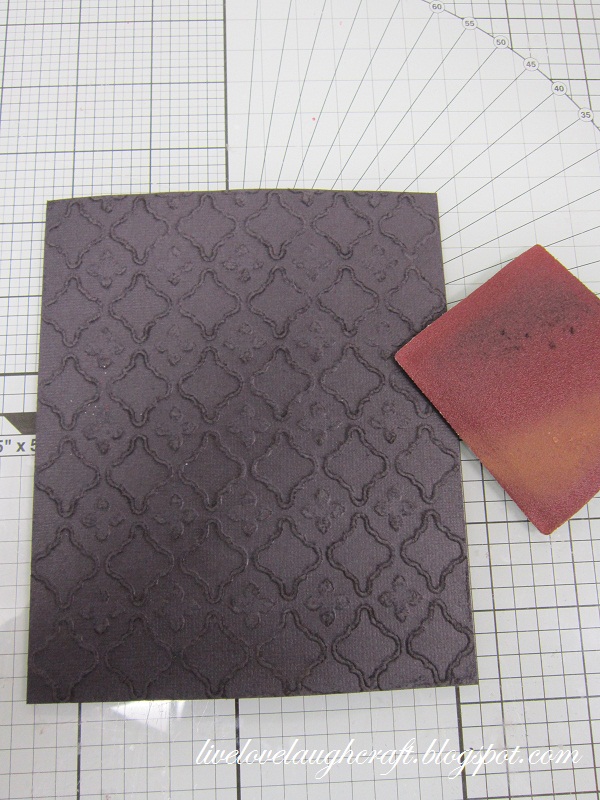
I started off by embossing a piece of "Black Cat" Core d'inations card stock through my Cuttlebug using the Spellbinders M-Bossibilities Folders called Regal (EL-002). If you are using the M-Bossibilites through your Cuttlebug for the first time, please make sure you read the instructions on the packaging! As, you will only need to use an A Plate and a C plate with this type of embossing folder, not the traditional A and 2 B plates! Believe me! You will break your machine if you try it any other way!!! Of course, if you have the Grand Calibur Machine then you should use the Base Plate and the "Raspberry" plate to emboss these, and any other embossing folders...
Unlike most Core d'inations card stock, which has a contrasting core colour to the outside colour, this Black Cat card stock has the same colour core. So, although I sanded the embossing it created more of a texture than a colour contrast! Actually the texture makes it feel almost like Flock!
I then cut the embossed piece of card stock to size and matt and layered it onto some White card stock
before mounting it onto a piece of patterned card stock. This piece of card stock was quite handy actually. As, on one side was a checker board effect, which allowed me to line up my embossed image in the centre.
But it was the Stripes on the other side of the card stock that I actually wanted to use! So, I rolled the edges over themselves using a Pen and secured them in place with some Glue.
Adding my topper and putting this part of the project to one side whilst I got on with preparing my base card.
Starting off by cutting some of the striped card stock into Triangles.
These were then adhered into each corner of my base card to which I had added some Black Mirror card.
I then took another piece of the striped card stock and matt and layered it with some more Black Mirror card and a piece of White card stock,
before placing it in the centre of the base card
and then adding a Bow and my topper to complete the project.. Loving the effect that these stripes bring to the project, I had to give it another go in another colour, just to see how it came out...
A slightly different design in both colour and layout, but no less effective me thinks!!! Thanks for checking us out. See you soon... Andy.

Sunday, 8 April 2012

Happy Easter

Hi Blogland, and Happy Easter to you all... I suspect, like many of us perhaps, that we don't really send too many Easter cards each year.. But, I occasionally do make a few samples for the shop to give those who do send cards some ideas..
So here's one that I eventually managed to get finished yesterday! I've left the sentiment off of the card as, obviously it's Easter Sunday Toady, and to be honest I think this project could equally be used for other Occasions such as a Wedding, Confirmation, or Baptism etc...
So, to start off with, I cut out and embossed the largest shape from the Spellbinders Floral Ovals set (S4-356) in Pearlised White paper.
Next, I cut out and embossed the Marianne Craftables Die, Flower Border Oval (CR1215) in the same Pearlised paper
and then mounted it onto the Floral Ovals shape.
I then cut out and embossed one of the Crosses from the Spellbinders Crosses Two set (S5-093) of Dies, again in the same pearlised paper.
This in turn was then mounted onto my previously cut images. Although all of the elements have been cut from the same paper stock they all hold their own against each other and tone on tone can be so effective don't you think? So, with the "topper" done, time to get on with the base card for it to sit on.
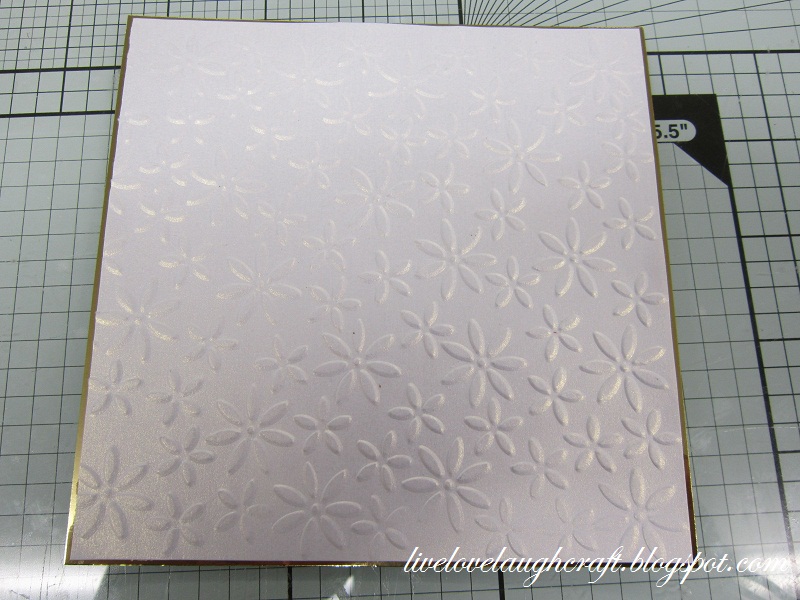
Using the Spellbinders M-Bossibilities Folder - Splendid (EL-005), I embossed another piece of the Pearlised paper,
cutting it to size and matt and layering it with some Gold Mirror card
before attaching it to my base card
and adding a simple piece of Ribbon.
Just to add another element to the card I cut out the largest die from the Spellbinders set Bitty Blossoms (S5-086)
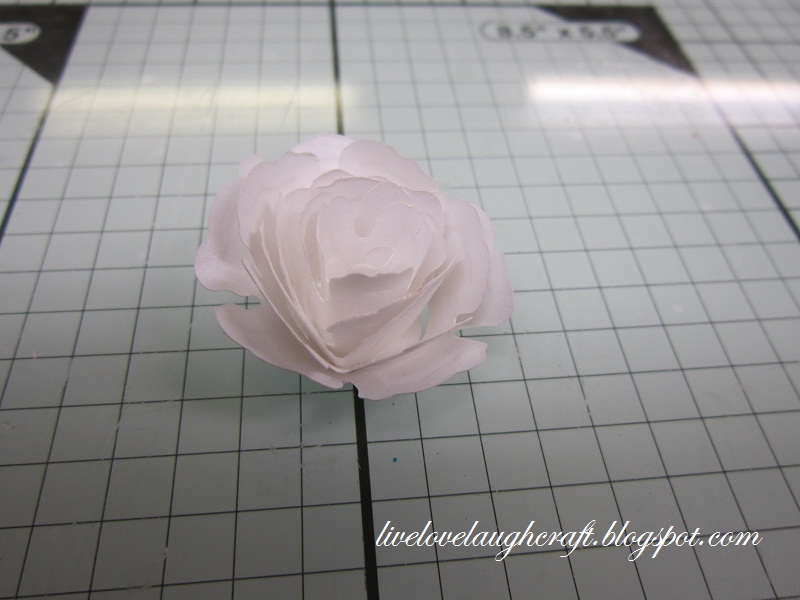
and "Quilled" it into its flower shape..
I then cut out a set of leaves, which are also part of the Bitty Blossoms set,
and joined them to my flowers.
Although I made several sets of leaves and flowers, 12 sets in fact! I decided to only use one for this project! That means I have several already prepared for another project then I guess...!
I then finished the project off by adding my topper.. And, as I said earlier, this card really could be used for several different occasions.. Not just for Easter.. Anyway, I hope you have a great day and thanks for checking us out. See you soon. Andy.