Hi everyone. How's things?

I wanted to share with you today another home made embossing template I have made.. And don't worry, this one doesn't require a Cricut Machine this time....!

I cut out 4 silhouettes using the Marianne Creatables Die
Elegant Lady (LR0139) using 225gsm weight card stock.

Then layered each shape on top of each other, gluing them together with Crafter's Companion
Stick & Stay...
This image is, I suspect designed just to be cut out and stuck on to a project.. But, you know me, I like to take things a little further and help us all get the most out of our crafting stash!!

So, I fancied embossing the silhouette.... To do this through the
Cuttlebug, place the layered image directly on to your A plate...

Add your card stock,

followed by your
No Shims Mat
and then 2 pieces of card stock to bulk out the "sandwich",

finally finishing off with your C plate and pass through the Cuttlebug. I suspect this would work on the
Big Shot also, but you may have to play around with the sandwich a bit!!.. Who said don't play with your food?!!

And look what you get!!!

I then turned the silhouette shape over and embossed it in the other direction and cut out each image using an
Oval Nestabilitie... So, not only have we managed to emboss the image but reverse it also!!

I then matted each of the images on to some Black Mirror card I had cut out with a
Scalloped Oval Nestabilitie...

Having had some new toys given to me to play with, well,
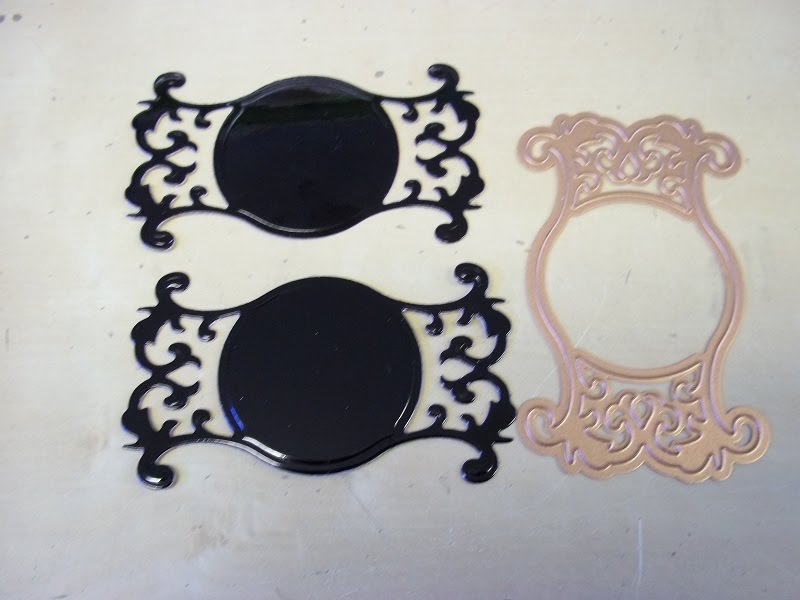
"given" is a bit of an exaggeration! I thought that it was time to put them to use.. So I cut out 2 shapes using one of the dies from the Spellbinders
Fancy Tags Three Set (S5-031) in Black Mirror card..

Layering them on top of each other and off setting them slightly to create, well I'm not quite sure what shape it is, but I was interested to see a heart shape form at the top, bottom and on each side of the image!!

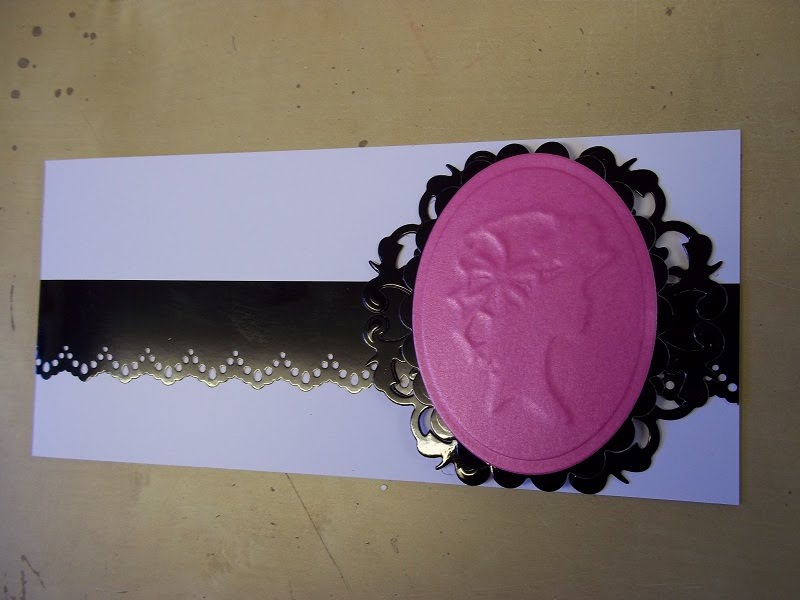
I then applied one of the silhouette shapes to it. The other one I will use for another project.. I'm not quite sure that it works as the scallops obscure some of the fret work for the Tags, perhaps a smaller image would work better in future. But I do like the detail that is created around the silhouette..

I punched a strip of Black Mirror card using the border punch from the Martha Stewart Punch Around the Page Set
Vintage Lace (M42-60040).

This was applied to the centre of a White base card with the silhouette image applied on top...

I finished the project off with a simple peel off sentiment...

Simple and elegant me thinks...
Thanks for checking us out..
See you soon.
Andy..
 For this card I used a digi stamp from Mo Manning..
 It was coloured with Copic Pens and Glazed with Glossy Accents.
 Whilst it was drying I had a play with my Cricut Machine and Gypsy and welded some Mobile (Cell) Phone shapes from the Smiley Cards cartridge to a Rectangle from Plantin Schoolbook and cut them out on some Silver Mirror card.
 Once the image was dry I matted it onto the rectangle and added some Black Mobile Phone shapes to make them stand out a little more..
 After matting one more time onto some light Blue card stock
 I attached the image to my base card.
 I then cut out a tag using a die from the Spellbinders Ribbon Tags Trio Three (S4-323) set.
 Added a peel off sentiment
 and then threaded some ribbon through the loops before adding it to the card to finish the project off.
 So, just an idea for some of the younger guy's in your life..