Tuesday, 14 June 2011

Like Marmite! You'll either love it or hate it!!

Hey Blogland.. Now, I know some of you are going to start shouting at me and some of you are going to enjoy today's post!! Today I'm sharing my first project of the year featuring the dreaded C word!! No, not that one, nor that one either!!! But Christmas!!! (covers ears!!)And yes, we are in summer here, but you know you've got to start some time! So maybe it will fool your subconscious into cooling down a bit!!So, here we go with our first Crimbo step by step!!
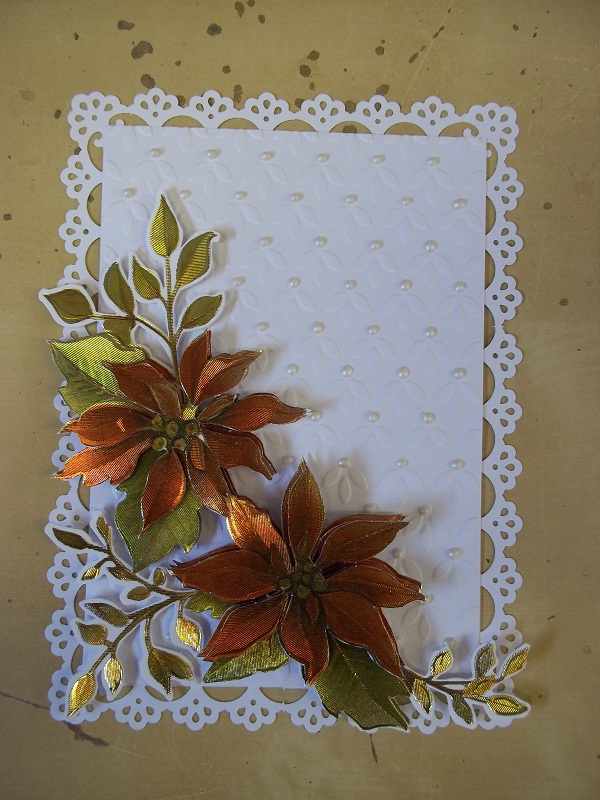
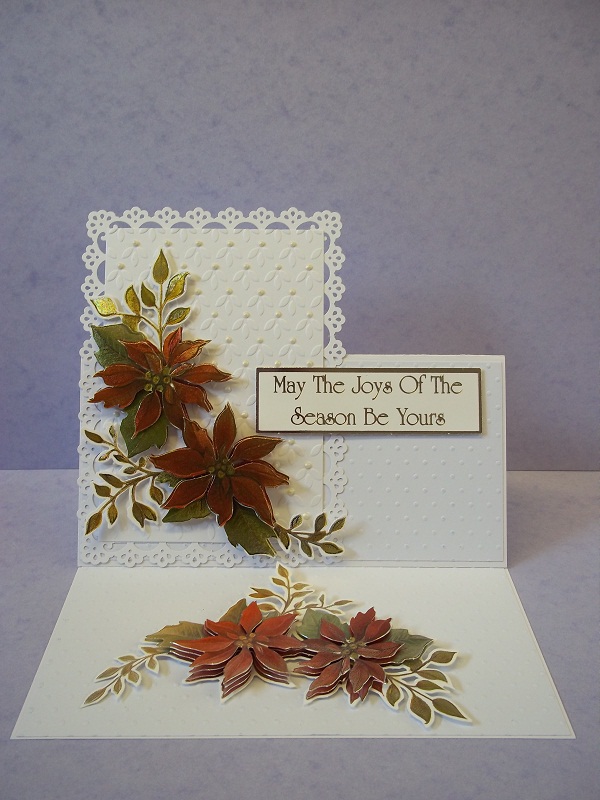
I started off by embossing a piece of White card stock using the Petal Embossing Folder from the new Black & Gold Forever Friends range..To me these little petals look a little like Snow Drops.. Not that I am much of an aficionado when it comes to plants!! I felt they needed a little bit of something to really make them pop off of the card. Initially I thought of adding gem stones to each set of petals! However there are 78 of them! (Thumbs up if you are now counting them!!) So that would have worked out too expensive. So I took some Pearlised Glue and added a dot to each set of Petals...Great effect huh!!Whilst the Glue was drying I took a piece of White card stock measuring 6 3/4" x 5" and punched around it using the Martha Stewart Vintage Floral M40-60043 Punch Around the Page set.. This set of Punches is also known as Deco Flowers..The space created in the middle of the punched area was just perfect to sit my embossed petals into.I had already prepped some die cut Decoupage, so this was added on top of the framed embossing.. It's all coming together now!!!I prepared my Easel card using some pre embossed dot White card stock,adding a second Decoupage image for my easel Stopperand then adding the framed images to one side of the cardand my sentiment to the other side of the card!!And there you go, one Crimbo card down, several more to go!...This card and many more will be on show at our Christmas in July Event on 09th & 10th July... So you can come and see it in the flesh if you are in town!!
Thanks for checking us out..
See you soon for some more inspo...
Andy..

Wednesday, 8 June 2011

Happy Anniversary

Hi Blogland. Yesterday was my Parents 42nd Wedding Anniversary.. And, like most events in the family I know exactly when it is, but do I get the card made in advance and put away for safe keeping? Yeah like that's ganna happen! And even if I did, it would probably be in a very safe place and I would have totally forgotten where I put it! Oh, you've got a place like that too!Anyway, I eventually made it on the day, so at least I could give it to them on the correct date.. Phew!!I started off by selecting my goodies which I was going to use for this project.. It's always a good idea having everything you need at hand so you don't have to go hunting for things..I punched a circle from a post it note.. Make sure you punch including some of the sticky on the back so that it adherer's to your card stock..I then turned my card stock the way that I was going to apply my Brayer and Ink.
Now, applying the Ink with the Brayer is a technique that has to be learnt, see Reene, this time I didn't say learned or learndid! My English is very bad some times!! So it is impossible to show you the application of the Ink in photo form! Perhaps I should start doing Video tutorials...!Anyway, once you have applied your Ink, this is what the card stock looks like,and by removing the Post It Note circle, you now have a Moon!!I then stamped my image using Stazon Black. The Stamp is a Clarity Stamp LOFRAME-GG (Love Frame).I then positioned the second image inside the "O", this was also a Clarity Stamp.. Sorry, not sure which set this came from as there was no reference code on the packaging!!I then added my Peel Off sentimentbefore matting the card onto some Light Blue Mirror card...For my base card I took some Kanban printed Acetateand applied it to a White A5 card,adding a complimentary piece of Ribbonbefore finishing the project off by adding the stamped topper...Phew! done.. And on the right day too... Right! let's see if I can get ahead of myself for once... What's next on the list!! Father's day and Christmas.. Yikes...
Thanks for checking us out and see you soon..
Andy..

Monday, 6 June 2011

Making use of my scraps....

Hi Blogland.... Eeek!! It's raining this morning! Something I haven't seen in ages, rain that is not the Morning!! But it is much needed here in the South East, so let it rain, let it rain, let it rain!!Today, I'd like to share with you a project I made using a couple of left over pieces of stash from previous projects.. It really does make sense using them up, leaving them in a box is just a waste!!So, here we go... The first scraps I used was some waste White card stock. I cut out 4 images using the Marianne Creatables Die Doily Round (LR0168).Then stuck each of the layers together.I then laid them directly on to My Cuttlebug A Plate,adding a left over piece of Blue card stock,a Tan Mat,another piece of waste card stock to really bulk out the "sandwich"and finally my C plate before passing it through the Cuttlebug..To make my own embossing!I decided to make a frame in the middle, so I took a Circle Nestabilitie and cut it out,matting the frame onto some White card stockand then onto my base card.Adding a Ribbon, a Flower and some Distress Stained leaves left over from a previous project.Before finishing off with a Peel Off sentiment..Amazing what you can achieve with a few left over bit's an pieces eh!!
Have a great day and thanks for checking us out..
See you soon.
Andy.

Thursday, 2 June 2011

Happy Birthday Leigh Leigh...

Hi Folks... The weather is set to be hot, hot, hot here today.. So that means that the pins (legs) are out. Well, whilst they are still brown form my holiday I might as well enjoy it!It's one of my best friends Birthdays at the weekend, so I thought I'd share with you the card I have made for her..
She is Purple mad and every year I usually make her card in a shade of it, and I'm sure she will expect the same this year, but I thought I'd ring the changes a little bit and do anything BUT Purple... Or maybe I will just do the whole thing again! We'll see...And look what arrived just in time to start this card. The new Marianne Designables!! I just knew I had to have these when I saw them a couple of Month's ago..It was a difficult choice of which one to use first but I went for the Classic Design (DS0911) for this project...
If you have not used these products before, they are just like normal embossing folders such as those from Cuttlebug or Sizzix and can be used through most of the leading manufactures die cutting machines including the Grand Calibur, and now with the introduction on the new embossing plate for the Calibur they will go through the machine much easier... These Designables not only emboss but also cut at the same time...I thought that the circle frame in the middle was just crying to be cut out, so I took a Circle Nestabilitie which fitted the shape and cut it out.I added an even layer of double sided foam to the back of the imagebefore matting it onto some Gold Mirror card.This was then mounted onto my base cardwith a piece of Ribbon attached to fill up the space on the side...Finishing the project off with a pre made Decoupage character from the new Fizzy Moon range from Trim Craft.. And there we go, and nothing Purple either!!
Have a great day everyone, I hope the sun will be shining where ever you are...
Thanks for checking us out, see you soon..
Andy.