Hi folks...
With any new crafting "toy" I do like to try and get as much out of it as I possibly can!!
So, today, we have a layered Butterfly project..

It does have a little bit of depth to it! Well, quite a lot actually,

but I do love me a little bit of dimension on my projects!!
To start off with, I took two pieces of card stock cut to the same size..

Mine are different colours as I had a specific idea I wanted to try, but in the end it didn't work out as I wanted, so in hindsight, two pieces of card to same colour would have worked!
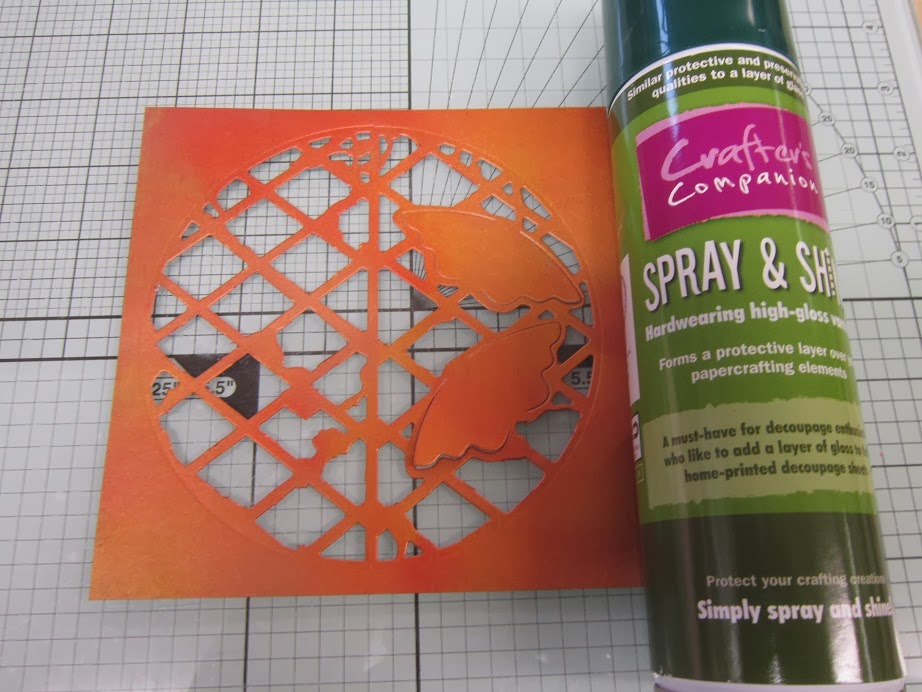
Lay both pieces of card onto your cutting plate with your die (Tonic Studios Indulgence Semi Circle - 470e Butterfly Lattice) and pass through your machine.

The top layer

should cut as normal

and the second layer should leave an impression in the card,

which you should then be able to line the die up again

and cut all the way through.

This should leave you with two pieces of card, die cut in exactly the same place, so that when you line them up again they match..

You could even off set them to create a nice drop shadow...

With the lower piece of card, I stamped all over it with a VersaMark Ink pad and them applied some Metallic Pan Pastels (Silver, Light Gold & Pewter) and then put it to one side.

Taking the front layer of the card, a Ruler and a Craft Knife,

cut away any of the Flower and Leaf shapes.

Again, apply some VersaMark Ink

and some more Metallic Pans. (Copper, Bronze & Rich Gold).

Don't forget to seal your Pans with Spray and Shine...

Next, lay the top layer over the bottom one

and you'll see the Flowers and Leave show through..

I used foam pads,

just to add a little more dimension.
For the Butterflies, I cut and embossed the Die again,

and then hand cut the Butterflies out of the card.

Covered in Versamark,

Added some Pans and sprayed with Spray and Shine.

Once dry, I went over the embossed area (and some of the non embossed area!) with Black StazOn to highlight the detail on the wings...

before attaching them to the project.

Finishing off with a backing of some Rainbow effect card stock and some complementary Vellum...

Nice bright card for a change with some very effective dimension...!
Thanks for checking us out, see you soon.
Andy.