And here is a project I came up with. Hope you enjoy it..
 I took a 5" x 5" piece of Pink Mirror card
 and placed it colour side down onto a Martha Stewart Scoring Board
 so that when I embossed the lines they would be raised on the coloured side.. I.E Embossed as opposed to debossed..Any Scoring Board you have would be suitable or even an Embossing Tool, a Ruler and a Foam Mat.. Whatever works for you..
 I counted 13 lines in from each side and then made a quarter turn and repeated the 13 lines.
 This made a criss cross pattern on the outer squares
 and I then went over the inner squares, just embossing to the 13th line to complete the effect and leaving a plain square in the centre of the card.
 I liked the effect but wanted to add something to the edges, so using the Martha Stewart Quilted Corner and Border Punches.
 I firstly punched my corners
 and then completed the around the page effect with the Quilted Border Punch.
 I punched a flower in Red Mirror card using the Martha Stewart Pop Up Water Lily Punch.. Make sure when using this Punch that you have your card stock upside down as the Punch pushes the petals of the flower downwards.
 I also cut a couple of leaves from the MS Frond Punch and adhered them to the Red Flower.
 I cut out a few leaves using the X Cut Beech Leaf Punch. You just gotta love these punches, they not only punch, but emboss at the same time. How cool is that!!
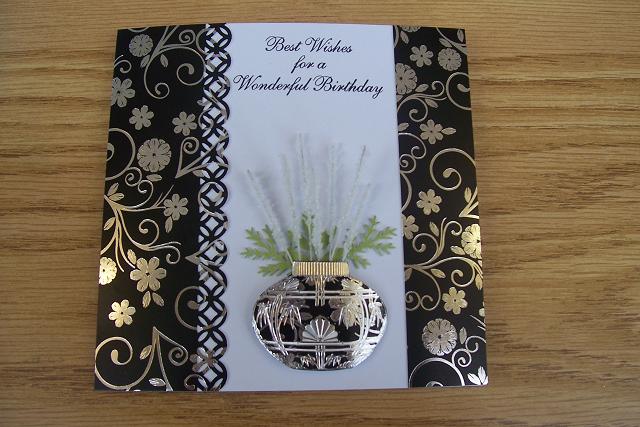
Finally mounting all of the pieces onto some embossed Silver Mirror card and adding a few gems
 and a simple sentiment to complete the project..
So there you have it. I hope it will give you a little bit of inspo to come up with a project of you own..
So if you are coming to the Club Members Weekend this weekend I'll see you there, and if not, I'll see you soon in Blogland...
Thanks for checking us out...
Andy..